ArcadeCab
12/26/08
Craig D's Cabinet
Craig D emailed me this picture
of his recently completed cabinet. Excerpted from his email:
"The project I finished many months ago, but construction of the machine
has taken a year (!), primarily because I have been at the mercy of my
colleague, who I have depended upon to complete the necessary woodworking
and to assemble the cabinet, as well as financial constraints and sourcing
materials !
Patching, painting, electronics and software setup I did myself. I am
using the X-Arcade Tankstick for my controller as it is strong and robust
and will last for years !
I am using MameWAH for the front end of my cabinet, and a fairly old version
of MAME 0.110. The system I used in my design is a socket 939 motherboard
with an Athlon 64 3800 processor running at 2.4Ghz, and 1 gig of DDR3200
memory. Not very recent, but it does the job very nicely and runs about 90%
of ROMS at full speed.
Also installed on my cabinet is CPV2, along with the controls.dat datafile
so I can find out what buttons a particular game uses by pressing a button
with MameWAH itself.
The cabinet also doubles up as a juke box, since I have installed 'Arcade
Juke Box' and coins can be inserted to play mp3's !
Coin box is the same as used on the Atari Asteroids cabinet. I couldn't find
a used one, so I purchased from a UK supplier. I-PAC 2 I used to attenuate
inserted coins (wires are rigged up to the coin 1 and coin 2 credits of the
I-PAC which are then in turn soldered onto the microswitches of the coin
mech). When coins are inserted this gives me a credit in MAME or Arcade
JukeBox.
I'm very pleased how things have turned out, and my partners little boy also
enjoys playing his footy games for hours on end !"
Craig also documented his CPV2 and Mamewah layouts for the TankStick, and generously provided them for use on my site. You will find the write-up on my Projects page (or directly). Thanks again Craig for the email and project write-up. Great work!
11/26/08
Finally! The second set of Cabinet Plans are
complete.
After a ridiculous amount of months, I have finally
completed all the pages for the
second set of cabinet
plans. My list of excuses is lengthy but I finally can mark
this project off my list. As always, if you use my plans for your
cabinet build, please do send me some pictures when you are complete so I
can add them to the site. The cabinet projects seem to be the only
thing that get me to update the site these days.:-)
Happy Thanksgiving, a day early.
11/15/08
John H's Cabinet(s)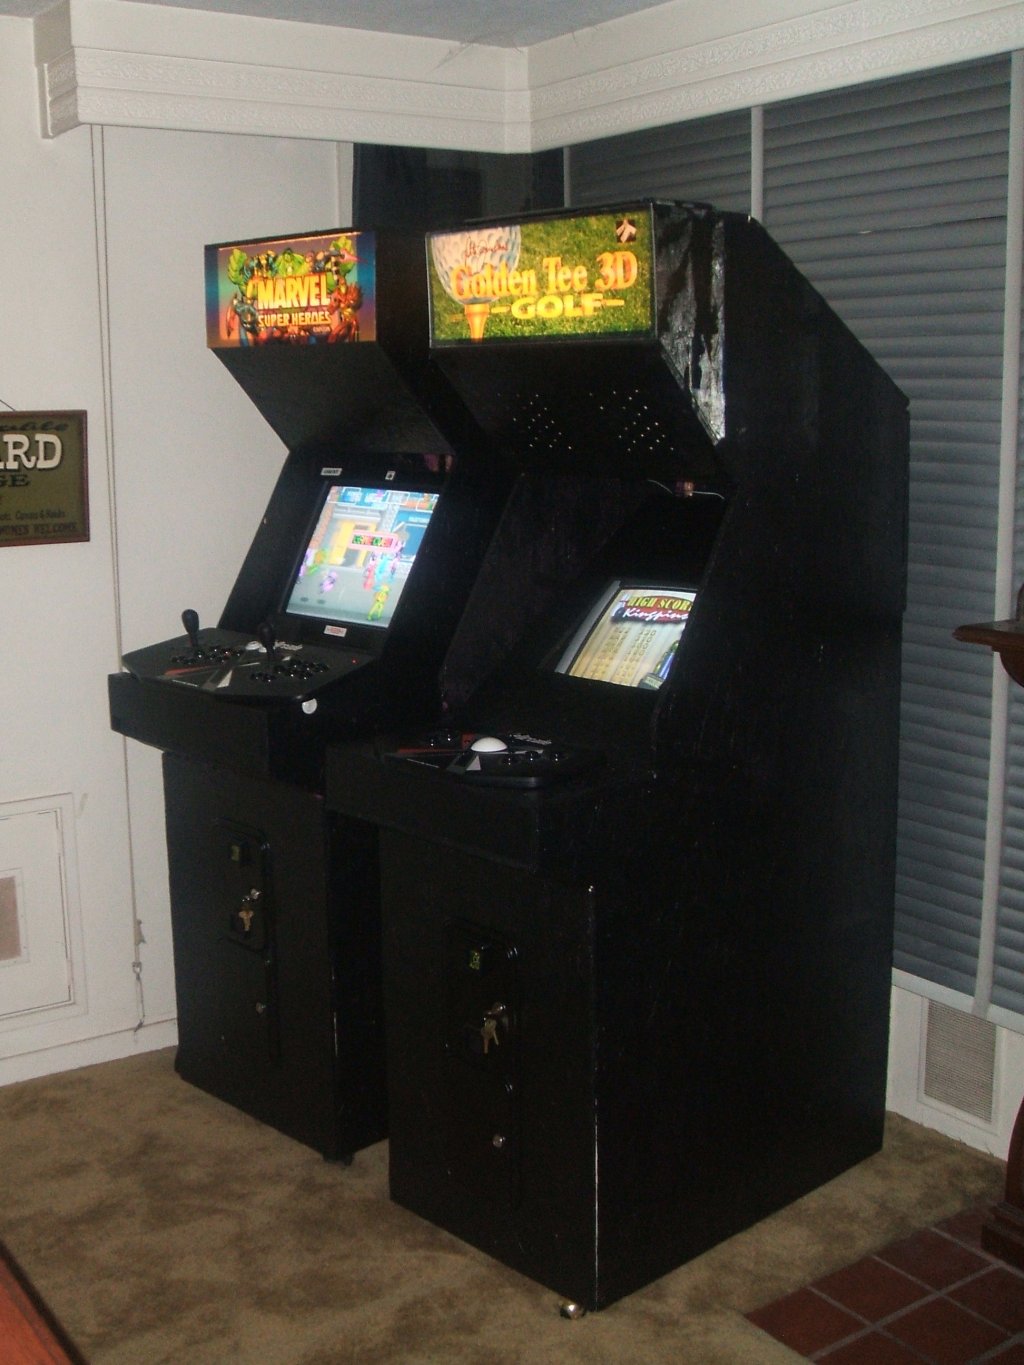
 John
H emailed me a month back with a picture of his recently constructed
cabinet, based on my second set of plans. Lo and behold, before I
could get the News items up, a follow-up arrived from him showing his second
cabinet as well.
John
H emailed me a month back with a picture of his recently constructed
cabinet, based on my second set of plans. Lo and behold, before I
could get the News items up, a follow-up arrived from him showing his second
cabinet as well.
He constructed both cabinets at the same time, over three long weekends. The first cabinet (on the left) uses GameEx as the front-end and has 4,000 games to choose from. The second machine is for trackball games only, and has nine of them on it. There is just something about seeing the two cabinets next to each other that I find very cool. Maybe it is just the geek in me. Very nice job!
11/9/08
Michael's Cabinet
Michael L finished his cabinet a couple months ago. He built a custom control panel, and
included a older neon car light for the keyboard drawer to make using in the
dark much easier. For the side art, he had printed a Dragon's Lair
picture poster-sized, then cut out the dragon's eyes, and inserted two LEDS
that light up. The effect when the lights are off is very cool indeed.
Nice work.

Michael also wrote up his construction process on retrojunk that you might find helpful. The startup video he created is a nice touch.
James' Project
James,
another builder from the UK, sent me some pictures of his nearly complete
cabinet. He constructed it from 15mm MDF, and it features a 19" flat
screen, cold cathode marquee, and a refurbished coin door. He modified the
depth to better fit into the space available. I'll post an update when he
is completely finished.


7/20/08
CzArcade Unleashed!
Alex has sent me pictures of
his completed cabinet, the CzArcade. The name was born from a mixture
of an old nickname (Czar) and Arcade. By his own admission, Alex is
"not constructionally inclined by any means, so this project was over
my head. Luckily, my comrade was able to assist...and he had power tools!"
Nothing wrong with that at all. Everyone has to start as a beginner
and the cabinet turned out quite nice.
Alex also did his part in helping the economy by using some of his economic stimulus check for the project.
He has a
blog of the cabinet building
process as well a bunch of construction pictures
here. I read
through the blog (it's a fun read) and it was interesting to note he had some of
the very same issues I did during the construction process. Alex hopes
that the write-up will assist other prospective builders during the construction
process by detailing problems he had as he went along. Thanks for the pics,
Alex, and nice job.
6/29/08
Patrick T's Cabinet
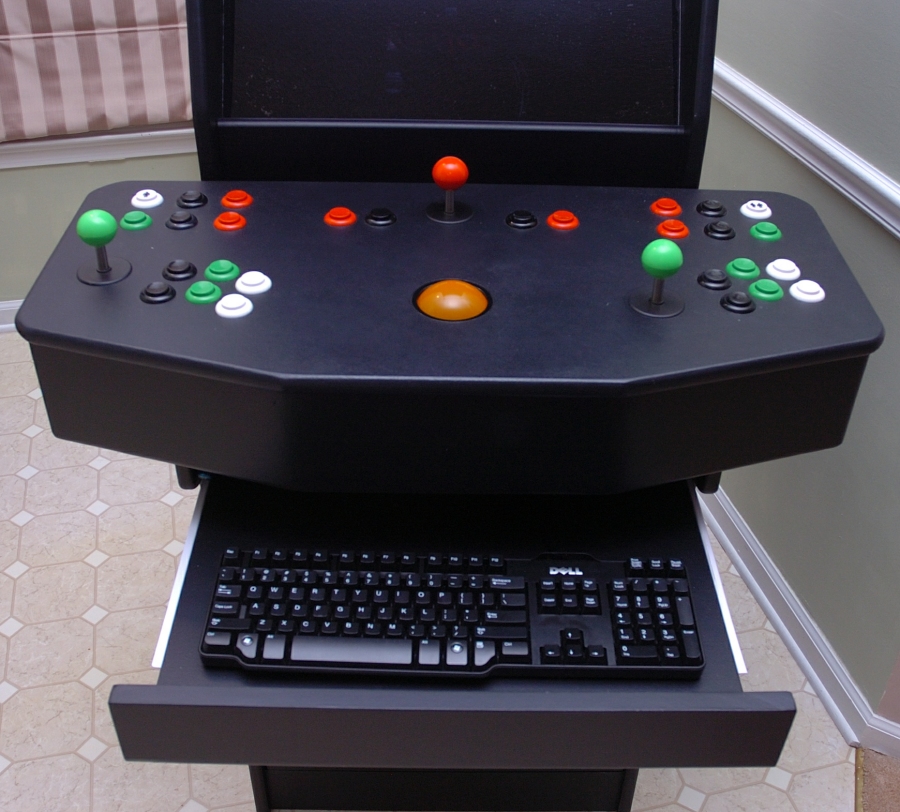
Patrick T sent me pictures of his nearly complete cabinet yesterday.
He had been communicating with me the last year as his project moved along.
He completed the control panel first last June, right before his daughter
was born. He used MDF and, instead of T-molding, he routered the edges and
sanded. Sanding between numerous coats of paints gives it, in my
opinion, the polished, laminated look. Within the control panel he included three hacked USB gamepads to allow for 30 buttons. He then worked at getting Mamewah
and all his emulators set up as, I am sure, time became very scarce.
The cabinet, named "The Jolly Roger", still has a few more details to be added: coin door lights, monitor rotation motor, and a control panel overlay. Personally I like the angled monitor glass, and how polished the entire project looks. Great job Patrick! Now to teach the little girl the classics.

6/18/08
Scott's Sideart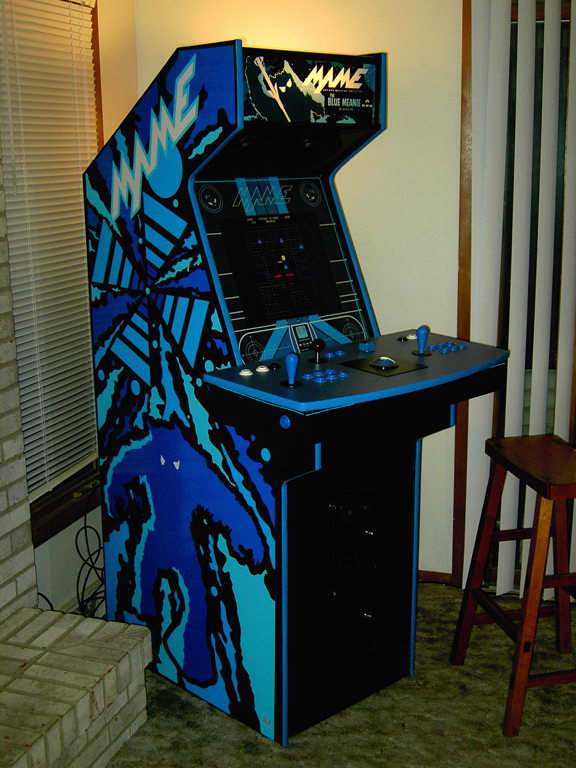
Scott added sideart to his cabinet a few months ago. He created the
custom artwork himself, sized to perfectly cover the entire cabinet sides.
He had it printed by a local sign company on heavy-weight vinyl. Scott
said that he spent a couple hours per side with his Exacto-knife trimming
away the excess vinyl after applying the adhesive and rolling all the
bubbles from it.
The photo doesn't really do it justice. It defies
belief in person. For an ultra-hirez shot of it, click
here
(warning: over two meg filesize).
Other Updates
Nothing new from me on the arcade front. The month's have just flown by
and no timeframe on building myself a new controller. Maybe in the
winter. We shall see. The completion of the second set of cabinet
plans is still on the to-do list. This has to be the longest project in
the history of man. Below is a recent photo of the reason I've chosen put
aside the arcade projects for the immediate future.

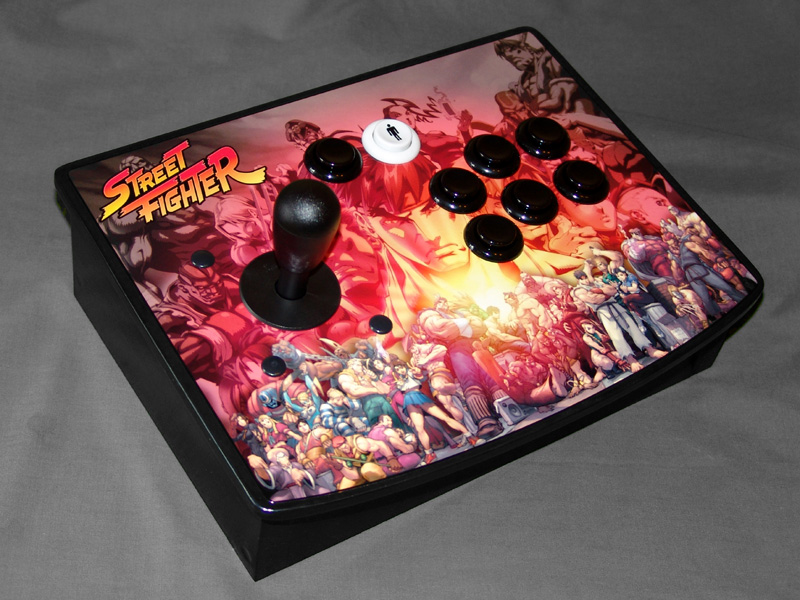
Wayne P's Single-Player Controllers
Wayne P emailed me pictures of his
two single-player control panels that he built using my
plans as a basis. He did modify them to suit his particular needs but
said the plans did provide a lot of help. Very nice job Wayne!
 |
 |