ArcadeCab
Dream Arcade's Cocktail Cabinet Review
Dream Arcades Cocktail - A review
by
Steve Welander (BYOAC:
GadgetGeek) 1/18/2006
I was the fortunate soul who won the
Dream Arcades Cocktail in the 2005
holiday contest promoted on the
Retroblast site. I've finally gotten it assembled and thought I would
share my thoughts.
|
It arrives! |
|
|
|
|
|
The packaging |
||


|
|
After struggling with the box for a bit, I was able to extricate all the parts. Plastic wrap, paper, foam wrap, Styrofoam and probably other things I'm missing were used to keep the parts together and stop any pre-installed parts from scratching anything. Searched through everything and took an inventory of the parts. A quick count and it looked like I might have been a post or two short. I laid out all the parts, snapped a picture and sent it off to support. |
|
|
Mike and Michelle got back to me very quickly, informed me that it looked like I was only 2 posts short, promised to get them out into the mail, and gave me suggestions on how to assemble the cabinet without those two posts (in case I needed it together for a Christmas gift). Given how hectic the holidays were going to be around here, I decided it would be easiest to just wait. Instructions |
||


|
|
|
|


The holidays wrap up and January 2 is a holiday for me. My replacement posts
arrived during the holiday week, so lets get started. Check the time, 2:00
(PM). Don't know what tools I'll need, so lets grab some basics. Cordless
drill, a couple screwdrivers, rubber mallet, utility knife, a couple
adjustable wrenches. Tools gathered, looked at paper directions again. Fired
up the video, lets begin (its now 2:10). Taking my time to make sure I've
got all the parts in the right order. Watch the video for the next piece.
Everything fits exactly right. A little confusion on one of the side pieces.
|
|
Velcro should be on the top for attaching holding the non-hinge side of the top in place, but it doesn't look right. I finally figure out that the Velcro was put on the bottom by mistake. Easy enough to fix. Pry out the staple, set the piece aside for later. Time to put on the access door. Hmm, I know I don't want it flush against the side or there will be a big gap on the other side. This is where the paper directions actually were very helpful. I folded them in half and placed them between the door and the side to provide a spacer while attaching the hinges. I drilled a couple pilots, and then put in the screws with a regular screwdriver. Video showed using a cordless drill to drive in these screws, which is probably fine, but when screwing into particle board, I prefer to hand tighten so as to not strip out the screws. They went in very easy so it wasn't a big strain or time waster. The rest of the shell assembly went smoothly. At some point during this process, I put the feet into the pre-installed t-nuts. At this point, the cabinet is sitting upright awaiting the top. Hinges are pre-installed on the top and pilots are in the side panel (actually on the top edge). Grabbed the screws...wait, I don't have any screws. Apparently these screws are taking their tour of America with the missing cam posts. Rather than bug the fine folks at Dream Arcades, I decide to check my screw inventory. Guess what, I have about every size but 6x3/4, which seems to be about the right size for this application. It is now 3:00 and off to Lowes I go. (I'm sure if I'd have contacted support at Dream Arcades, they'd have offered to send out the screws, but I'm going to finish this today and you can never have too much spare hardware around the house). I get back from Lowes (and Wal-Mart for some other stuff), get some domestic stuff out of the way. By 4:30 I'm ready to get started again. I've added a tape measure and staple gun to the tool pile. I use the tape measure to verify that using the alignment holes, the top would be centered, and it was. For the first time in the project, I recruit the Mrs. to assist. I have her hold the top while I affix the hinge to the shell. This time I used the power driver to put them in most of the way, then hand tightened them. Also attached the Velcro (removed in a previous step). |
|
|
|
|
|

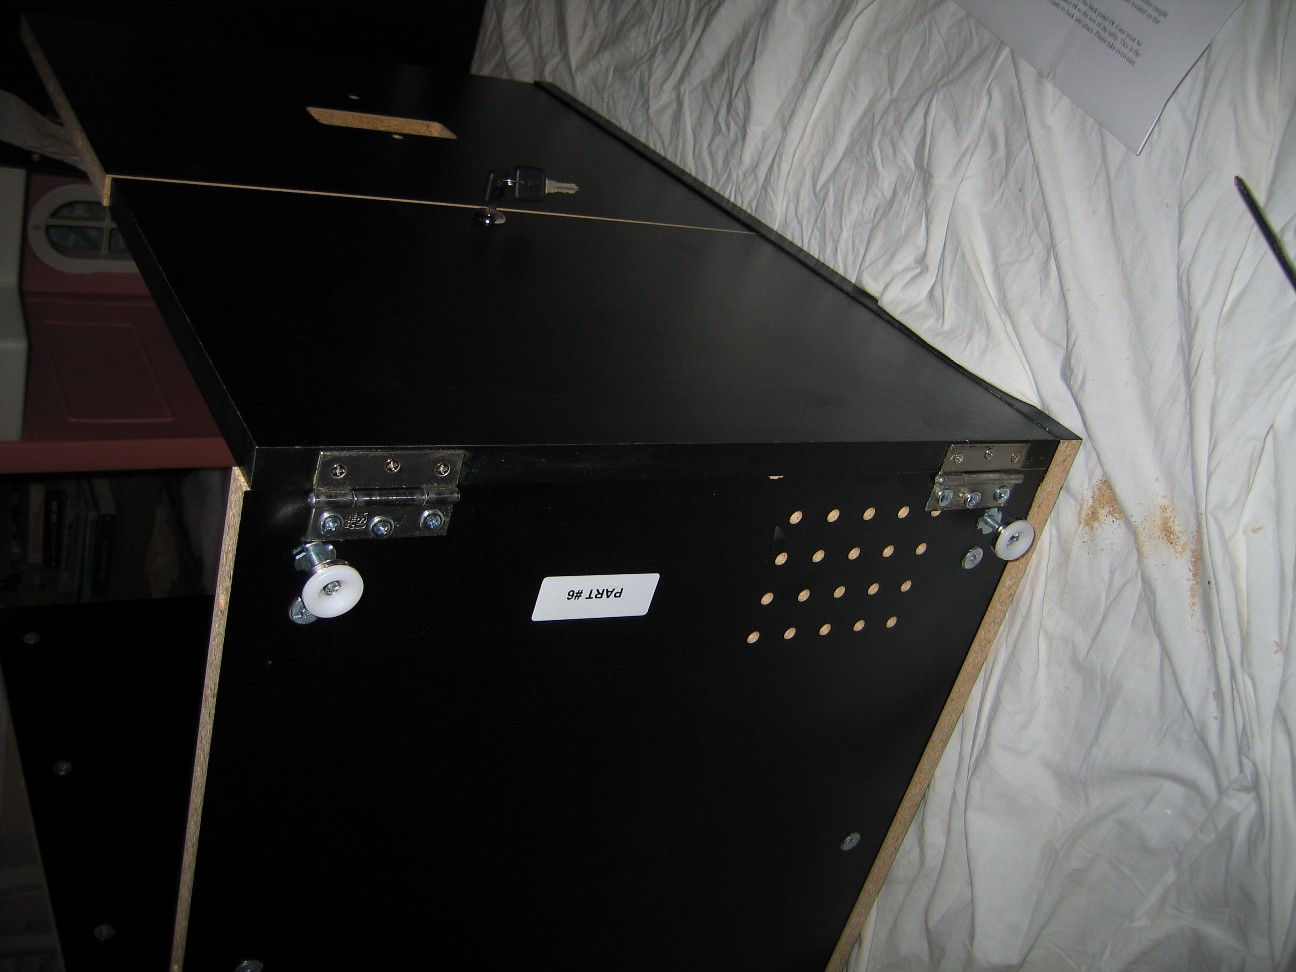
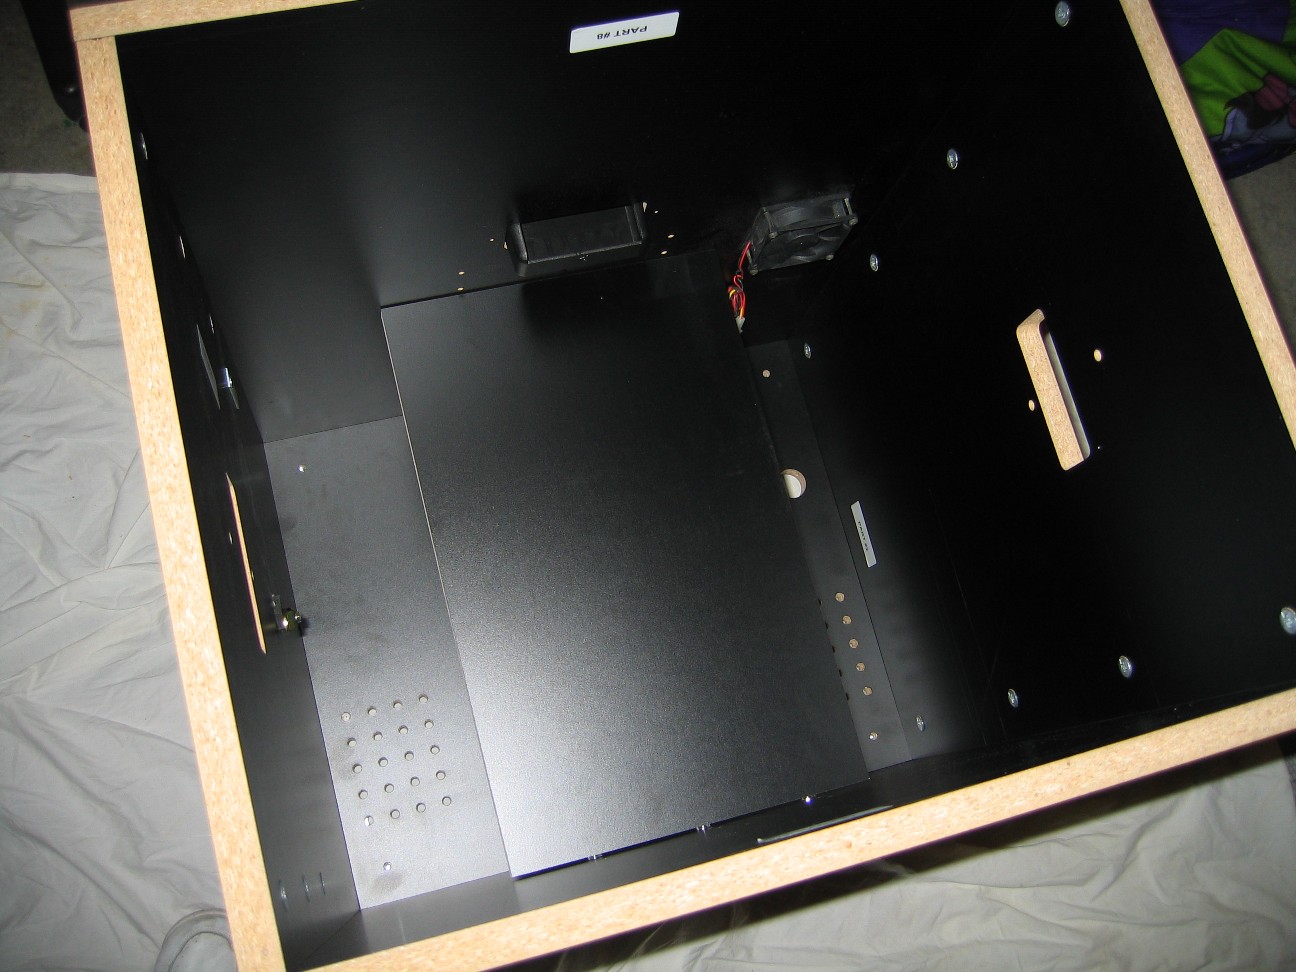
Top and Controls Oh wait, we are missing something. Still need to attach the control panels. Grab two bolts, and a CP, set it on the side, align the holes, insert bolts. Tighten carefully. Repeat on other side. Now we are done with assembly. Time check...5:00. So that was 90 minutes of actual construction time. And it could have been less if I wasn't taking a few notes and a few pictures. Forgot to mention the monitor shelf. Plenty of settings within the cabinet for this. I measured the monitor I was going to drop in here, found the hole that was closest to this, put in the 4 pegs, placed the shelf in place. That almost seems too easy. Am I missing something here? Nope. It was that easy. And when I got to installing the PC, the monitor set in there just fine. |
|
|
|
|
||


|
|
|
|
|


Hardware and Software
Now that it is built, time to have fun. I'd been messing with computer (I'm
enough of a geek and packrat that I was able to muster enough spare parts to
build a MAME capable PC for this project...AMD Duron 850, 512mb ram, 8g HD,
32mb video card, SB Ensoniq sound card) while waiting for the shipment and
replacement parts. Finally found the right video drivers that allowed
monitor rotation. MAMEwah is my
front-end of choice. I'd gotten some pointers on this site for making it
work, however I was having problems getting everything working on a rotated
monitor. I finally got it working on the now vertical monitor using the Mr.
Salty 480x640 skin.
I'm running MAME 0.63 which is fine for the games I'd be playing. I was having some issues with horizontal games turning when launched. I eventually resolved this by setting the resolution (in MAME's mame.ini) to 480x640 and telling it to not keep the aspect ratio. I know that will annoy the purists, but my kids and I won't care and that is what counts. I had some problems getting my filtered lists to work. I eventually figured out the version 0.62 catver.ini file I was using wasn't in the best shape. All the roms were there, but they weren't sorted. I grabbed the latest version from catver.com, manually added in the roms that were renamed between 0.62 (I know, I'm using MAME 0.63, but a 0.62 romset) and current. Since I'm only using an 8g harddrive and my CPU is somewhat limited, I had already deleted off all the ROMS from versions beyond 0.37 and all games flagged as Mature or Adult (since my kids will be playing on this).
Seems I've diverged a bit from my discussion on MAMEwah
and filtered lists. Once I got a sorted version of catver, filters began
working as I expected. I think I have 8 custom lists, 7 filtered and 1 of
manually added favorites. I've not added any PC games or anything fun like
that to MAMEwah, but that might change in the future.
Summary
Note: I provided Dream Arcades with a draft of this review and their
comments are indicated by a [DA:].
Cocktail Cabinet Kit
-
Very well packed
-
Very easy to assemble
-
Seems very sturdy
-
I-PAC based controller
Pros:
-
Parts bag broke open in shipping [DA: "We've done this (shipped parts with cabinet instead of controller) for a year now and have only had one other bag break open. Strangely it was right around Christmas as well, so I think it's just a rough handling/weather issue."]
-
Velcro was attached at wrong end of side piece [DA: "I think your issue with the Velcro was probably due to a new employee, or just the holiday rush. Possibly both."]
Flaws:
-
Nothing jumps out at me
Cons:
-
Add a listing of suggested tools for assembly to the directions
-
Add a parts inventory list to the directions [DA: "I'll also look into the possibility of getting parts/tools list. We do this for the upright, just because it's more complicated, but it's something we could do for the cocktails as well."]
-
Ship the hardware bag in the box with the controllers [DA: "We actually used to include the parts bag with the controls, but we sometimes ran into an issue where the table would show up a day (or two) before the controls. You can imagine if the table shows up on a Friday you don't want to wait all weekend to put it together (for the controls and parts bag to arrive). So we started including the parts with the main table"]
-
Option for an external PC power switch (similar to the motherboard power lead you can get from Arcade-in-a-box)
Potential Improvements:
-
Red button is ESC. With kids, it is pretty easy for them to hit that button. I've reprogrammed P1+Red to be ESC and Red to be Pause
-
Edge of access door hits on the ground so I cannot open it fully. My basement floor isn't level so the leveler on that end sits a bit low. Once I get an external power switch added, this will be a non-issue since I should rarely need to open the cabinet at that point.
-
Buttons 1-3 were top row of control panel. Since most cocktail friendly games use 3 or less buttons, I remapped the buttons so B1-3 are the bottom row instead.
Annoyances: (These are personal to me and do not reflect on the product)
-
At some point, I may invest in a smoked, tempered glass top. I understand that is a factory option as well. [DA: "we do offer a glass upgrade, but it ships in a separate oversized box. Usually you can take your acrylic top to a local glass shop and save on the shipping costs. So, sometimes we do ship the glass, but most of our customers who opt for glass just get it locally."]
-
I will likely add an external power switch.
Future Plans:
MAMEwah
-
Does what it is designed to do very well
Pros:
-
A bit tricky to configure (actually the only thing that really set me back was trying to figure out why filters weren't working as expected...didn't know that catver needs to be sorted or something along those lines)
-
Can't figure out how to turn off the full (main) list so only filtered lists show.
Cons:
Final comments. If you are in the market for a cocktail cabinet that
is sturdy and easy to assemble, give a Dream Arcades cocktail a serious
look. If their cost seems high, think about the following...you don't need
to invest in any special tools and you don't need to invest much of your
time (I had a fully built cocktail cabinet in 90 minutes).
Additional Pictures


 |


 |
Links
Retroblast Review of the Dream Arcade
Cocktail Cabinet
Build Your Own Arcade Controls Forums