ArcadeCab
My custom control panel
My Control Panel
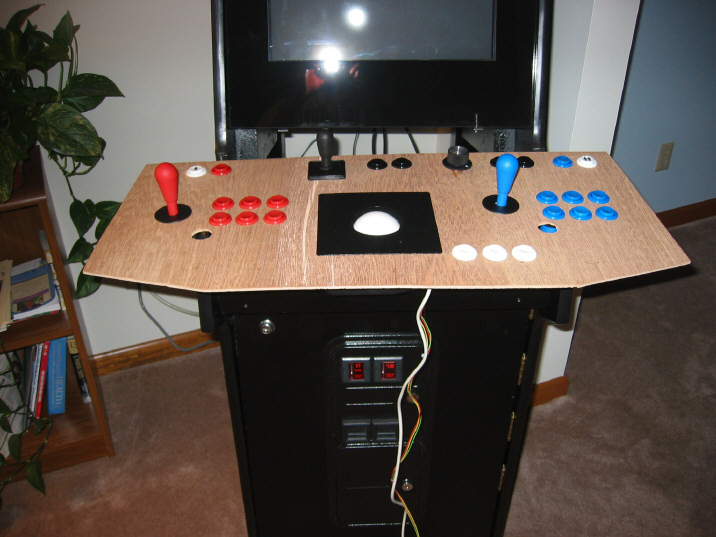
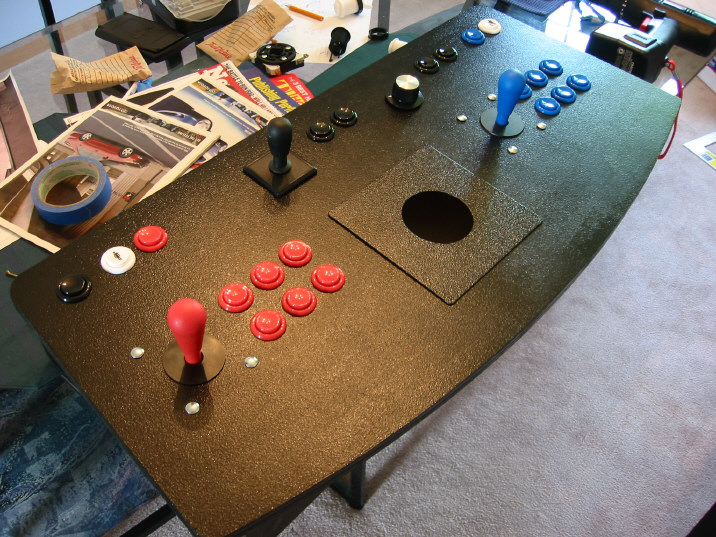
I didn't want my controller to overpower the cabinet by being too large. However, I did want to include everything needed to play my favorite games. My household plays a lot of 4-way games so that control had to be comfortable to use for long lengths of time. The Oscar spinner was included for a very small pool of games so its location is not optimal for extended play, as you might notice. Overall, I really liked to way the controller turned out.
This page shows a simple progression. Click any picture for a larger view. I used an Ultimarc I-Pac2, 2 Happ Competition 8-way joysticks, 1 Happ Universal in 4-way mode, Happ Ultimate Horizontal pushbuttons, Oscar's Pro spinner, and an Imperial 3" PS/2 trackball.
 |
 |
 |
||
|
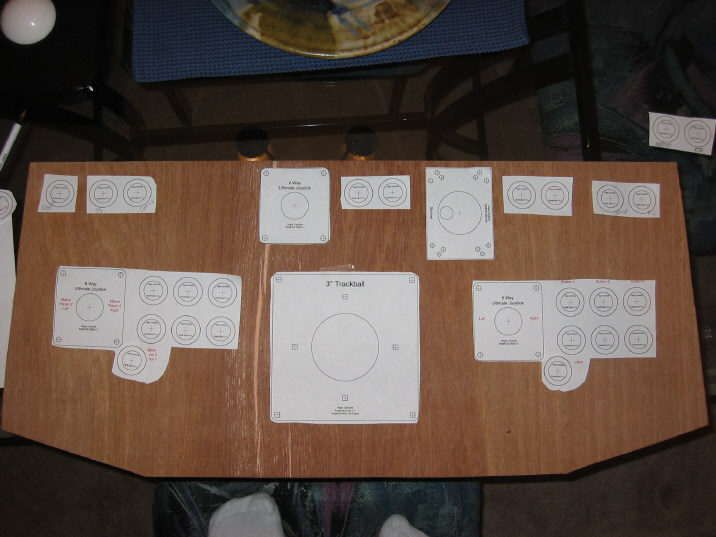
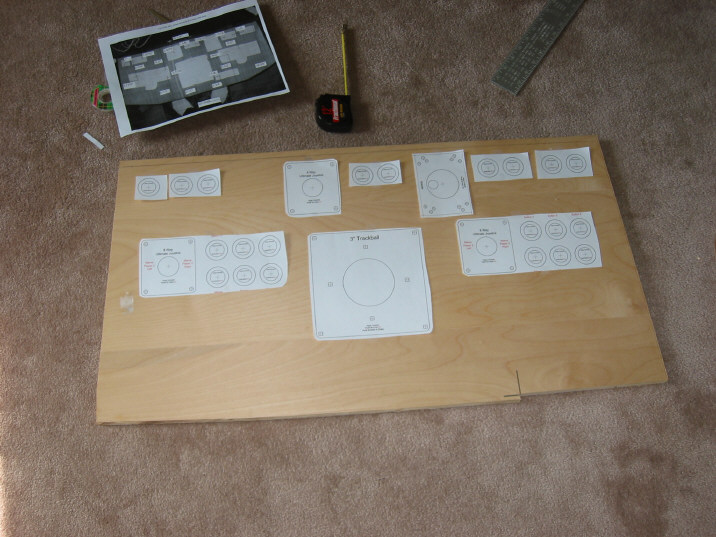
I laid out the templates on 1/4" plywood cut to my dimensions. Had the ply lying around the garage. I used this for the templates. |
I attached my controls and set it on my cabinet to get an idea of size and how it might eventually fit. The final design changed from this one. |
I discovered that the 7th button on each side was going to give me fits connected to the cabinet, so I eliminated it. |
||
 |
 |
 |
||
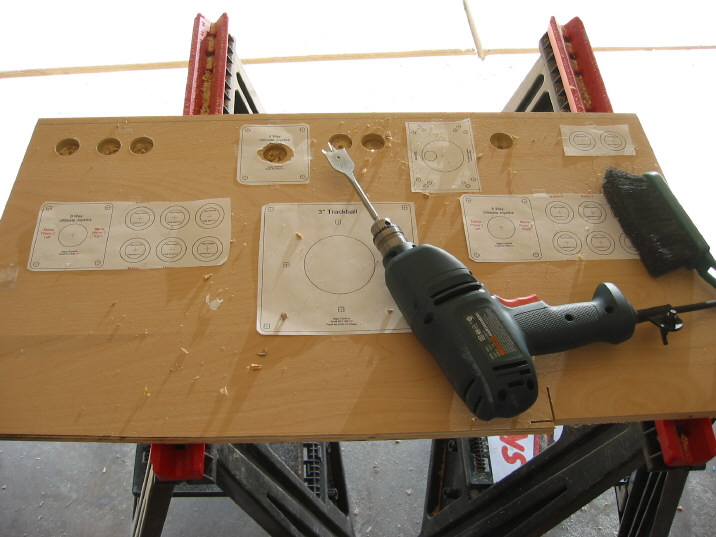
| I had a scrap of 3/4" birch plywood left from my cab, which was just the right size. | Laying out the control templates of the new board. I made final adjustments at this time. Note I removed the TB buttons and the 7th player buttons. | Beginning to drill all the holes. I just used a 1-1/8" spade bit, letting it cool every five or six holes. It chipped out some, but no one can see. | ||
 |
 |
 |
||
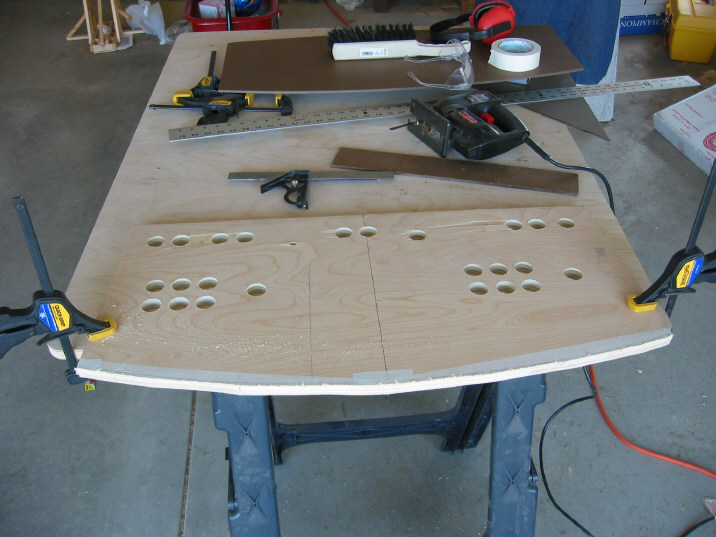
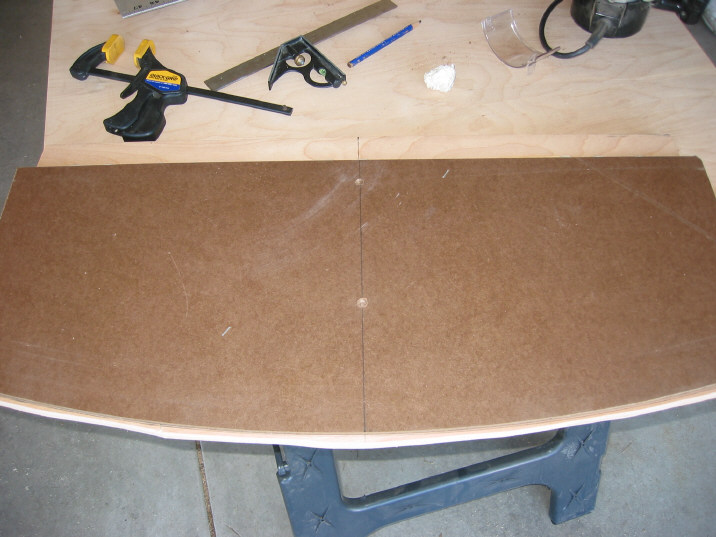
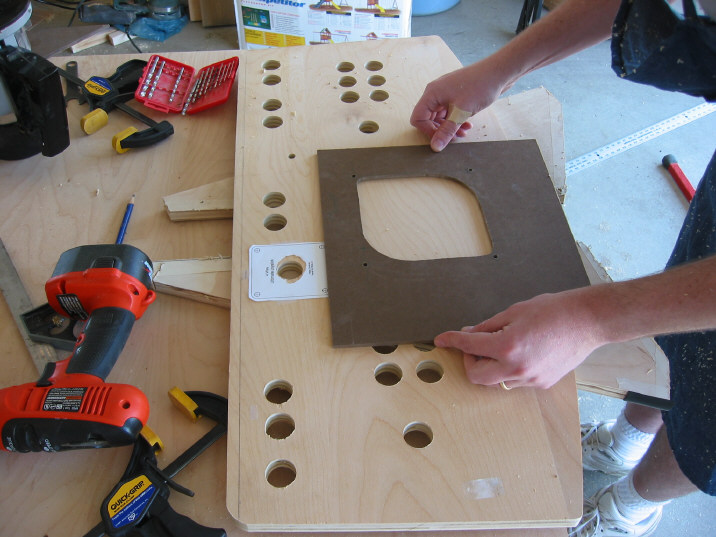
| After the panel has been rough cut. | Ready to flush-cut the front face with a template my friend was kind enough to construct for us. This is the underside. | Another template my buddy made. That's him posing with the trackball template (and band-aided ouchie). | ||
 |
 |
 |
||
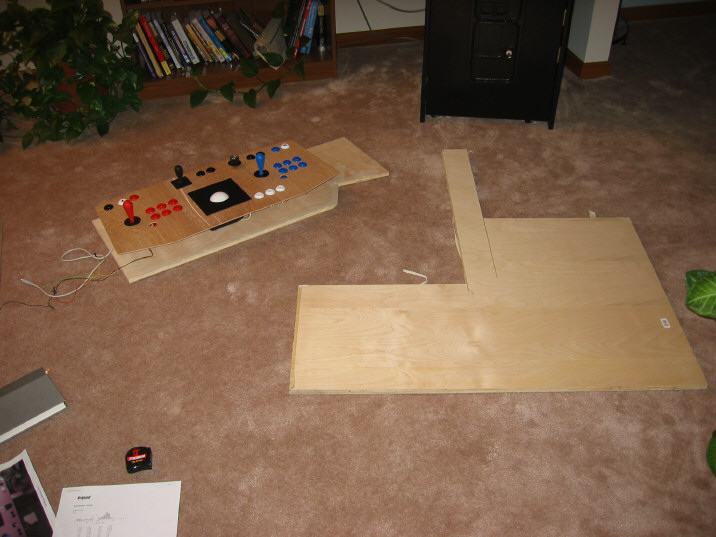
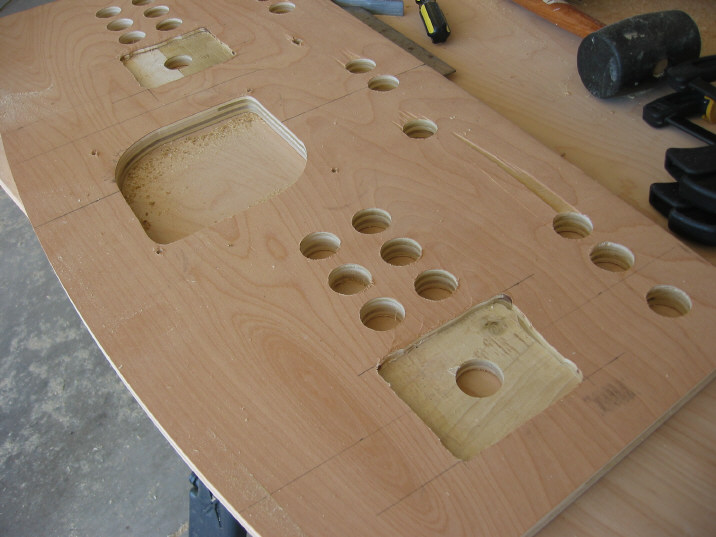
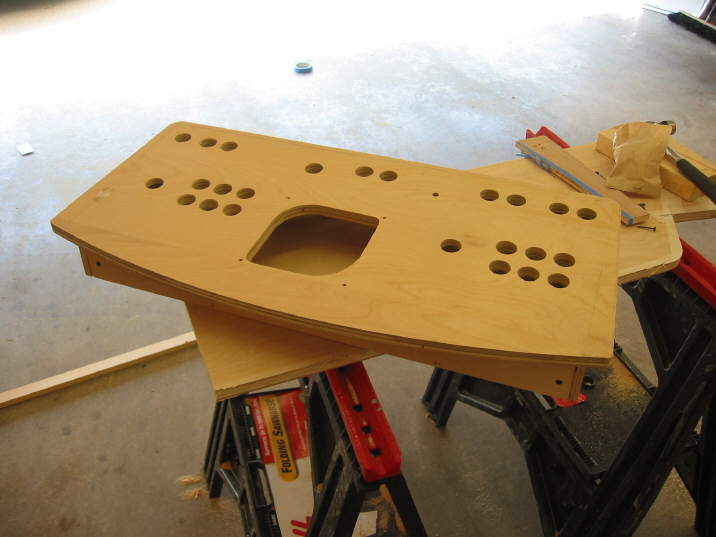
| We routered out the backside of the joysticks a little over 1/4". Not the cleanest square you'll ever see but worked well. | The top resting on a simple base constructed out of 1/2" birch ply. Overkill, but I wanted the same finish as the cabinet had. | I wanted to get an idea how large it would look in place and to also see where to make my underside cuts. | ||
 |
 |
 |
||
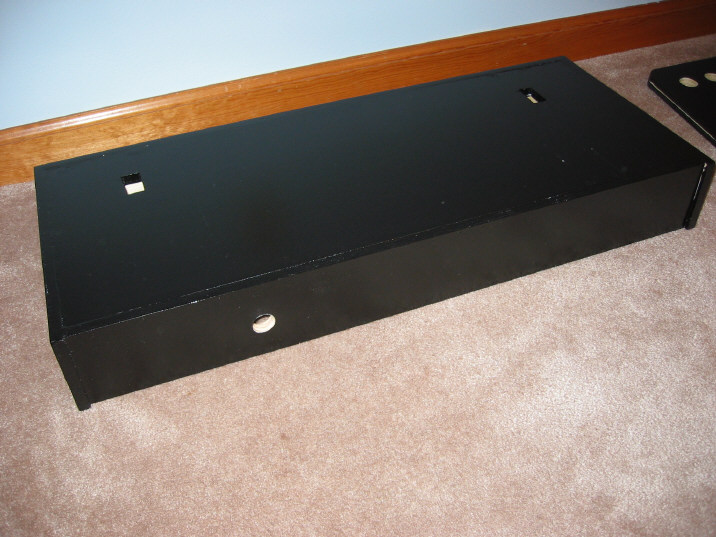
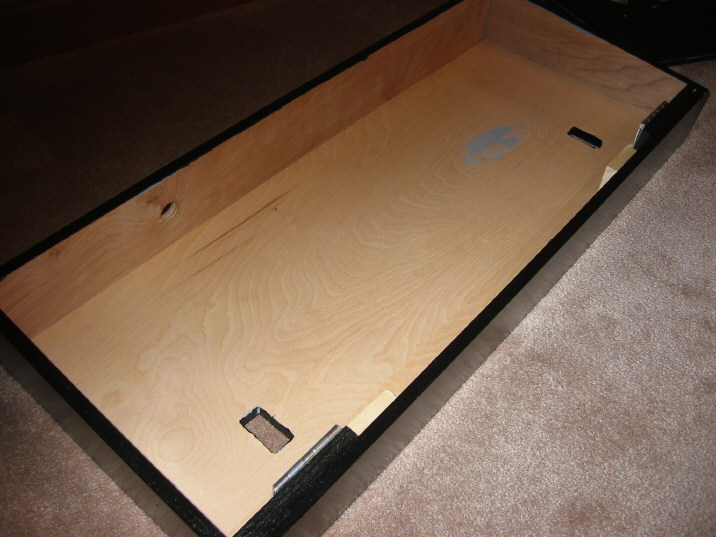
| The painted CP. No T-molding has been installed yet. | This is the underside of the base. Note the slots that will allow it to fit onto my cabinet arms, nice and snug. | An inside view that shows the base slots and the 3/4" hole out the back for wires to exit. | ||
 |
 |
 |
||
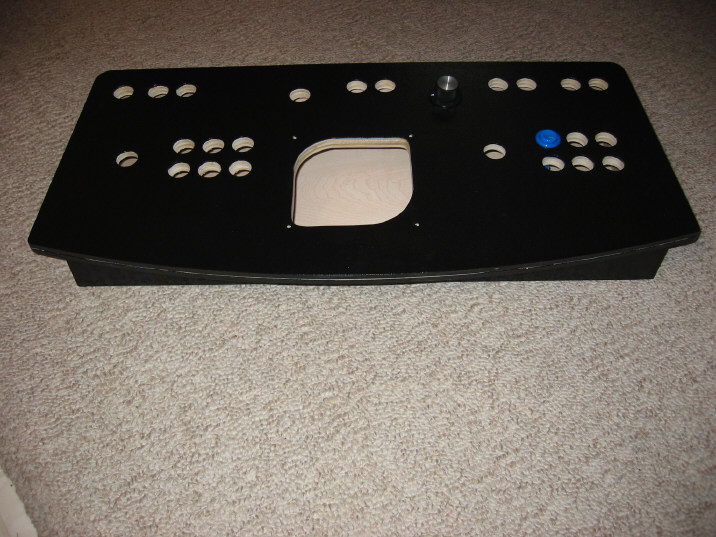
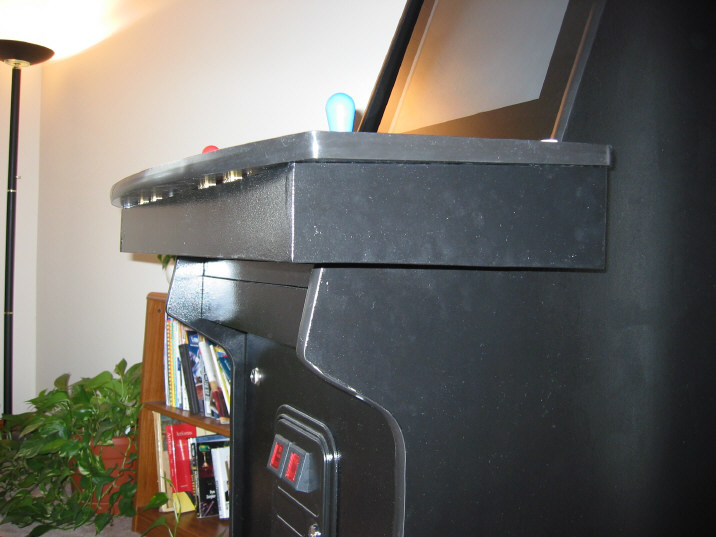
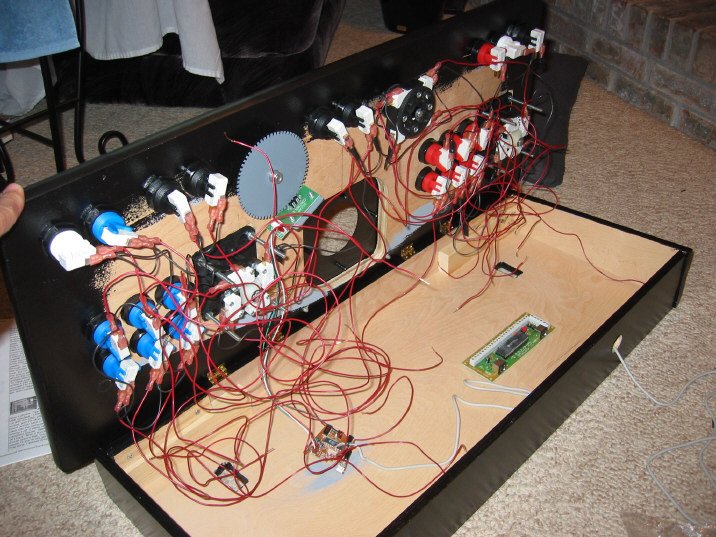
| The CP with everything installed except for the trackball. This has 3 coats of paint on it. | The CP in place. Black paint really shows the fingerprints with a flash. Notice how it sits nicely in place. | Beginning the wiring. What a mess. This was my first experience with wiring anything. This shows the hinges that allow it to open at the front. | ||
 |
 |
 |
||
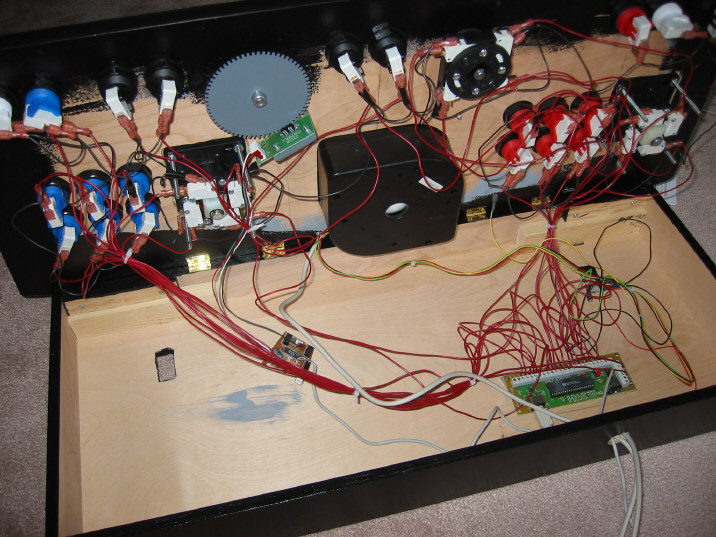
| Wiring is further along. I tried to organize it some. | Trying it out for the first time with a little Golden Tee II. The next pic shows how I secured the CP on the backside to keep it from flipping up during hard play. | I secured the CP in place with two hooks, one on either side. I first dipped the hooks in Rubberize-It! to keep rattling to a minimum. | ||
 |
  |
 |
||
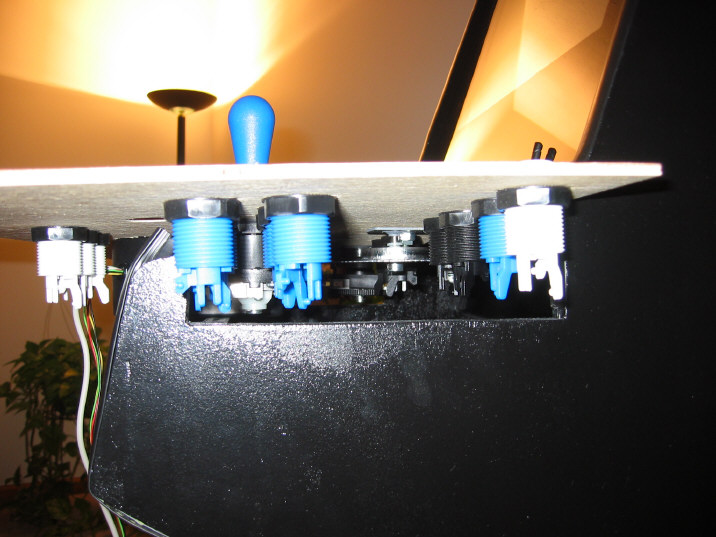
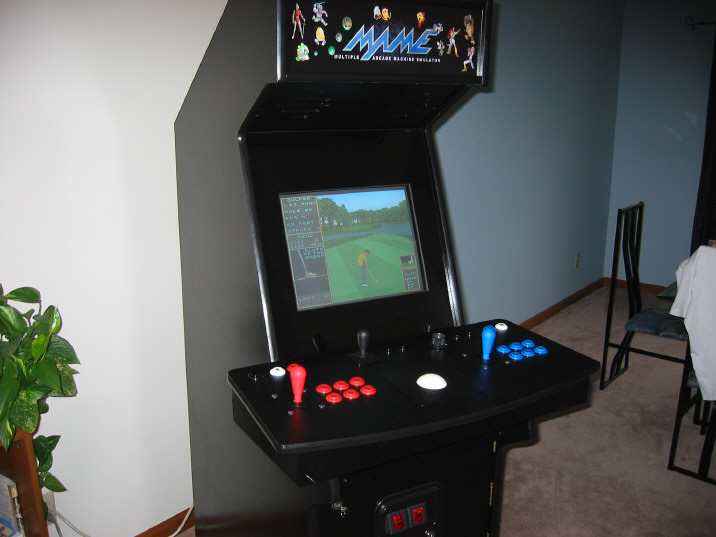
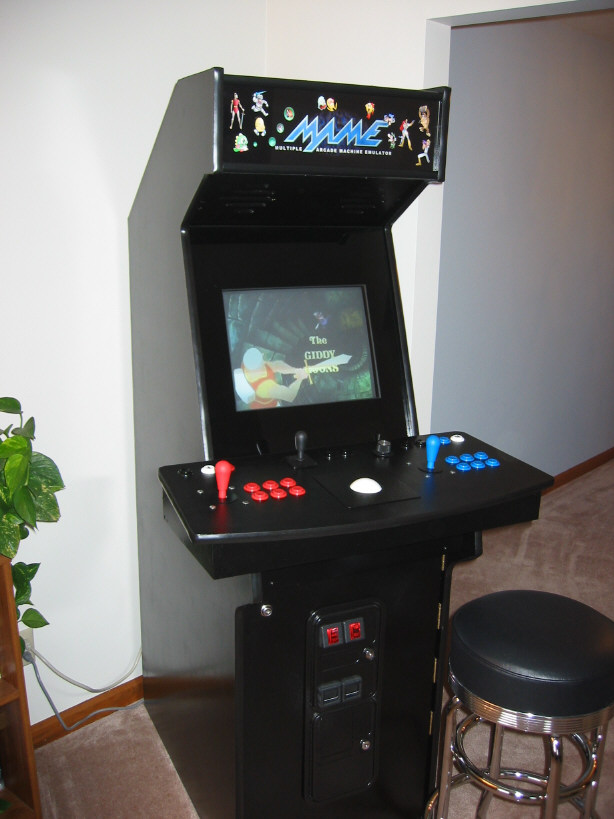
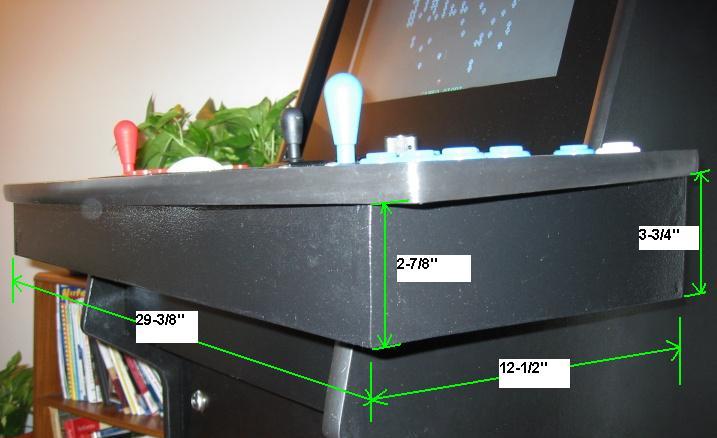
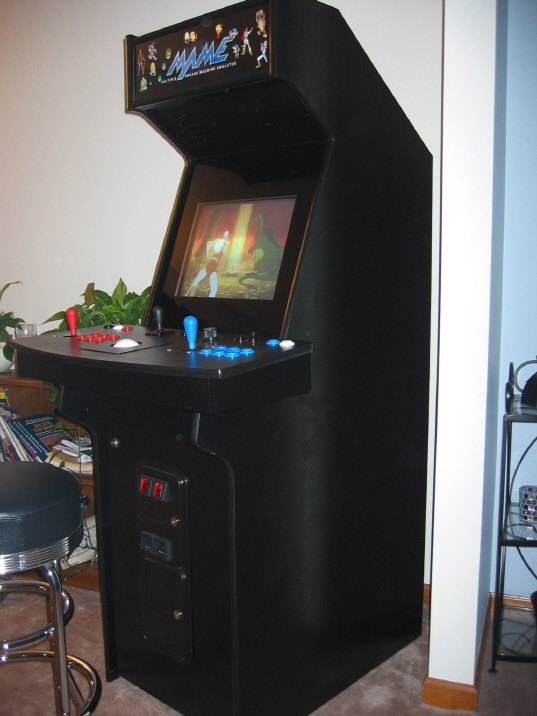
| A picture of the cabinet in its current state. | The dimensions of the controller are included above. Not the prettiest but should help. | A top view of the controller. Left and right mouse buttons are wired as Player-1's 5 and 6 buttons. | ||
 |
 |
 |
||
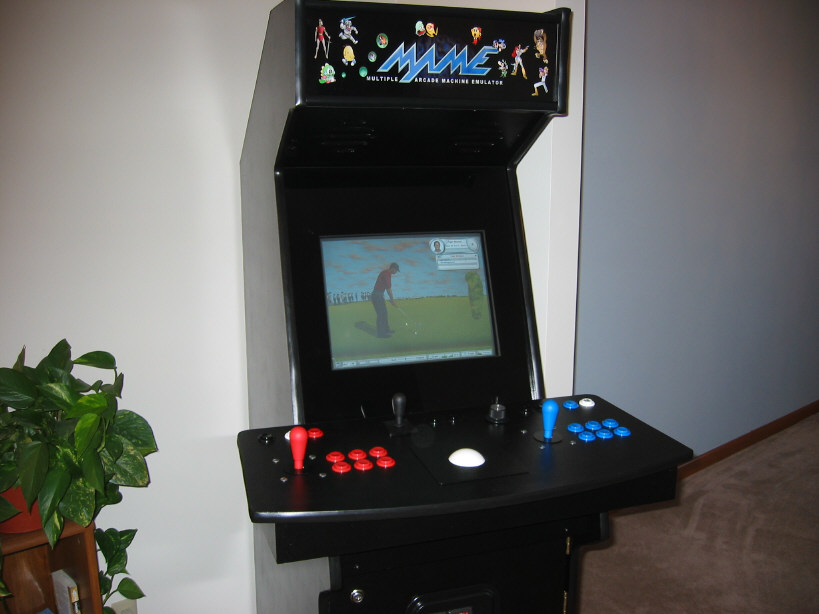
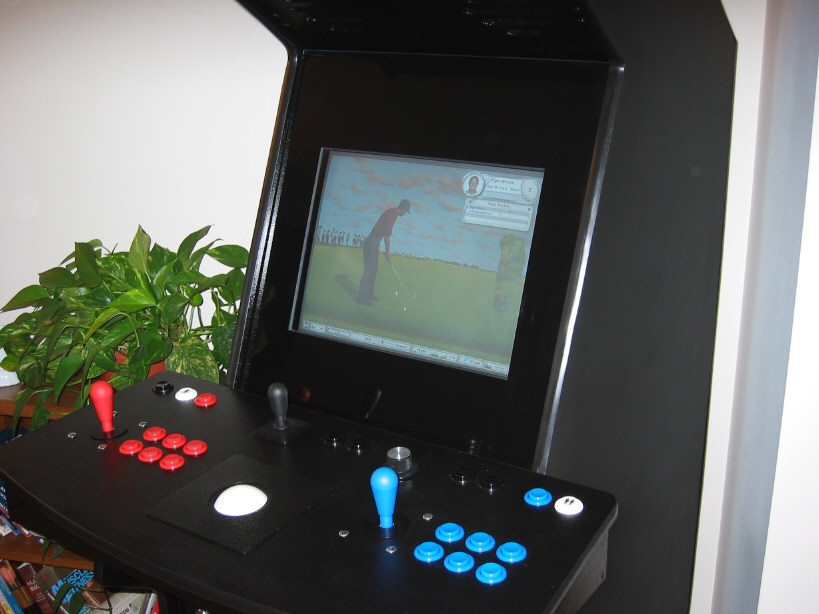
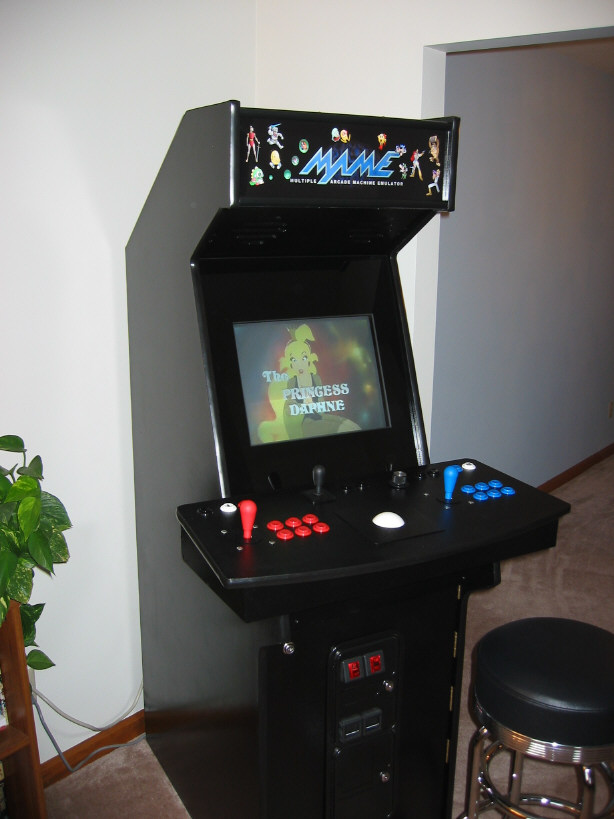
| Tiger Woods 2003 has been getting some play time. Is very easy to play with the trackball and the left mouse button. | Another view of TW2003. This is a serious time waster. | Of course, Dragon's Lair (via Daphne) gets some of my attention. One of the reasons I built this cabinet. | ||
 |
 |
 |
||
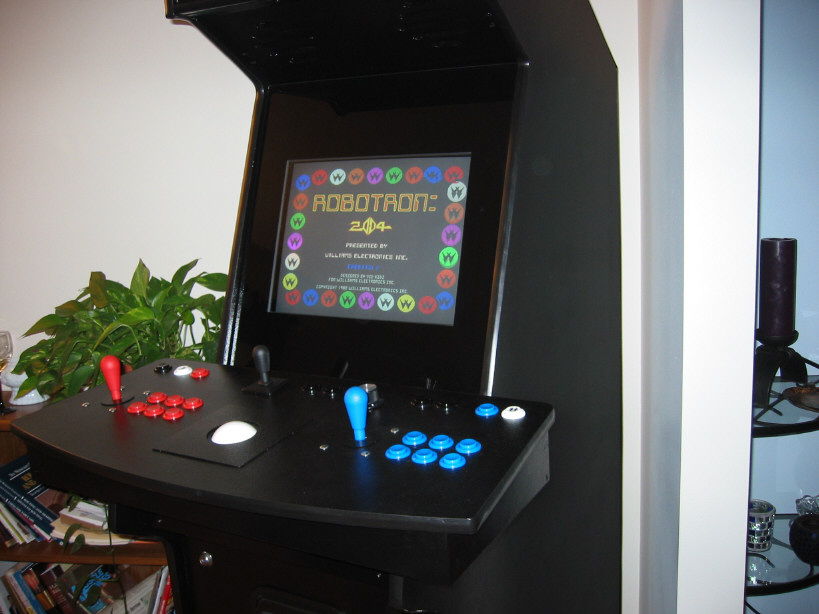
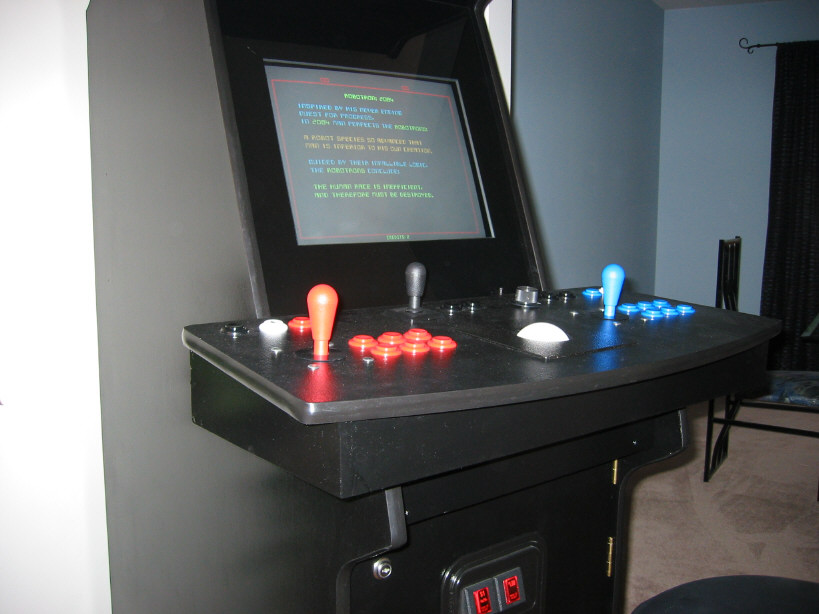
| Dragon's Lair again, from a different view. | Robotron 2084 gets a fair amount of play. It is a real adrenalin rush. | Robotron, again. | ||