ArcadeCab
Dream Arcades Cocktail Power Switch Mod
Dream Arcades Cocktail Power Switch ModA Simple Mod- By Steve Welander (BYOAC: GadgetGeek)
I decided that my Dream Arcades Cocktail needed a minor enhancement. It
needed an external power switch for powering up the computer. If my
motherboard supported a "keypress to power on" option, this would not have
been necessary. I thought about this for a while, mostly trying to figure
out the optimal location for this switch. I finally decided that on the side
under the player 1 control panel seemed like a good spot. Convenient, yet
not highly visible, and not likely to get accidentally hit during gameplay.
The parts necessary are pretty basic. A push button, microswitch, and
motherboard power connector. I used a standard Happ black pushbutton and the
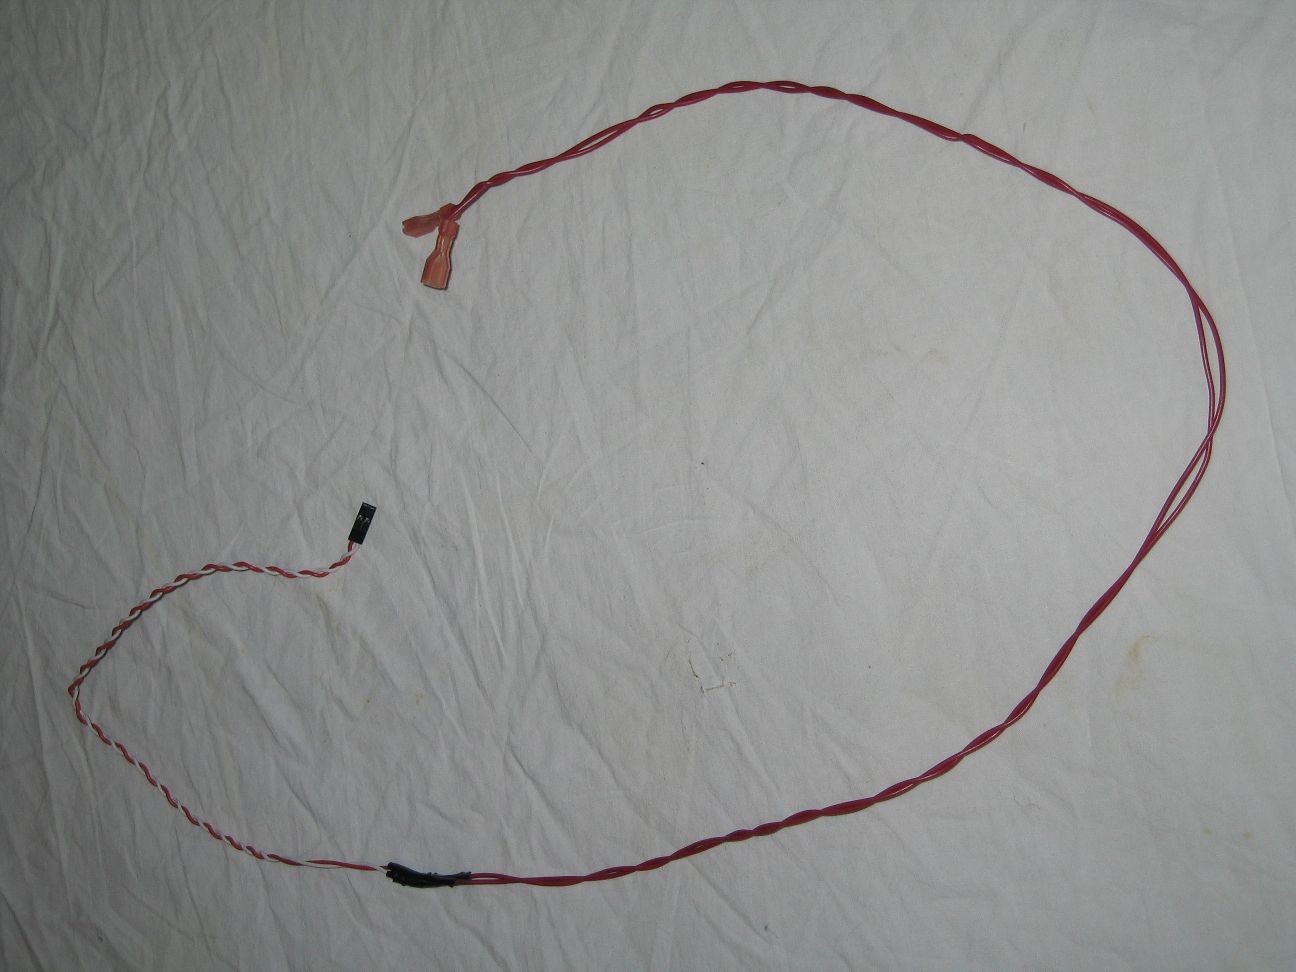
microswitch that came with the button. For the motherboard power connector,
I dug through my parts box and found an old HDD LED cable. It had the right
connector on it, so off came the LED, extended both wires by about so much
and put some crimp connectors on the ends (Pic 8).
The tools I used for the cabinet mod were:
|
|

In theory, I should have removed the computer and monitor
from inside the cabinet before doing all this. But I was too lazy to do
that. Instead, I opted to just remove the player 1 control panel (Pic 2). With that
removed, I clamped the sacrificial backer board behind the cabinet side (Pic
3). The
purpose of this was two-fold. First, to keep the backside from chipping out,
and secondly, to keep sawdust out of the inside of the cabinet. Then I
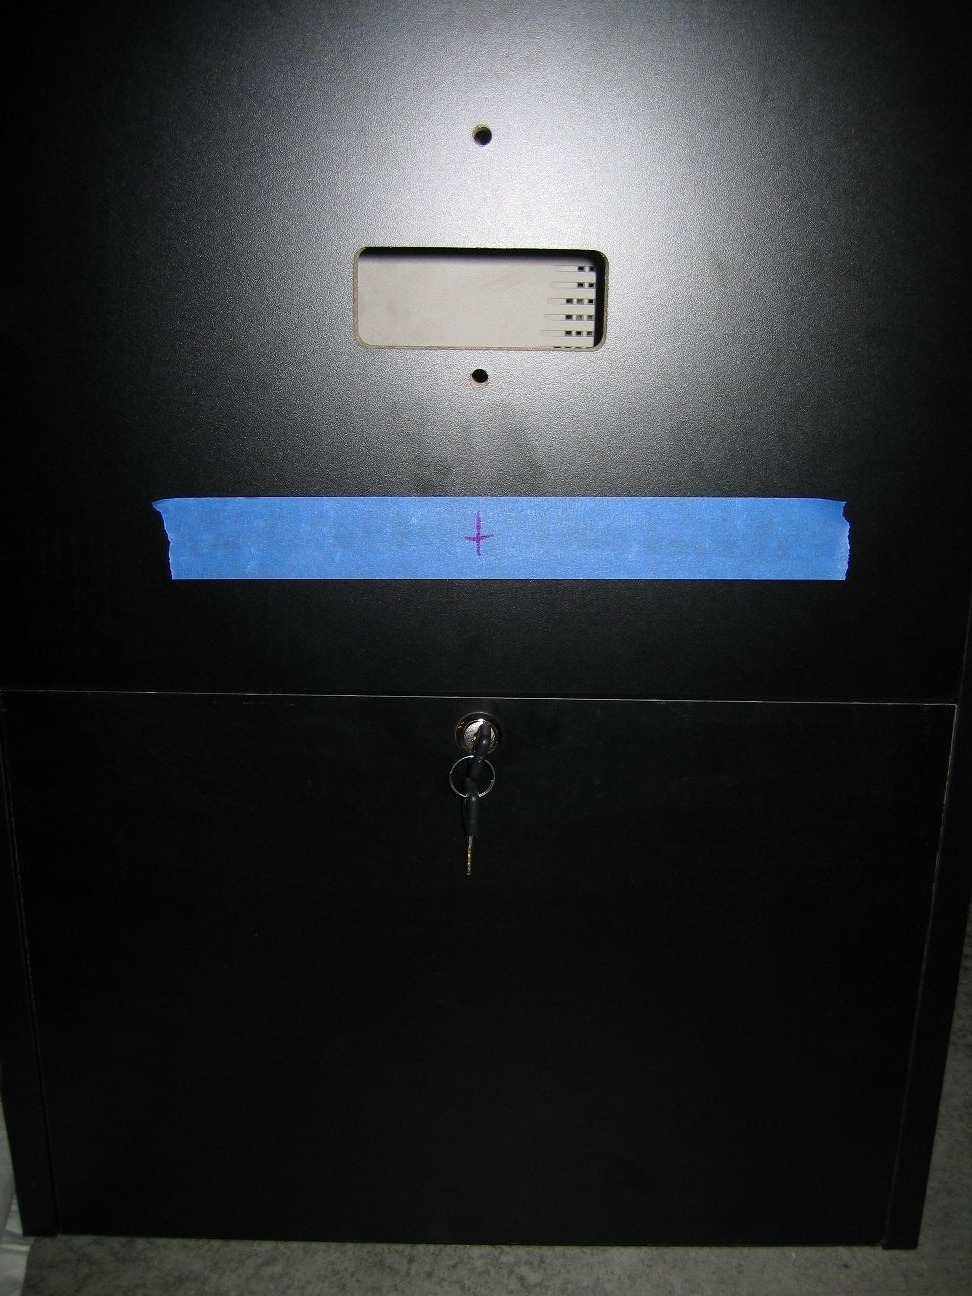
located where I wanted to put the button (I opted 16" up from the bottom),
put on some masking tape and marked out the center. Next I taped the plastic
grocery sack over the opened access panel to keep sawdust out (Pic 4). Finally I
taped the end of the shop-vac hose near where the hole was to be (Pic 5). Safety
goggles and hearing protection in place, shop vac turned on, start drilling.
My, that was easy. Too easy.
|
|
|
|
|
|


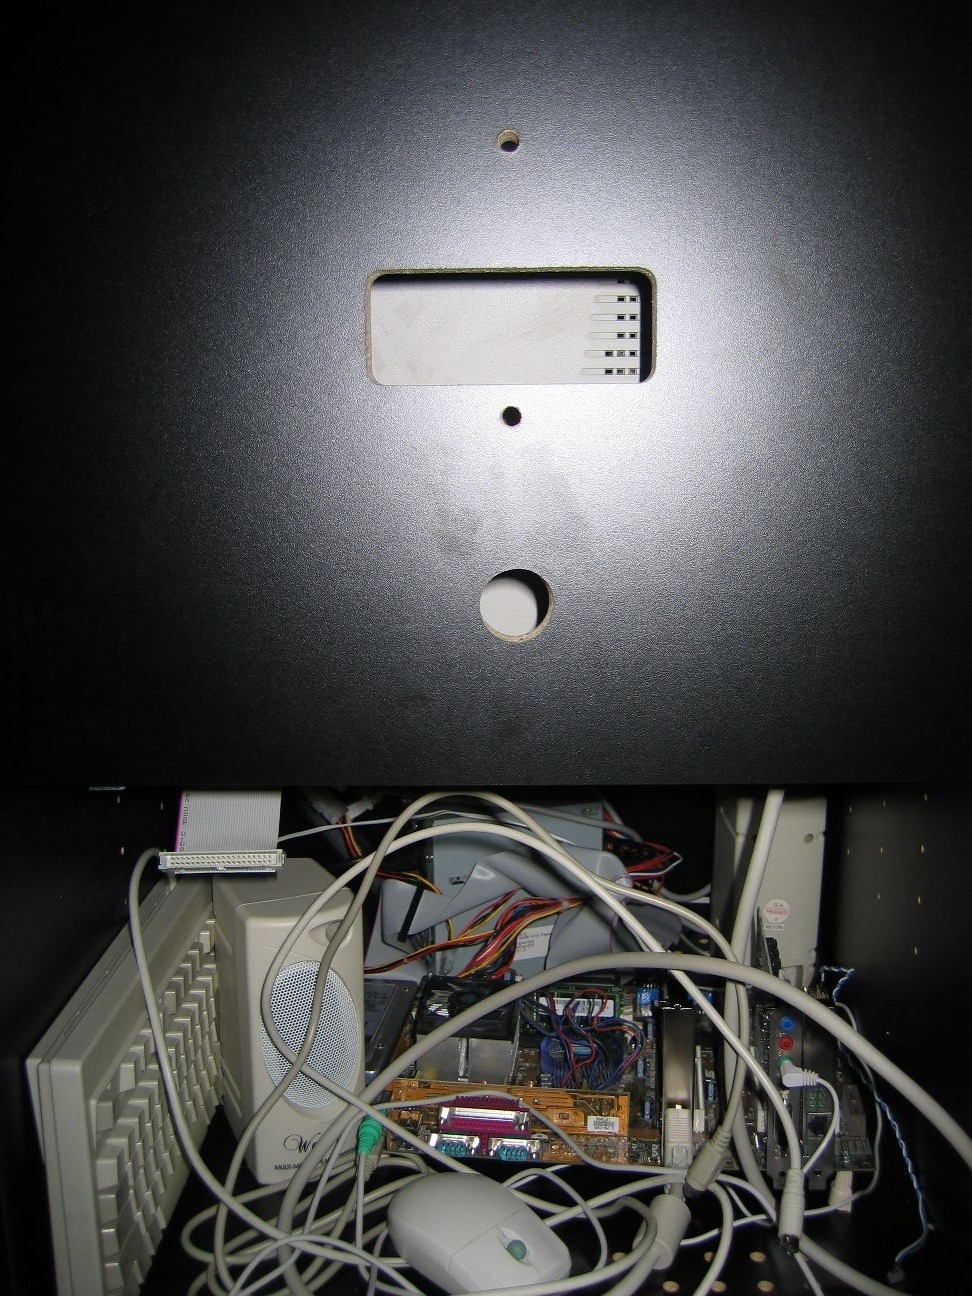
Unclamped the board and tested out the pushbutton. Fits great. Cleaned up the tape and what not, put away the tools, connected up the modified motherboard connector, and I was done. Reattached the control panel and I was ready to play.
|
|
|
|
|

No need to open the cabinet to start it up any longer. A quick and easy
modification that looks like it was part of the original design.

The finished product!
Links
Steve's Dream Arcade Cocktail
Review