ArcadeCab News Archive
2015–2020
Original ArcadeCab updates from this period, preserved as part of the site's history.
10/27/2020
Suzanne C's Megacade
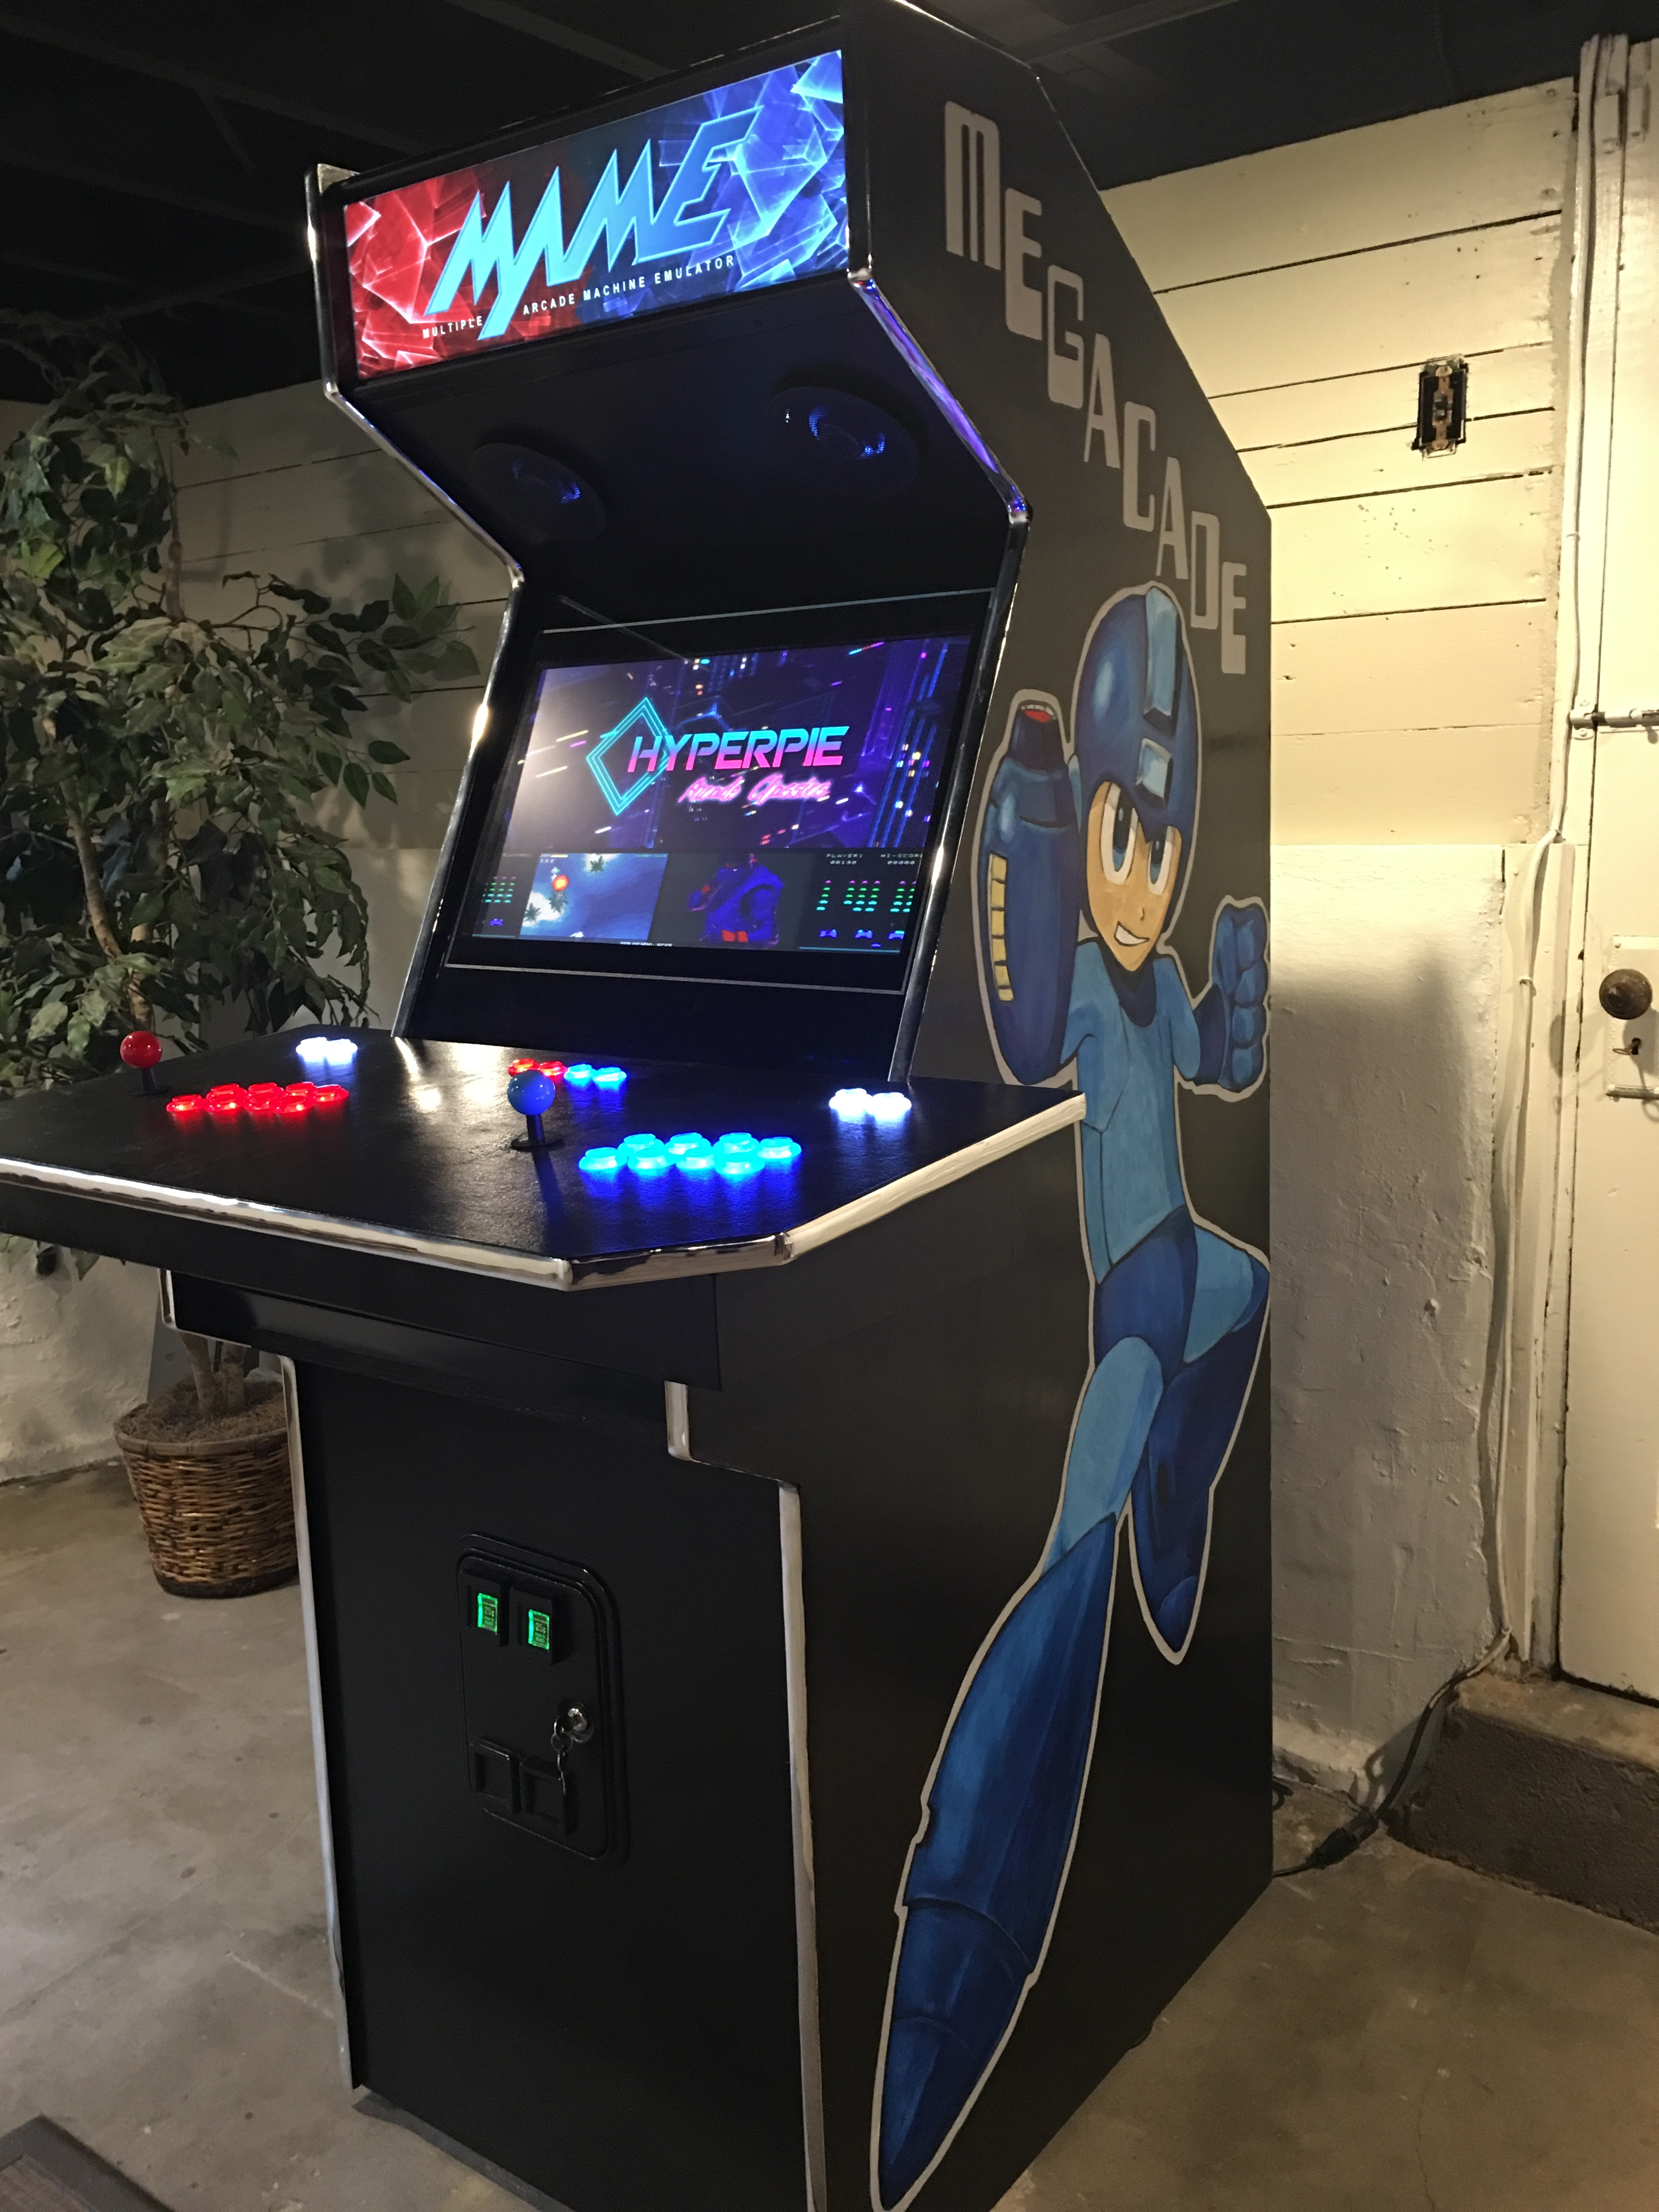
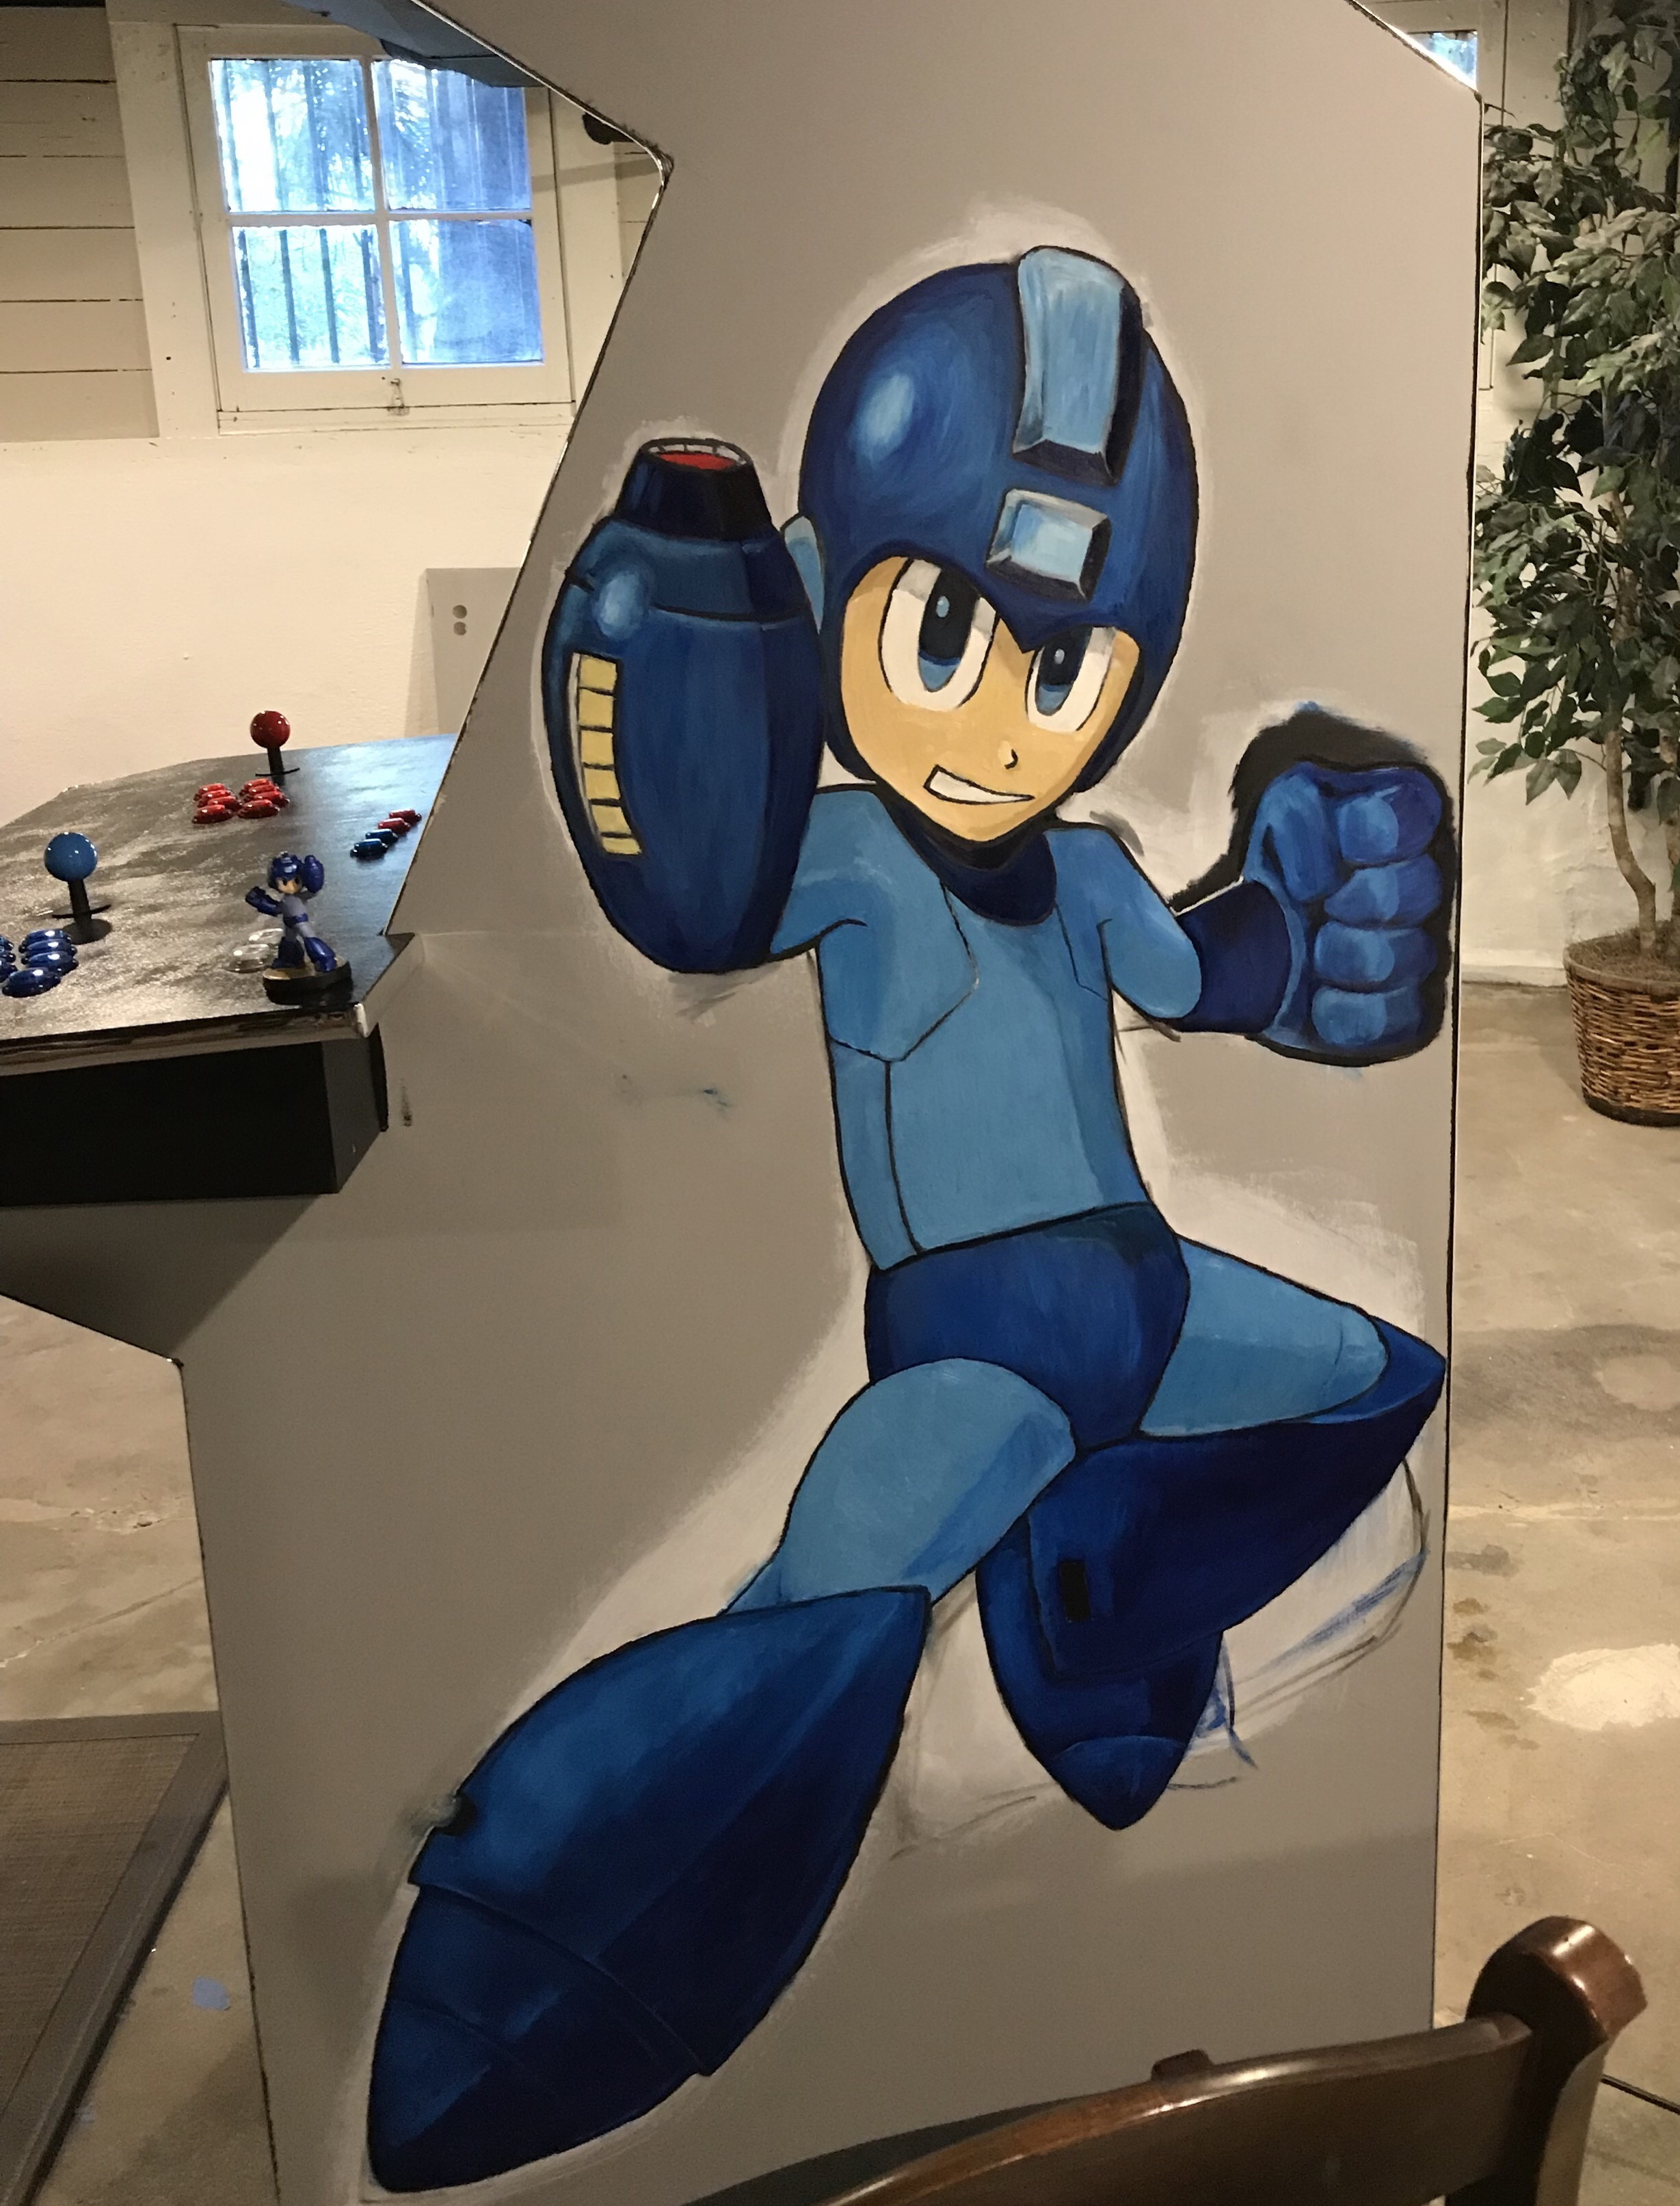
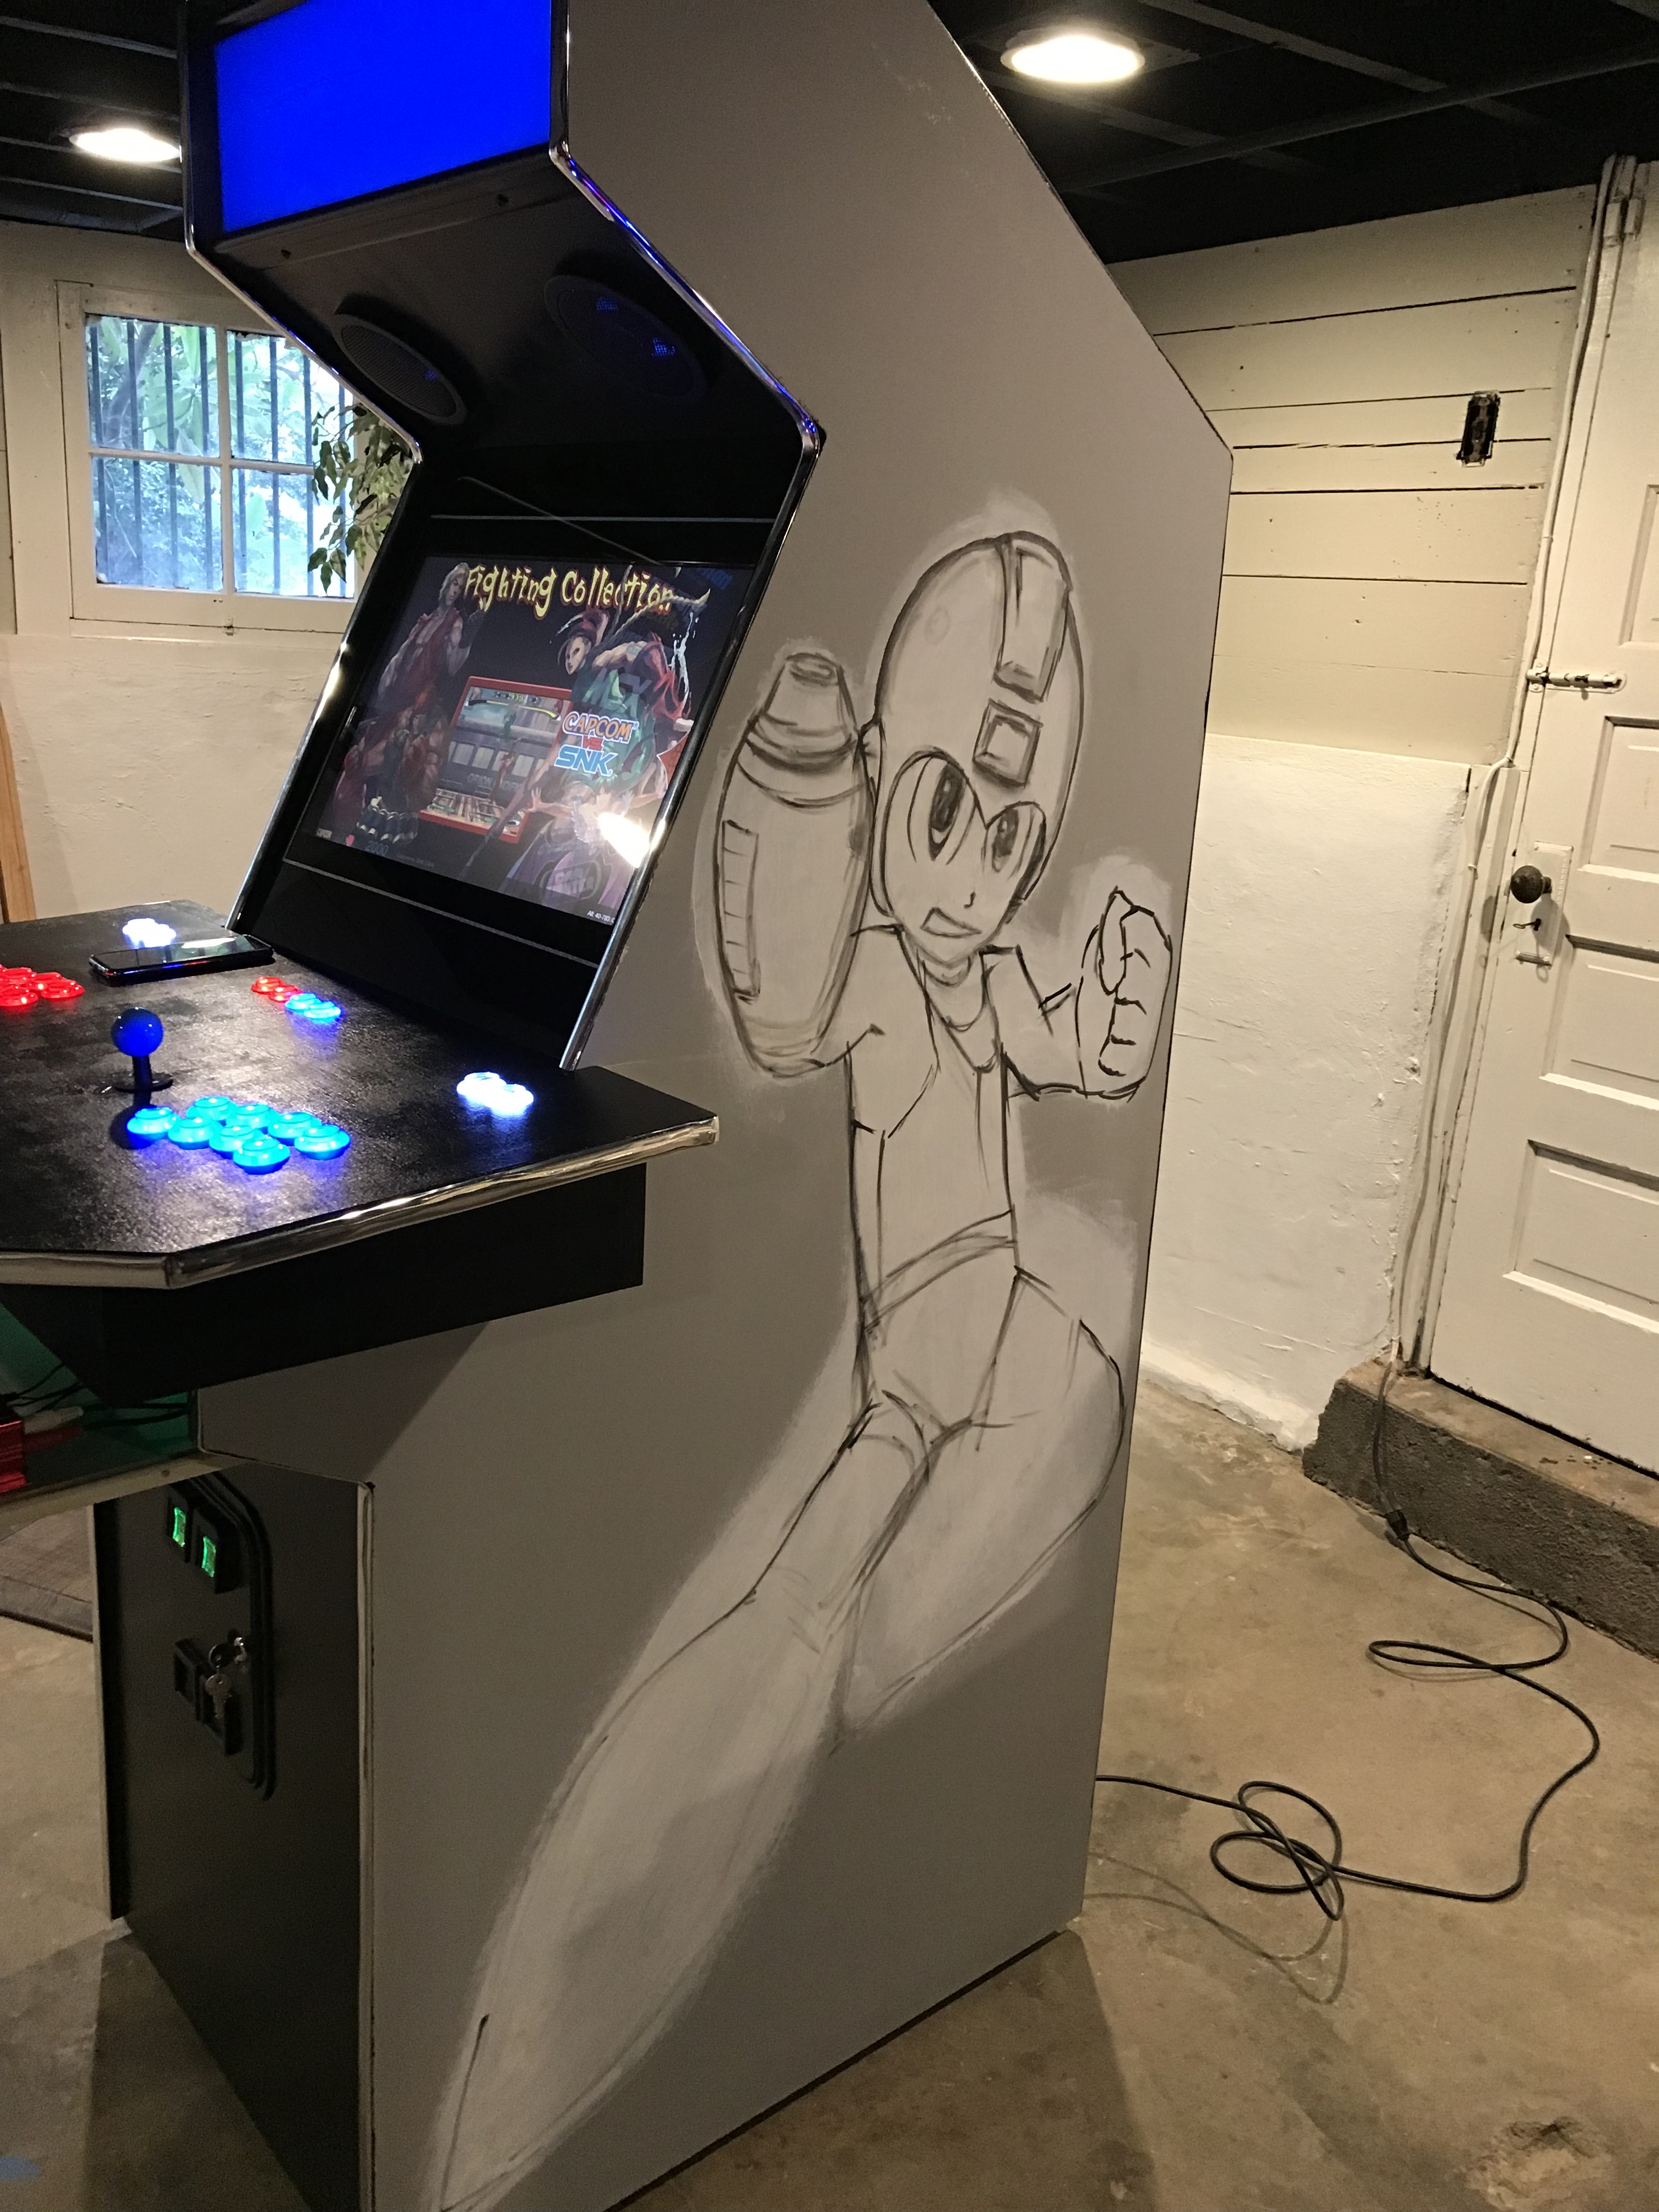 Suzanne sent me the pictures of her Megacade and the first thing I noticed was the fantastic sideart she painted herself. Incredible!
She and her wife used the plans to the cabinet earlier in the year (2019), with a few modifications of their own. They used a Raspberry Pi and an old monitor they had lying around.
I have included more of the progress pics on the Visitor
Page.
10/26/2020
Greg B's Arcade
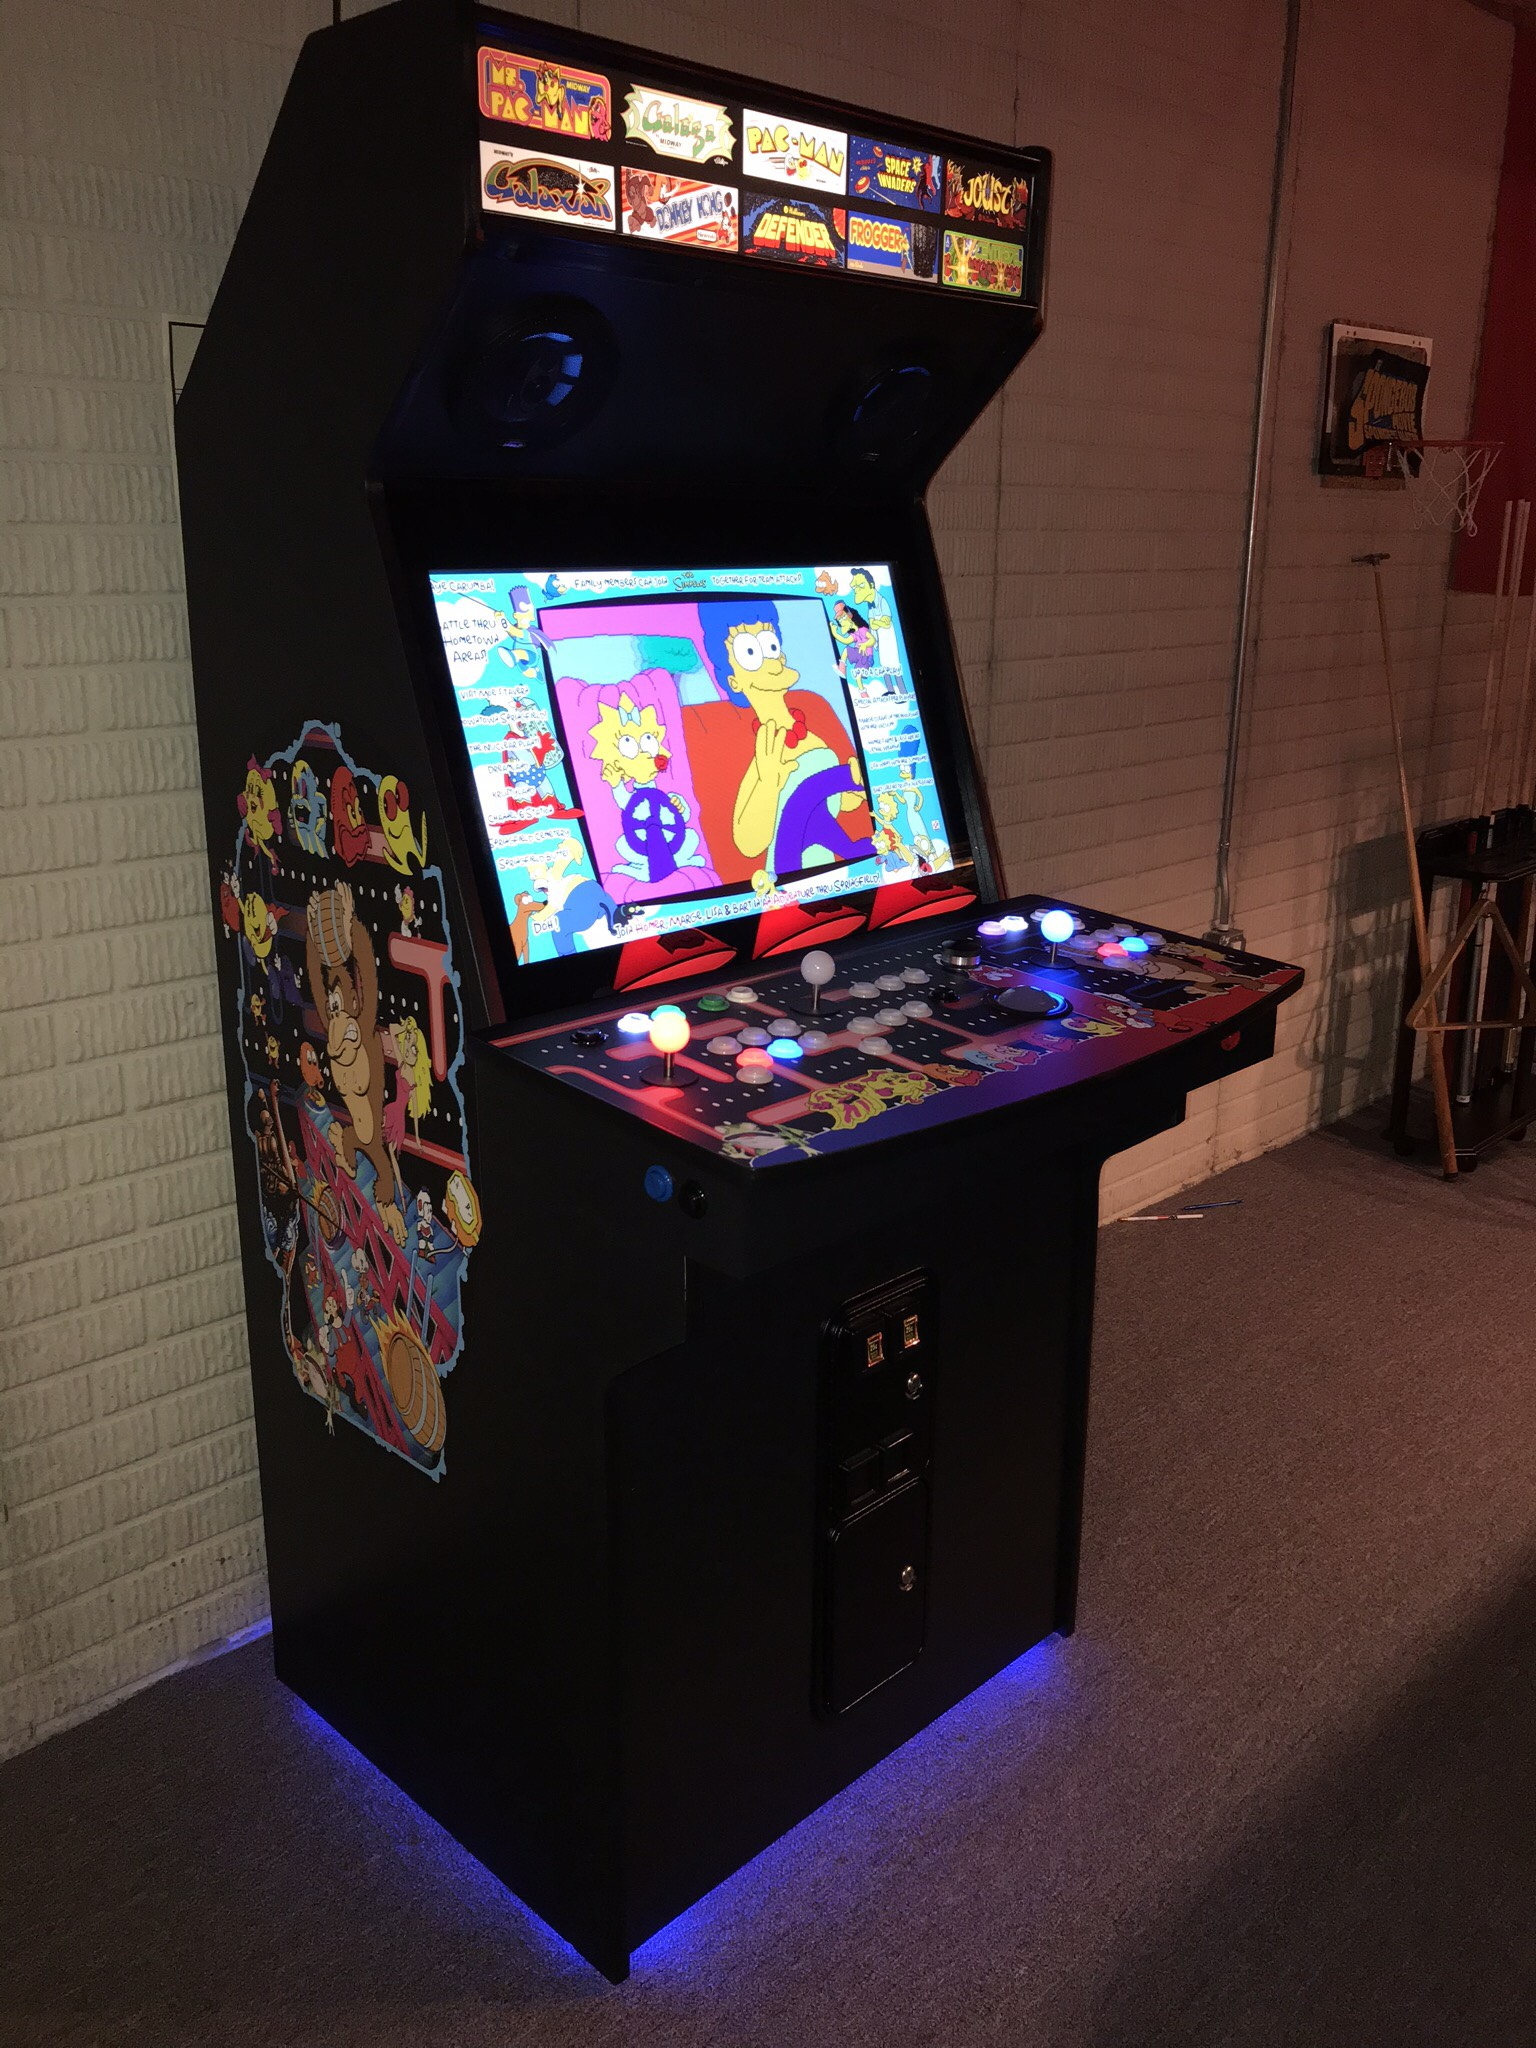 Greg B built this classic 80's arcade.
From his email:
"Hey there. I’ve been meaning to email you these pics for a while. I started this project a year ago and spent about 3 months on it. Your “cabinet plans 2” plans and guide were instrumental in my design and build. I don’t have much carpentry experience (just enough to be dangerous - no joke). I’m very pleased with the result.
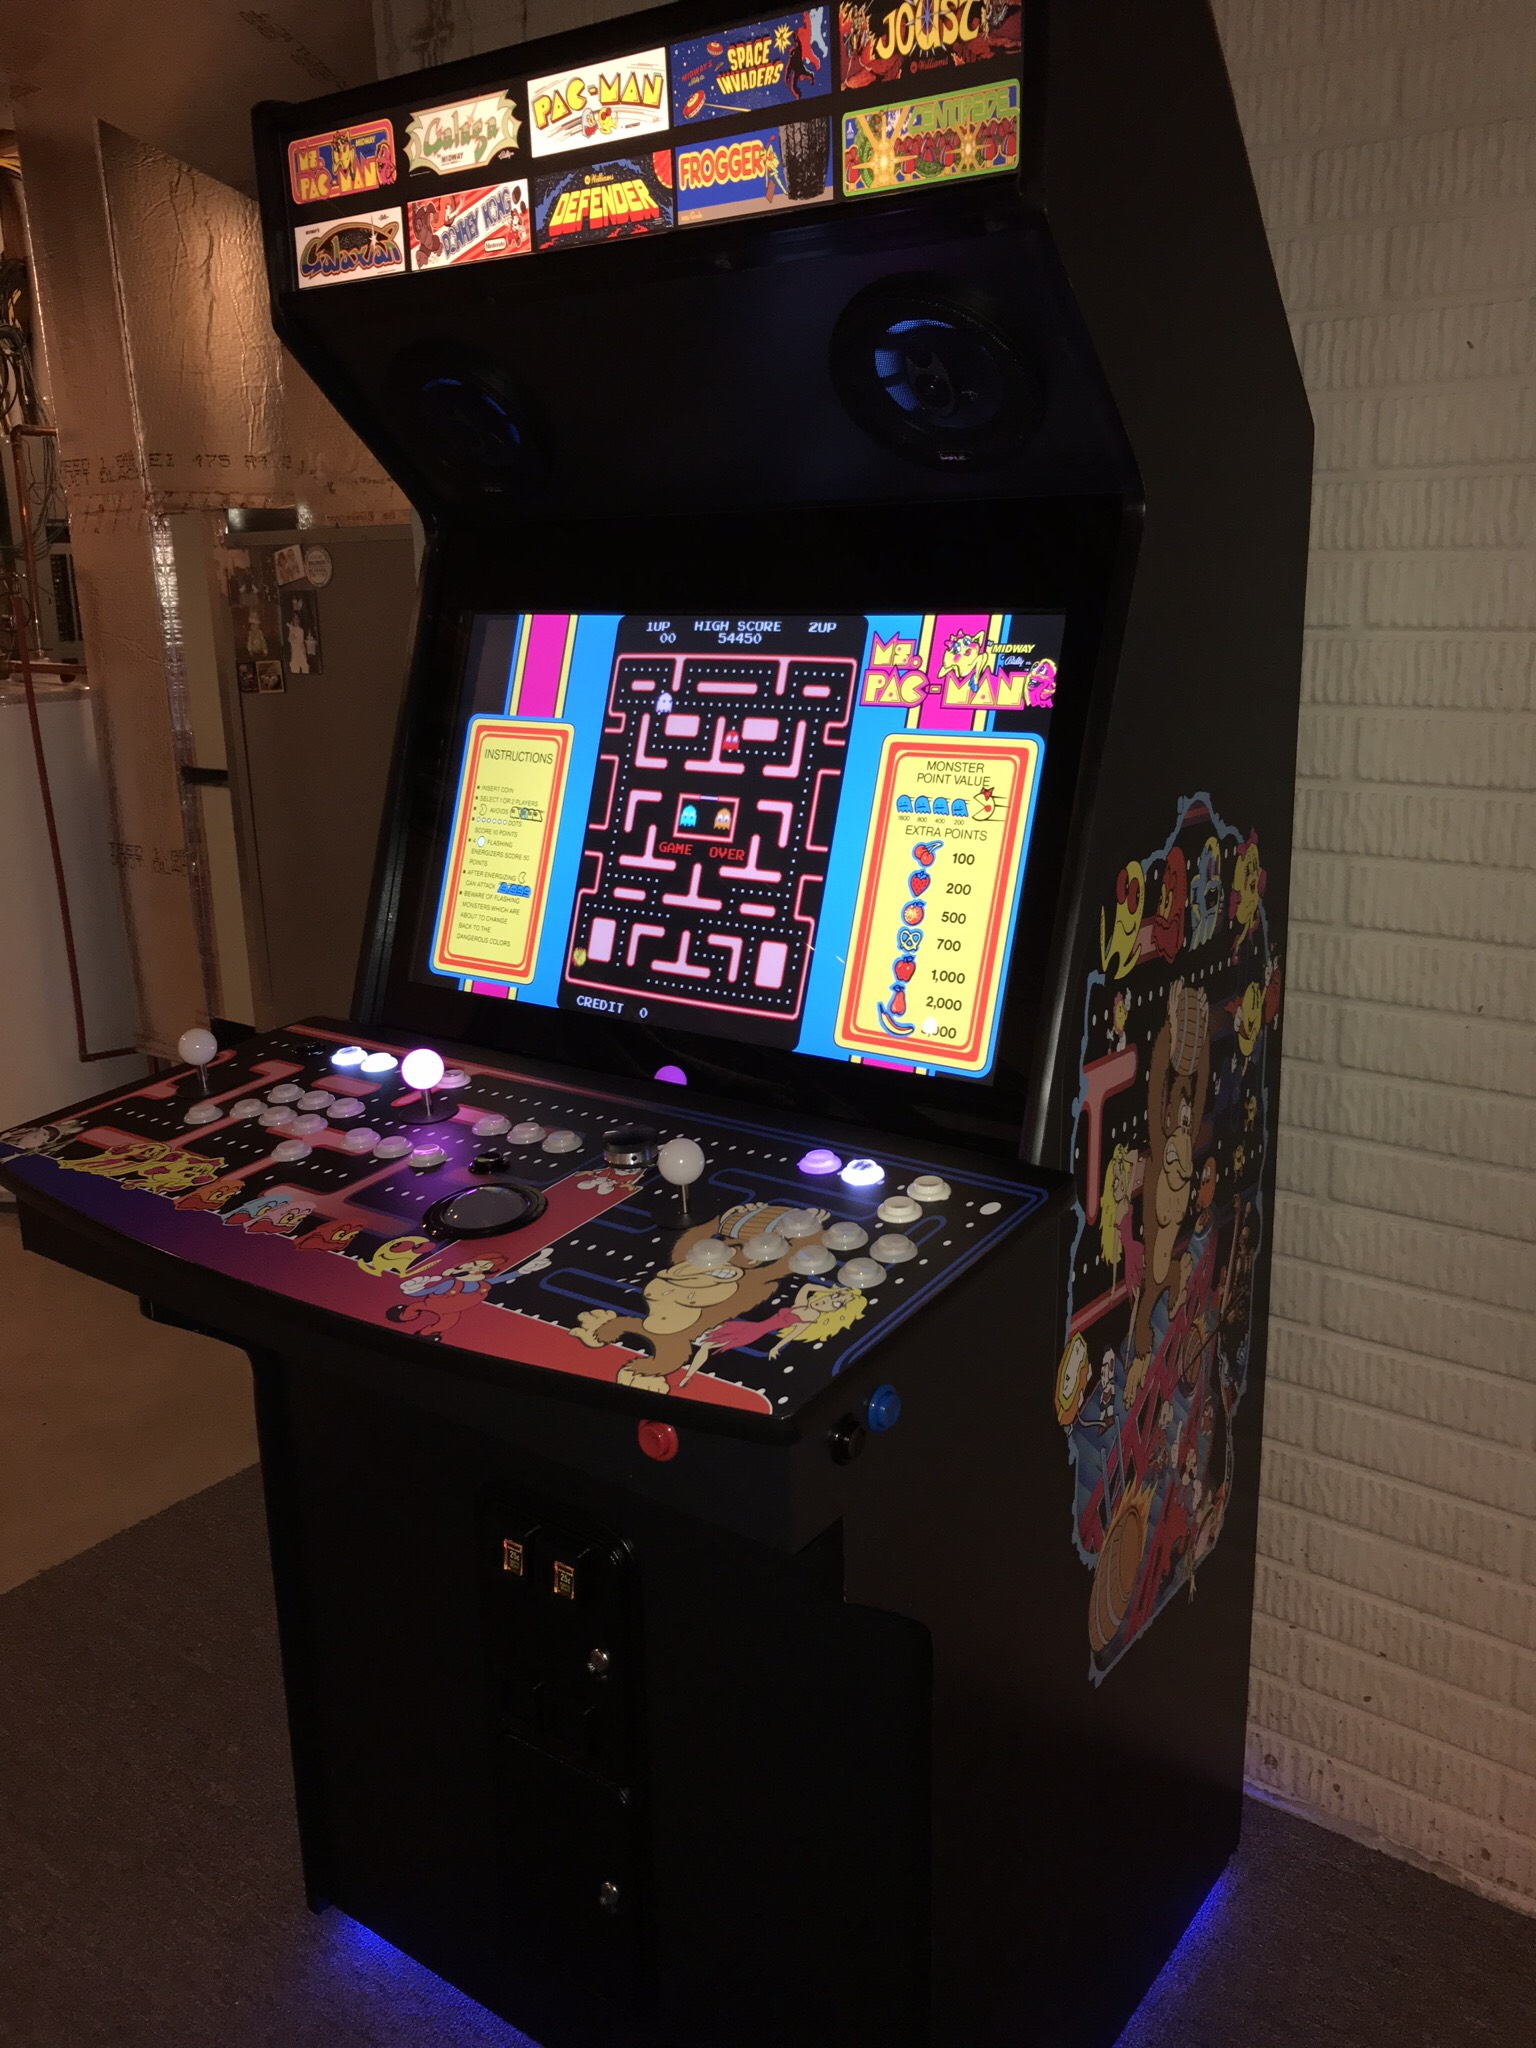 I modified the design to accommodate a 32” lcd monitor. Cabinet height is 74” width is 32” and depth is 37” including the control panel. Built of 3/4” birch plywood.
All CP components from ultimarc. Buttons are gold leaf rgb led.
I’m a child of the eighties so I play mostly the classics, but wanted the capability to play Capcom fighters and neogeo stuff, hence the slightly frankenpanel controls. Button layout has 3 sort of dedicated missile command fire buttons as well as an excellent Defender layout, which makes me happy. "
Good stuff! More pics on the Visitor Page
10/23/2020
Jared P's Retrocade
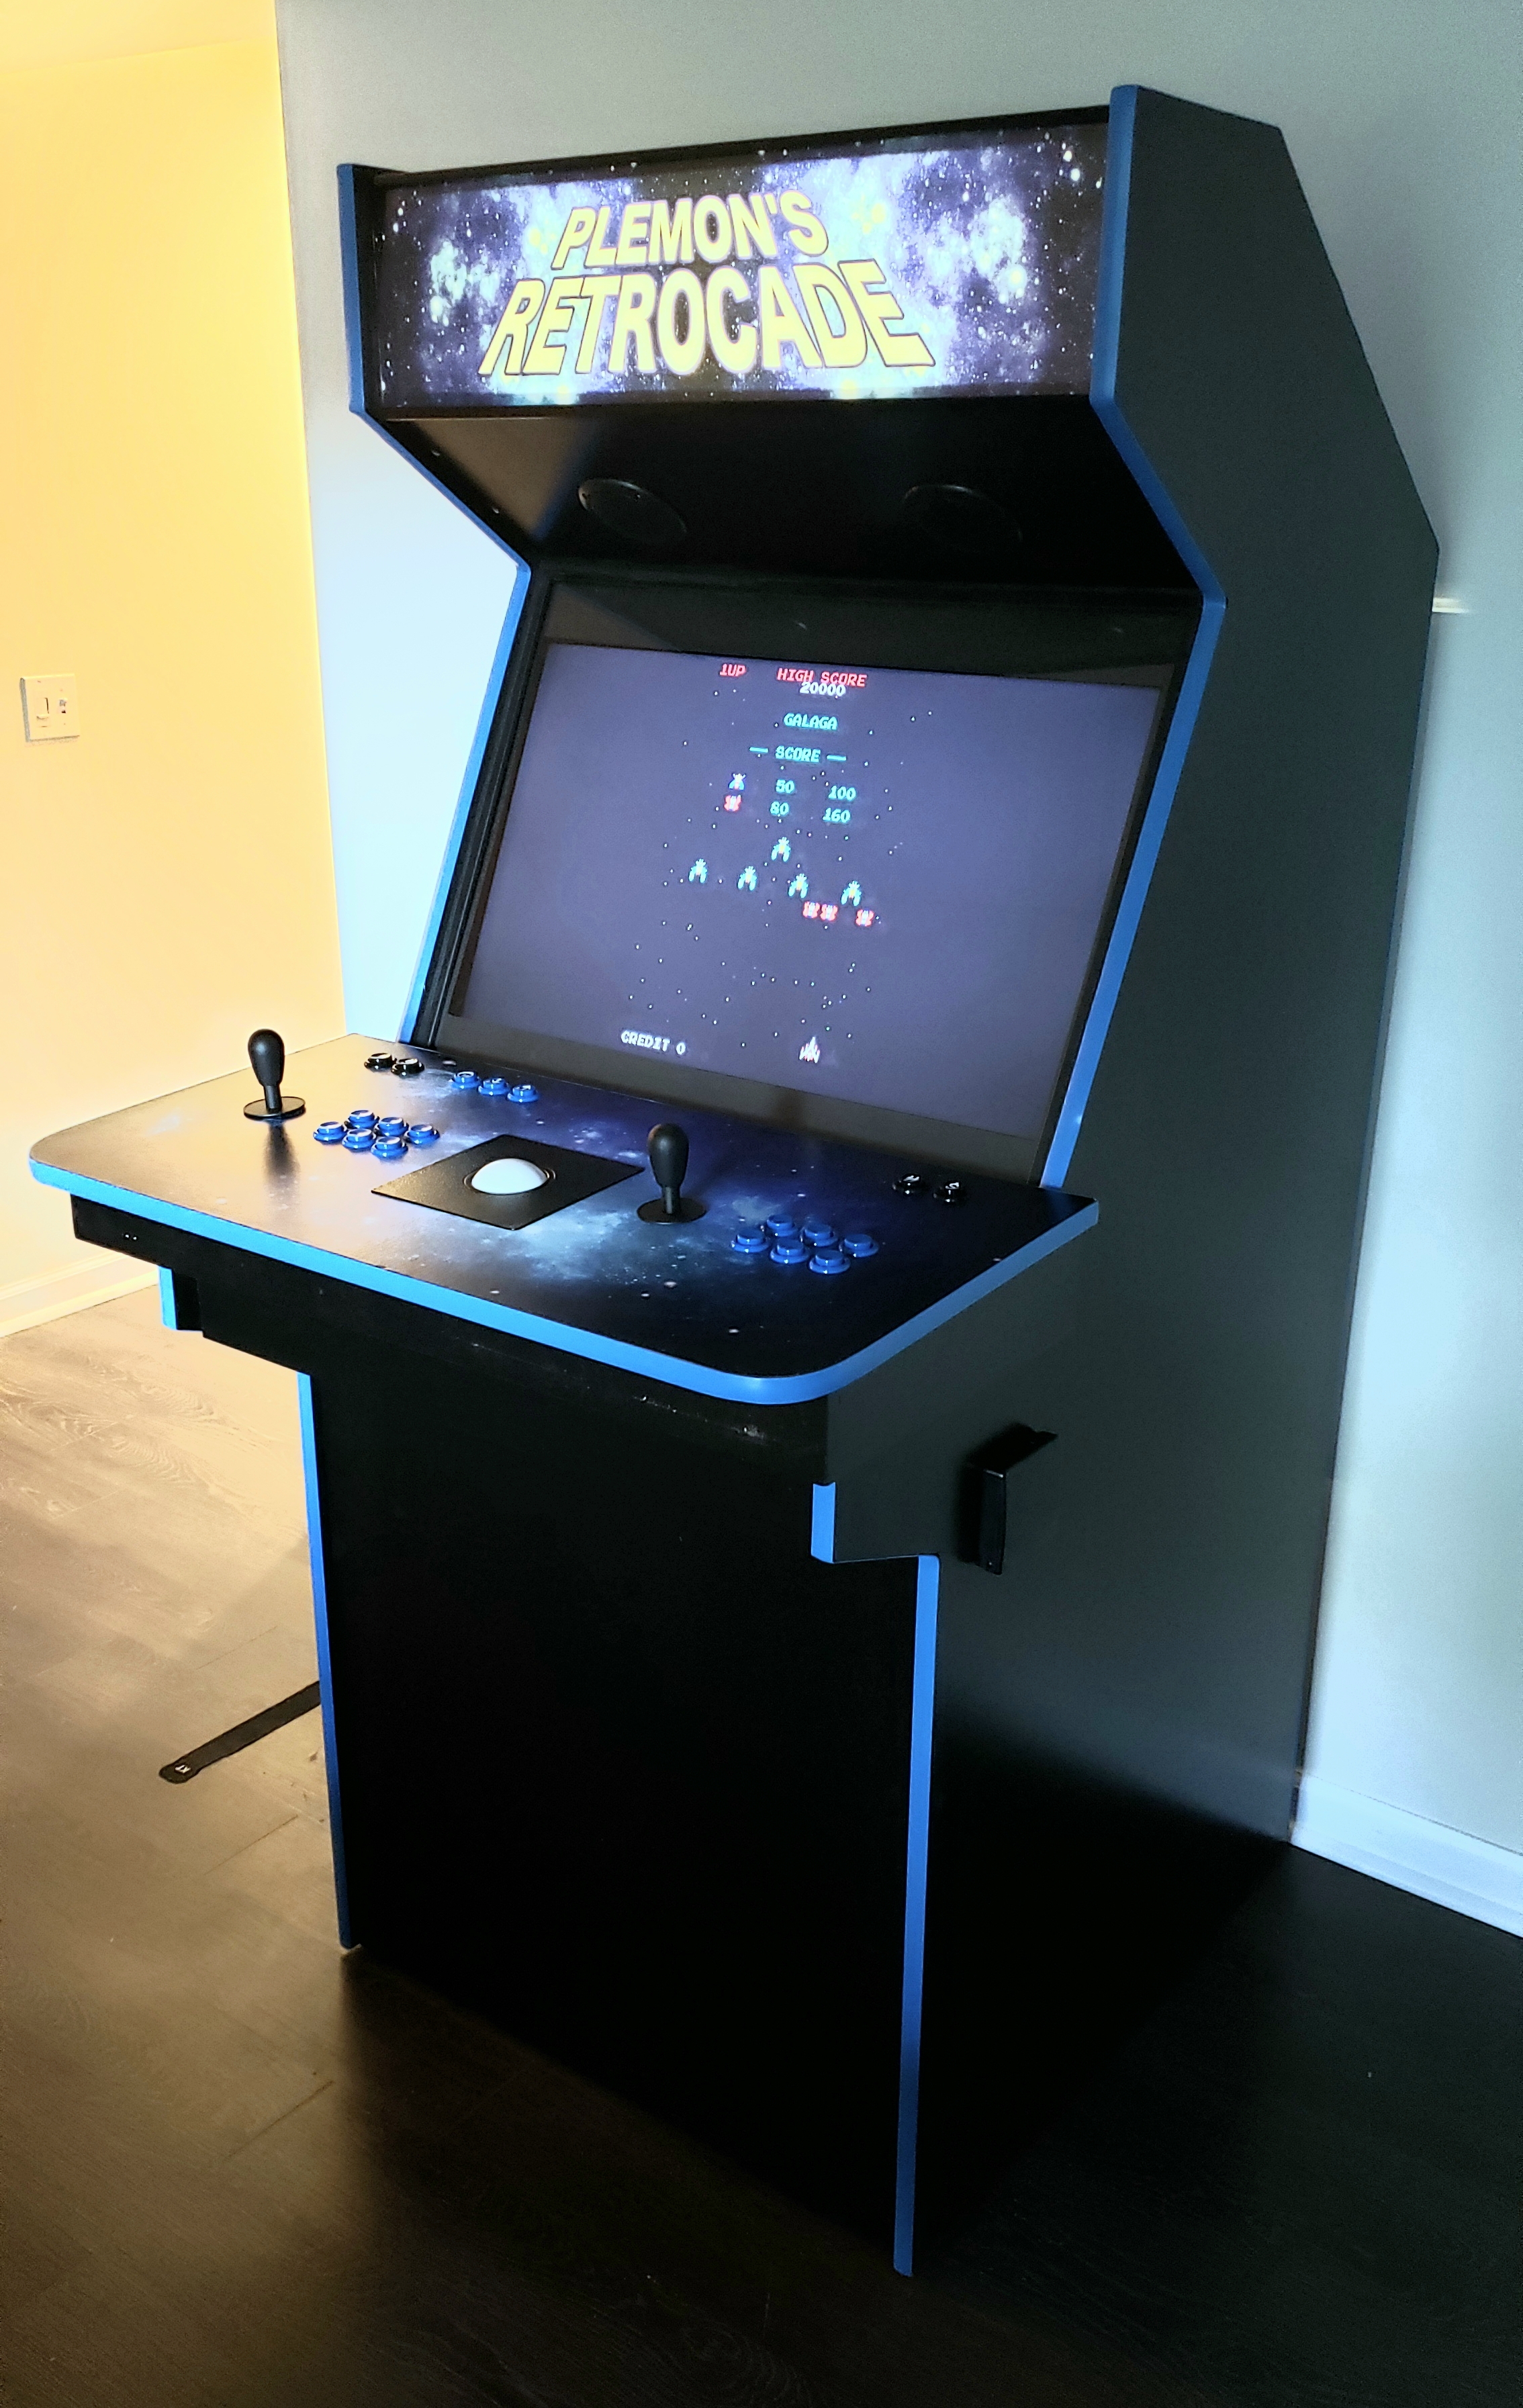 Jared P and I exchanged a fair number of emails as he worked on his build. It was enjoyable watching a build through another's eyes again. I was very excited when he finally said it was "done enough" to send along a pic of his creation.
"My Retrocade is finished!I might do something in the way of side art later but for now I'm going to spend time playing it and getting to know Launchbox/BigBox so I can get it set up the way I'd like on the software side.
I've inspired a friend to also build one. His son is on the spectrum and is a Pac Man fanatic and he is very excited about it. They came over and I put on Pac Man and that kid was over the moon!!! I showed them your site and they will also be following your plans. They already cut out the side boards and they look great.
Thanks again for your time and encouragement throughout the process!"
You are very welcome, Jared, and I am so happy to hear you brought another into the fold as well.
10/19/2020
Ryan's Cabinet
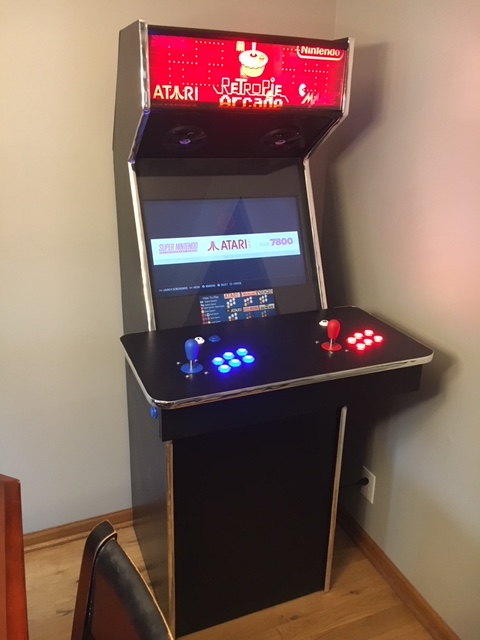
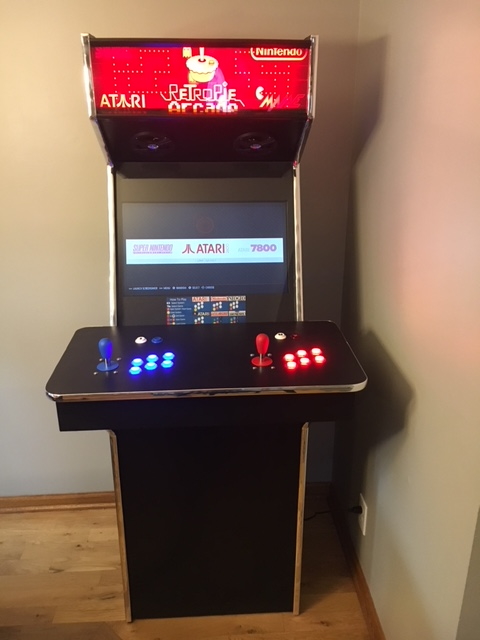 Ryan created this slimmed down arcade.
From his email:
"Attached photos are from my arcade build. I found your site extremely helpful in guiding me through the build process. I’ve never built anything out of wood before so I was definitely a beginner. I made the cabinet slimmer and wider to accommodate a 24” flatscreen. It’s using a raspberry pi to run Retropie and an Arduino Uno to control the marquee leds. Again thanks for the great information. I wouldn’t have been able to build my arcade without it.
10/10/2020
Long stretch since last visitor update
It has been a lonnnng time since the last update. My apologies. I have a number of visitor's cabinets still to put up that I hope to get uploaded before the end of this month (October) of this year (2020). Despite
it appearing the site is no longer being maintained, I do reply to emails when they come in, sometimes even providing the exact answer being inquired about.
I have moved to a new arcade PC, too (used Dell T3500 workstation with Win10). This necessitated very few changes from the Win7 in there previously.
6/21/2020
Added Dragon's Lair original disks.
 A few visitors have contacted me with Daphne questions. Apparently, I am one of the few (only?) sites with Daphne instructions. I ended up uploading all three of the original disks I had from 2003(!), and that was exactly what Clifton needed to get his
Retropie setup with Dragon's Lair 1 and 2, Space Ace, etc.
Dragon's Lair page
A few visitors have contacted me with Daphne questions. Apparently, I am one of the few (only?) sites with Daphne instructions. I ended up uploading all three of the original disks I had from 2003(!), and that was exactly what Clifton needed to get his
Retropie setup with Dragon's Lair 1 and 2, Space Ace, etc.
Dragon's Lair page
7/21/2016
Converted site to Mobile-friendly, responsive site.
Over the course of the last month, on weekends and evenings (and some very early mornings), I have made the website more mobile-friendly. The layout of ArcadeCab.com had not changed since 2003, so it was time for a little overhaul.
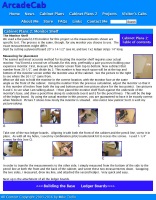
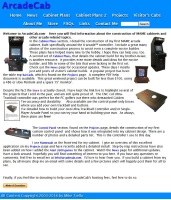
The pages looked like the two examples below. They just did not work well on phones, which is where more and more visitors were coming from.
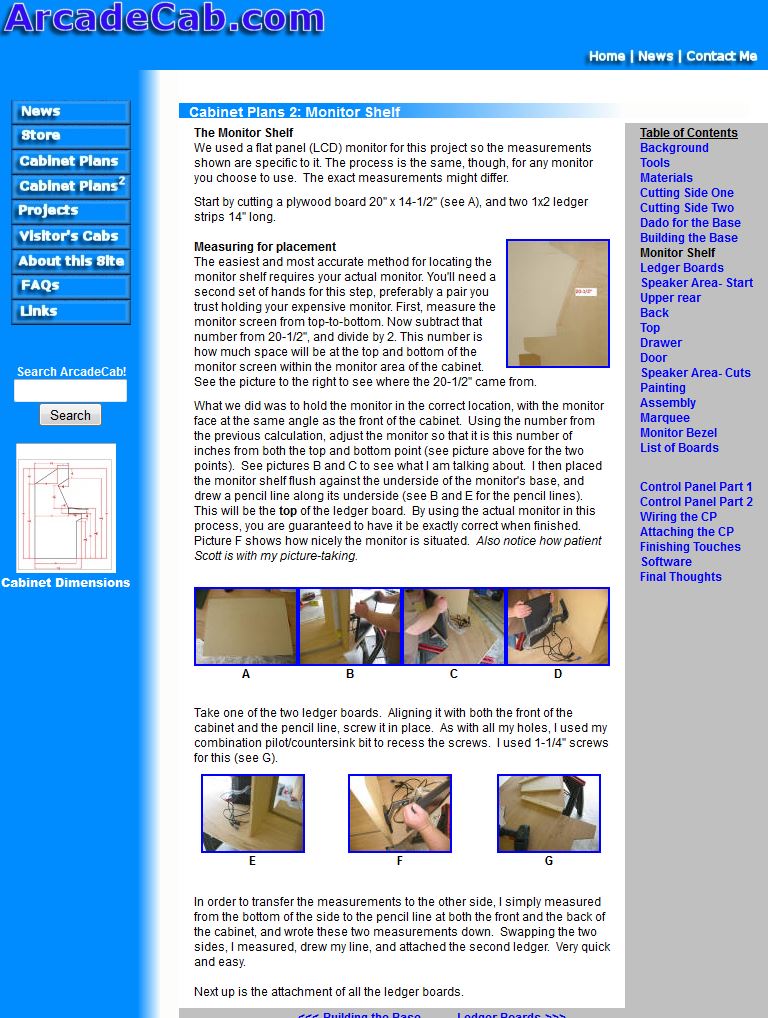

I did some research and finally came up with a reasonable layout, then went through the laborious process of manually converting all the pages. I used Notepad++ and got fairly quick toward the end.
Hopefully you like the new design. It is a little more simple, and quicker to load. (The Original set of plans did not get converted; you'll just have to muddle through them if you are on a phone. Sorry.) You might find somenumber of inconsistent fonts throughput the pages.
Maybe when I get some more more I will go through and convert everything to CSS a bit more cleanly.
4/30/2016
Jonathan M's Project
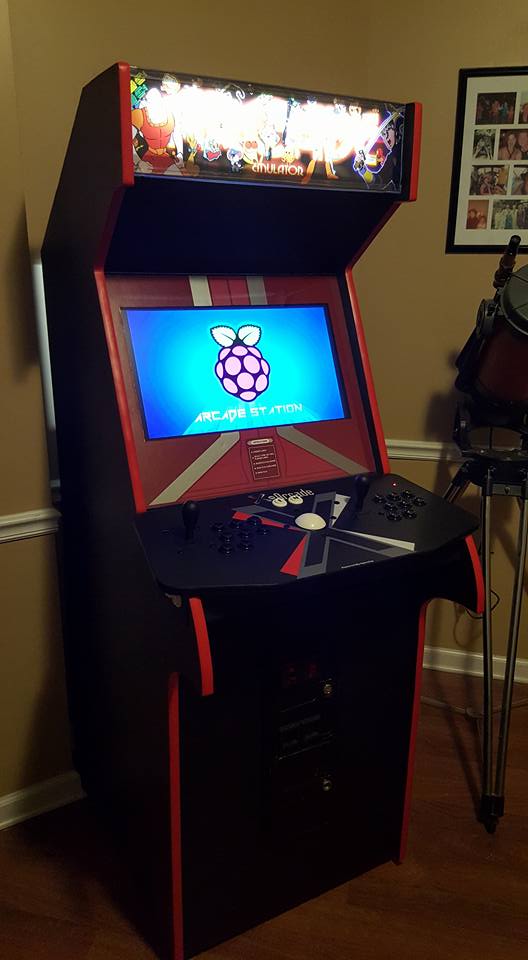 Jonathan
built this beauty. He used a 24" 1080p LED TV, a
Raspberry Pi 3 with 64GSD running Retropie
with Emulation
Station on it.
Jonathan
built this beauty. He used a 24" 1080p LED TV, a
Raspberry Pi 3 with 64GSD running Retropie
with Emulation
Station on it.
Snippets from his emails:
"The
bezel is a modified version of what
you used for yours. I have a vinyl cutter here at
the house so I just did the portions I wanted, in the colors I
wanted. I'll be honest, I tried coming up with a 100% custom
bezel but it was so difficult making up my mind, and then coming up
with something that looked stylish without being overbearing.
So I resorted back to your design and modifying it a bit to suit my
tastes ... As to the monitor size, I started with a 32" and felt it was
far too big when I "mocked" it up. Dropped down to a 28" and
still felt it was just a hair too big to have that "authentic" arcade
cabinet feel. So I went down to a 24" and it felt better to
me. ... We're probably going to add some Classic
Arcade characters to the sides for some color - i.e. Pacman and ghosts,
Donkey Kong, Mario, etc. Still haven't decided exactly what
to do.
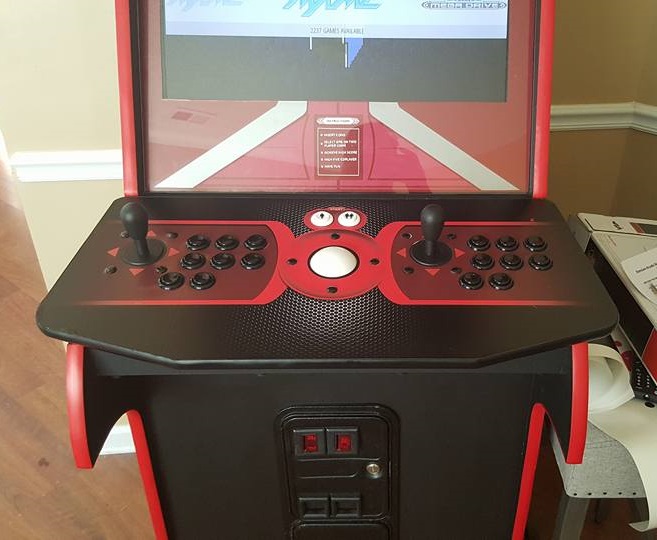
I used Retropie with Emulation Station on it. There are a few
"front end" views you can use but I found that Emulation Station worked
best in my opinion. There are several MAME emulators, Daphne
(Dragons Lair, Space Ace), Atari, Sega, NEOGEO, and many others built
right in. It's really quite an amazing system!
(Link: https://retropie.org.uk/)
I just downloaded their OS
image, formatted and unpacked it to the SD card and it was practically
done. ... I'm using ADVmame and Mame4All for most of the
mamegames. I'd say 95% of the games I have work between those
two. And ADVMame was the one I use for Trackball games as
Mame4All hates trackball from my experience."
Very nice!

6/7/2015
David M's Arcade
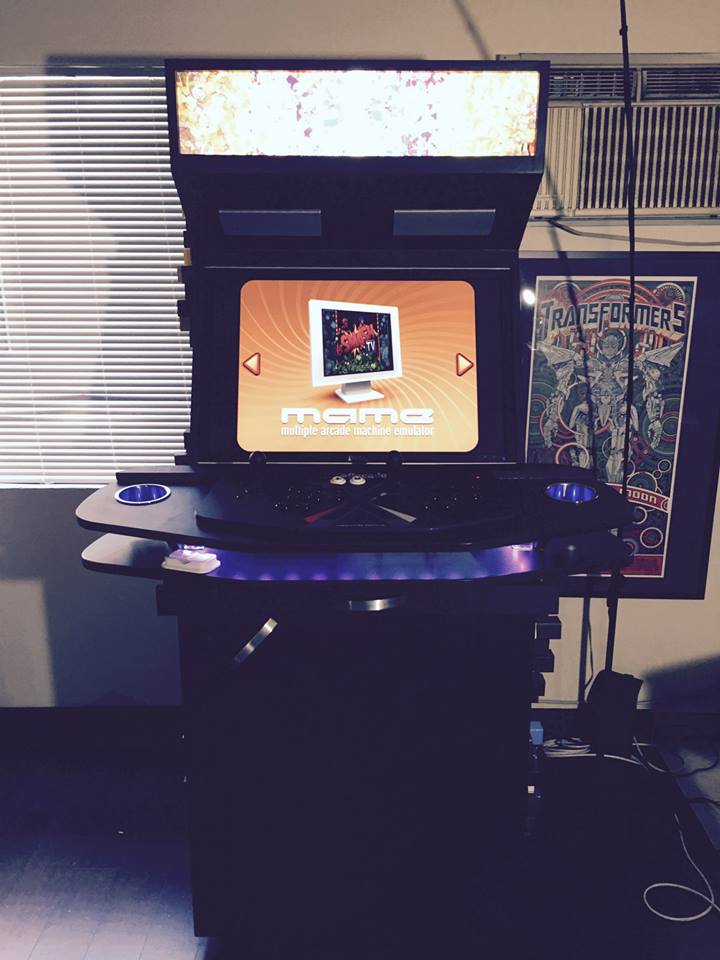 This
week David M sent me information on his recent build. This
was a project that he enlisted the aid of a buddy to help on.
It was completed in three months, working just one day a
week.
This
week David M sent me information on his recent build. This
was a project that he enlisted the aid of a buddy to help on.
It was completed in three months, working just one day a
week.
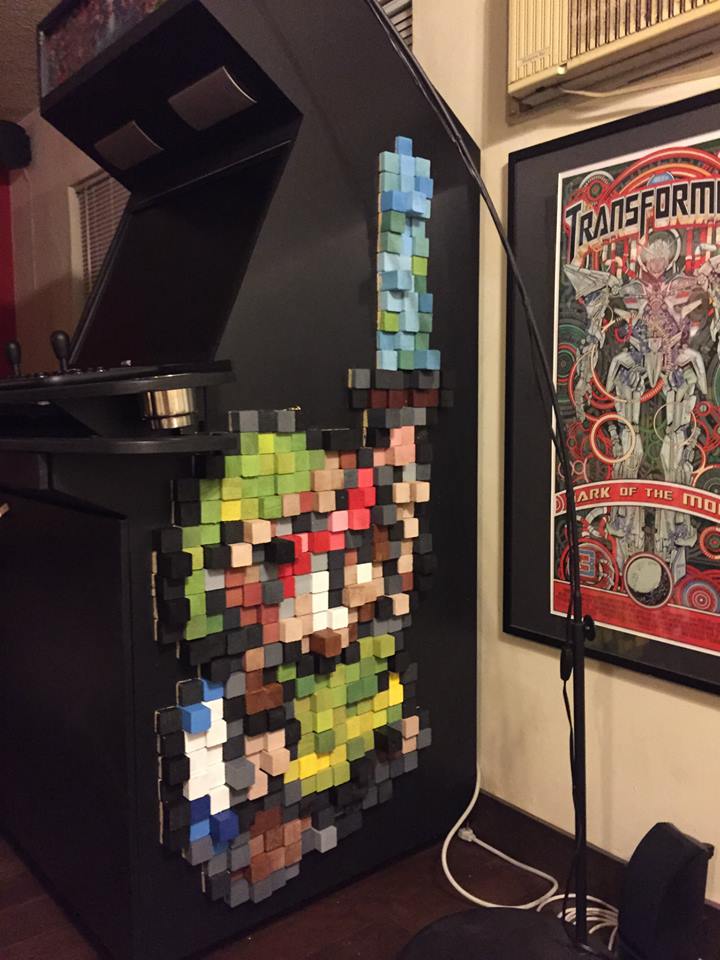
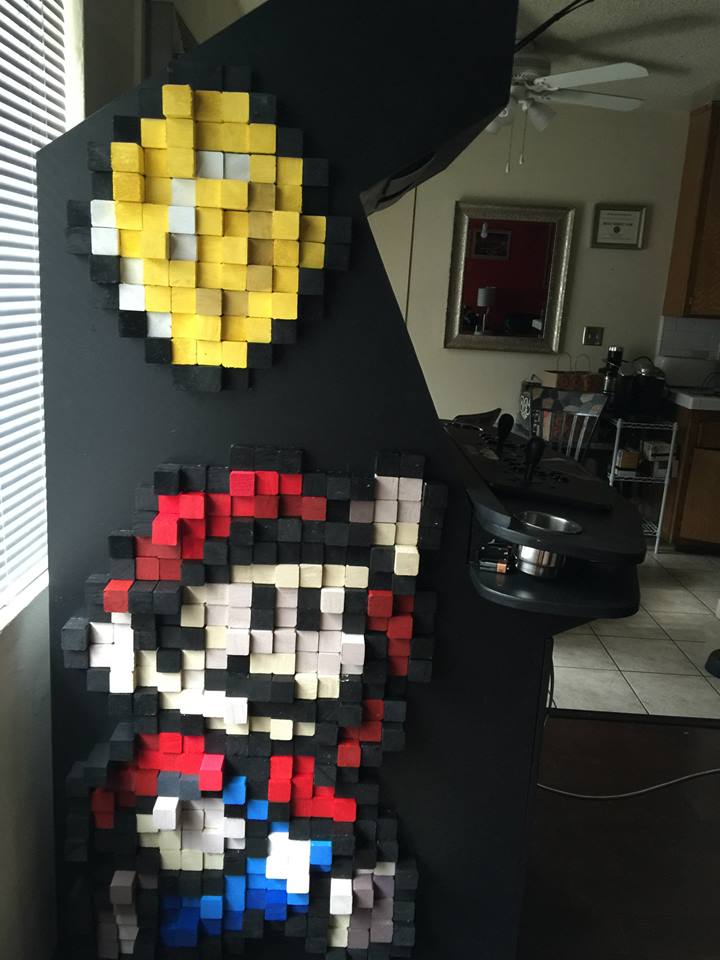
From his pictures I noted some very unique design elements (the sideart shown down below immediately caught my eye), so I got more details from him.
From his email:
"The
side art was made of 1 1/2” by 1 1/2” faring strips that came in 8’
pieces. I took a circular saw and just cut a thousand or so of them
into various lengths - from half an inch to three inches. Then I found
pixel art online and painted accordingly. It took some time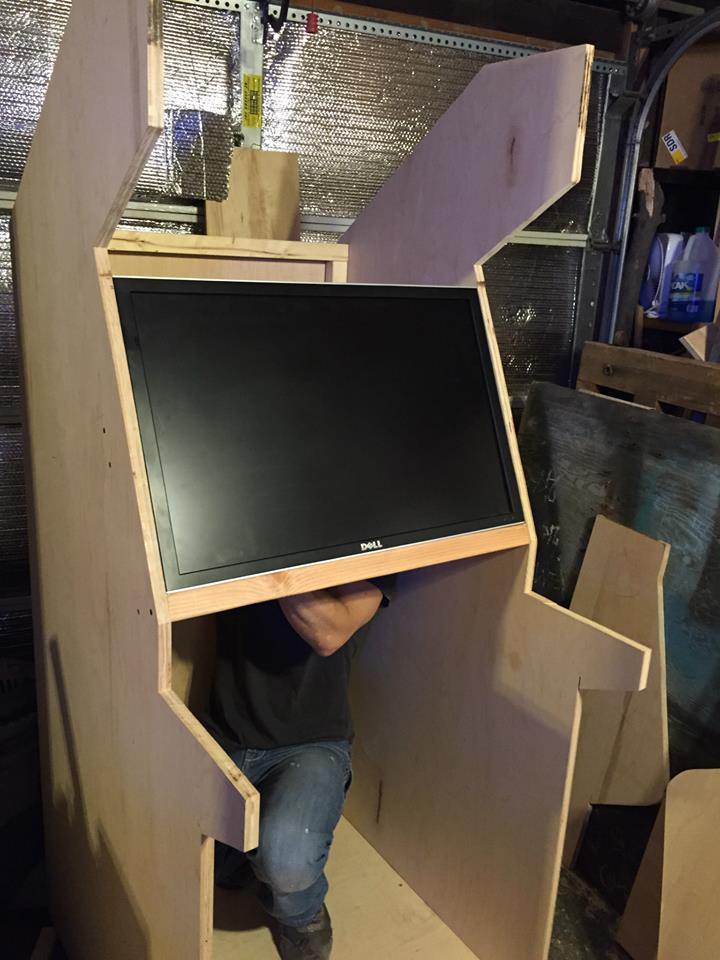 ,
but was totally worth it!!
,
but was totally worth it!!
I used a 27” Dell monitor and built the thing around that. It seemed like a good size."
I included a picture of how he integrated the monitor into the cabinet;
very clean and custom. I get a fair number of questions on monitor size
and think this is a great example of how to do a larger monitor
correctly.
I also think the sideart is just so cool. My son spotted these pics and was fascinated by the work. Well done.
Several more assembly pics are on the Visitor
Page.