ArcadeCab
My coin door lighting- December 2014
Power to the coin door lightsI have changed the method of powering the coindoor lights. I previously used a PC kludge but decided to go another route this time. I also fixed the wiring errors.
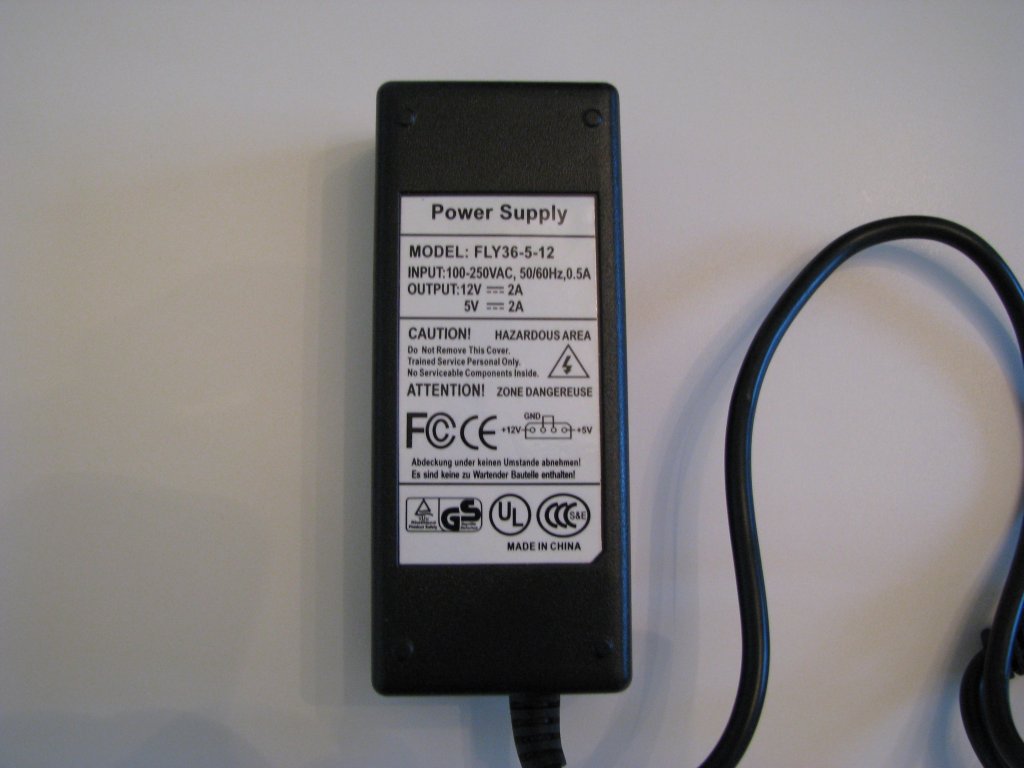
I needed a power supply that gave me the 12 volts that the coindoor lights required. Sitting on my parts shelf was an IDE harddrive cable that would never be used again (I have a couple external cases for those needs).
|
|
|

|
|
These two pictures show the power cord that was included, and a close-up showing the 12V output. |
|
|
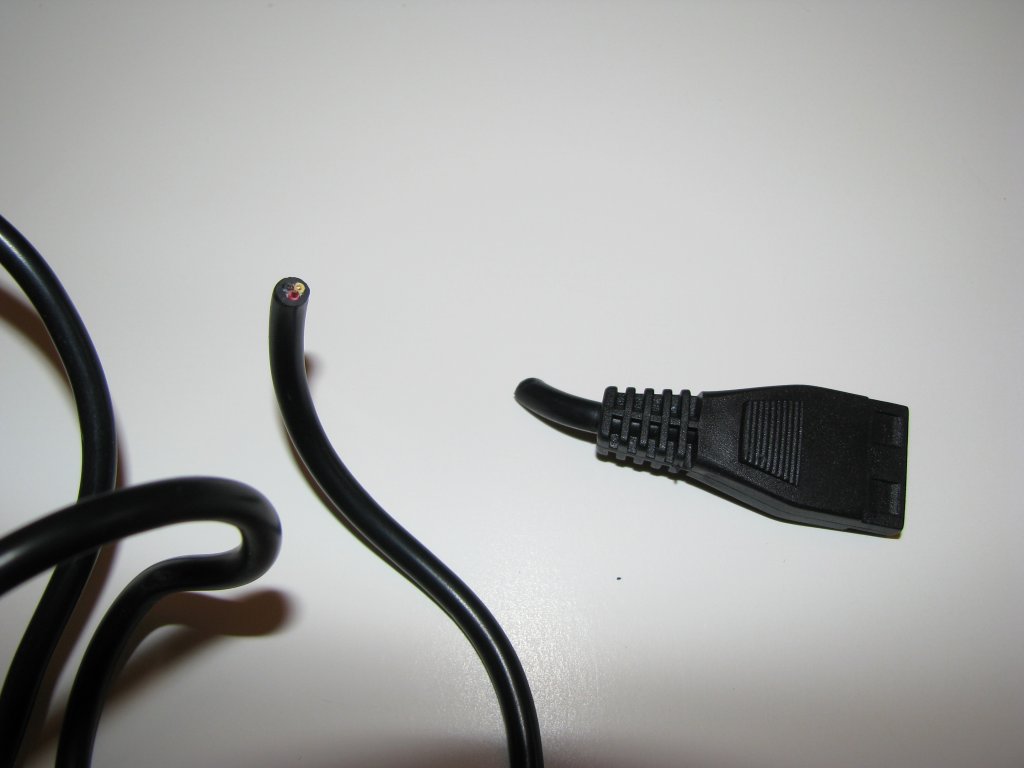
I began by cutting the end of the plug off and stripping back the three wires. Black is ground, red is 5V and yellow is the 12V. We'll be using the black and yellow. |


|
|
After stripping off the insulation on the yellow and black lines, I connected the red wire from the coindoor to the yellow of this new cable. And the black (ground) to black. Then everything is taped up with the electrical tape. |


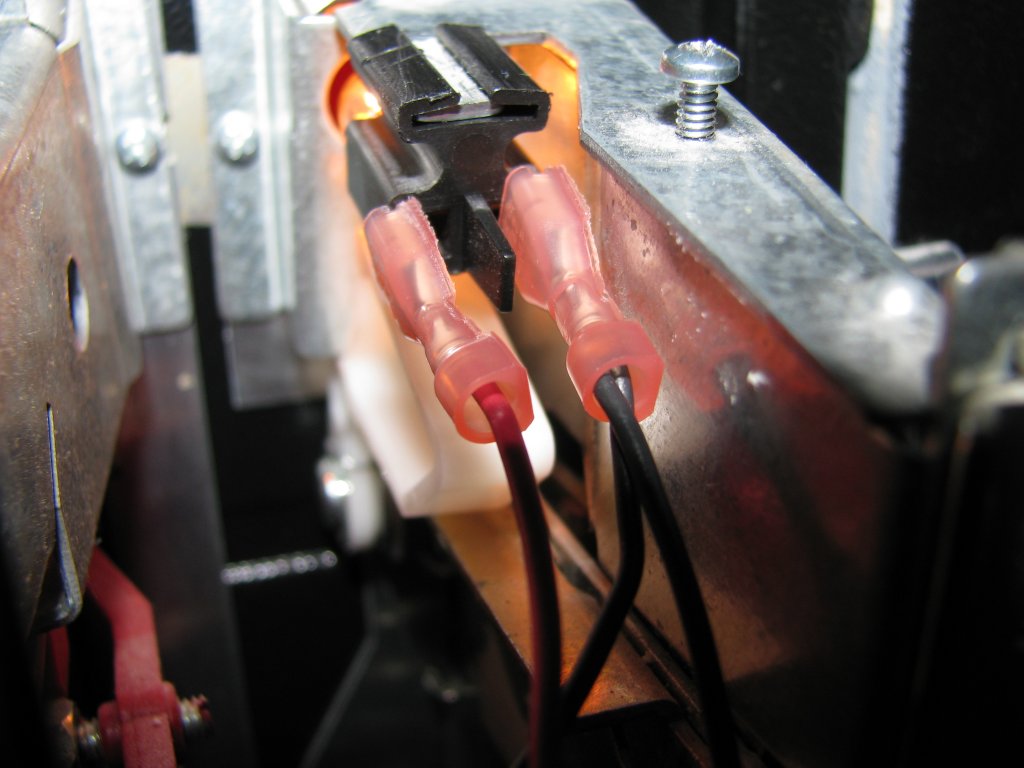
| The ground connection on the right bulb (from within the cabinet) needs to be daisy chained to the left bulb. This picture shows the ground coming from the new power cord into the red plug and then out to the other bulb's ground. |
|
| The hot wire also needs daisy chained from one to the other bulb. This time I went from the left bulb to the right. |
|
| I have shown a picture of the completed wiring to the right. |
|


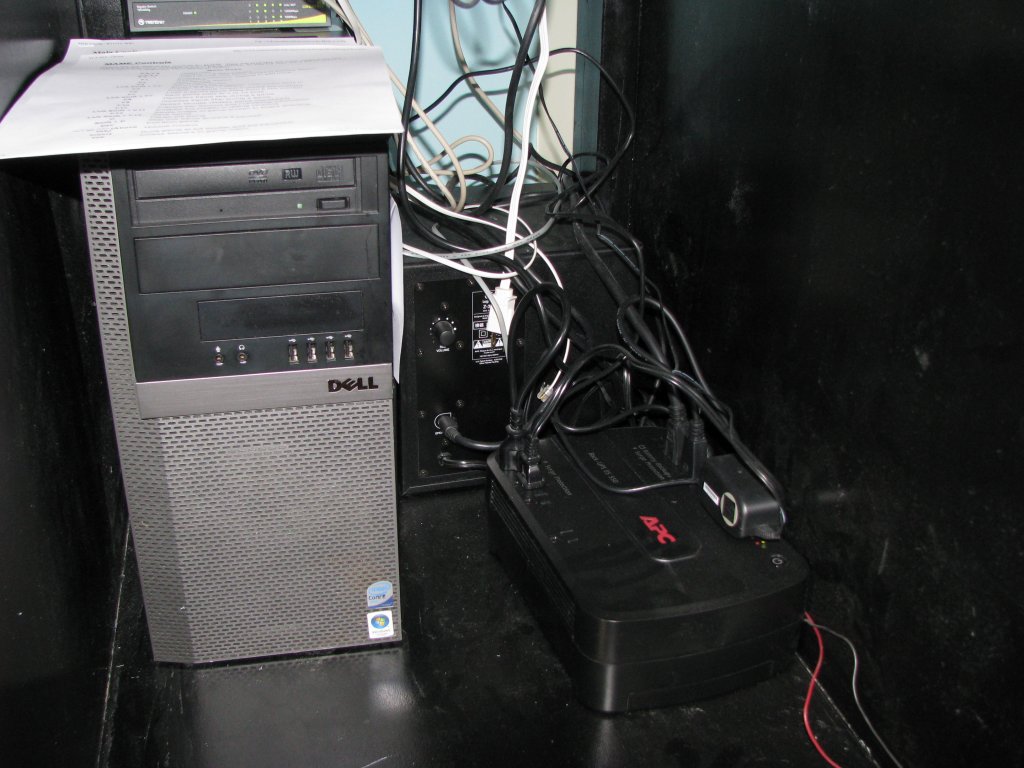
Now I plugged the new cord into the UPS. If all went well, you should see the lights glowing.
|
|

Hopefully this will give you some ideas for powering your own coindoor.