The Door
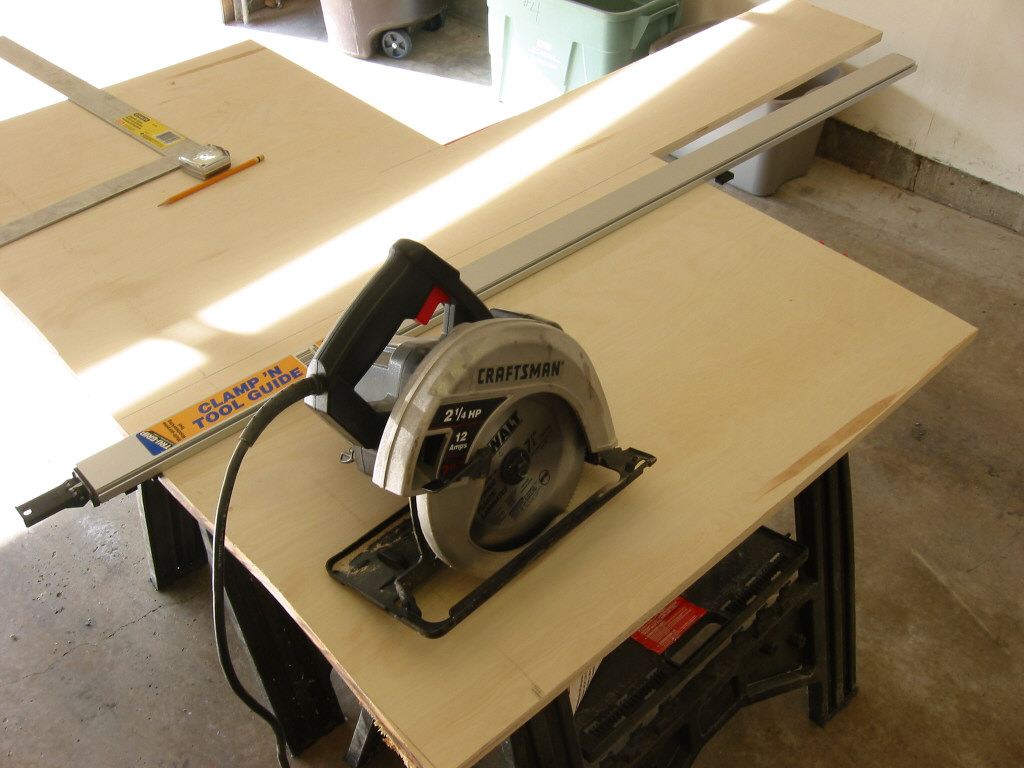
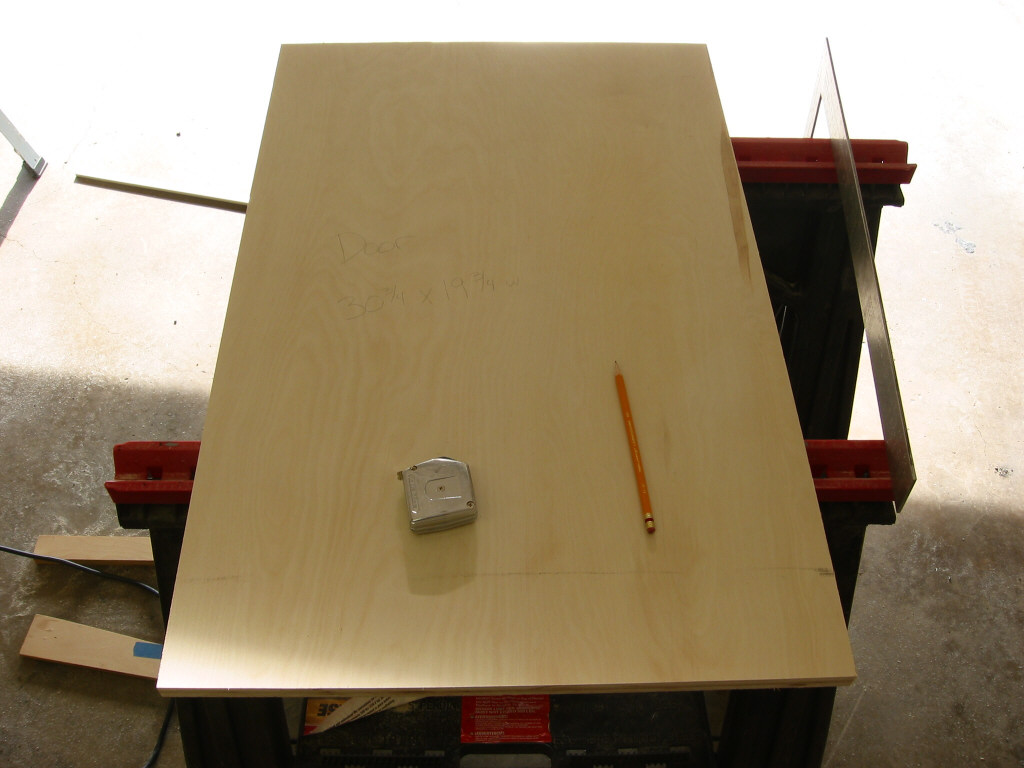
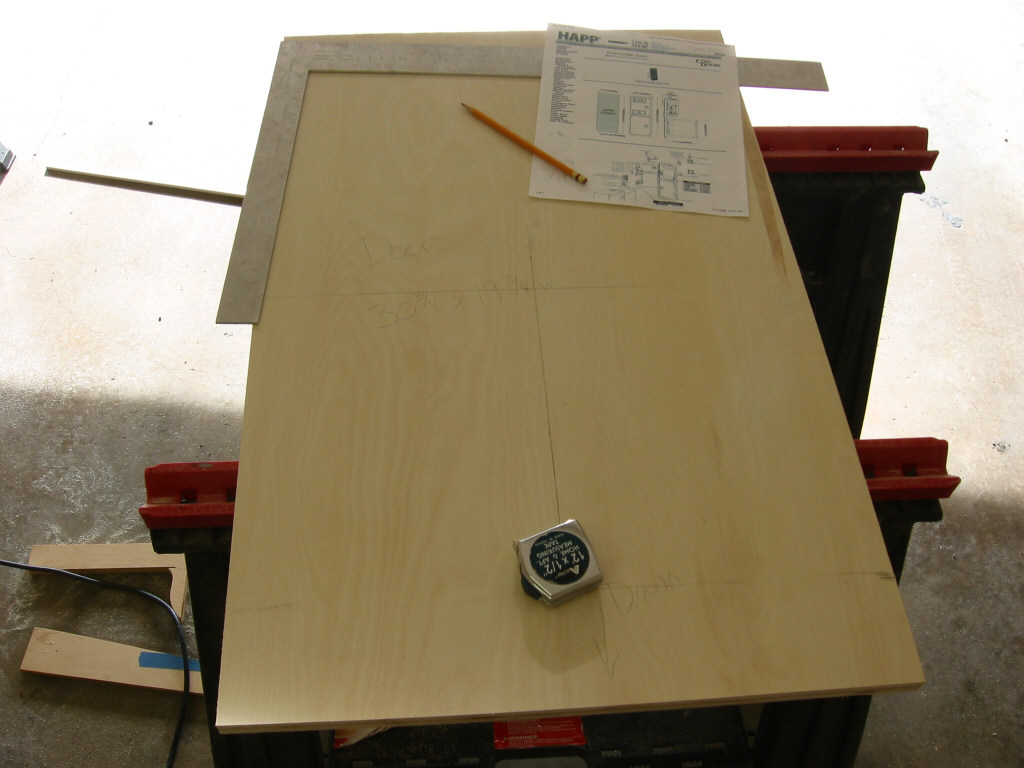
The next step to conquer is the front door, with the coin door cutout. Start by cutting out a board
30-3/4" long x 19-3/4" wide. We are allowing 1/4" gap for the hinges.
 Once you have that cut out (as in B), you are ready to draw out the coin door cutout.
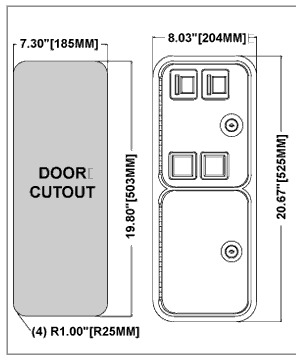
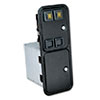
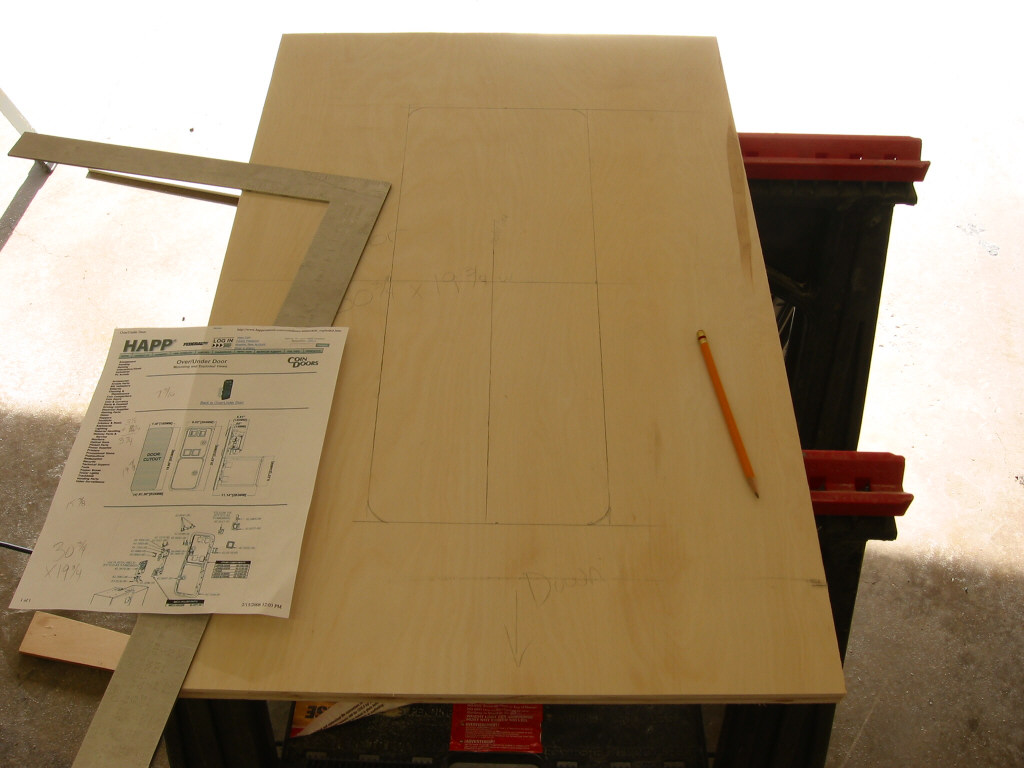
Scott bought the Happ Over/Under Coin Door (see left). The important cutout dimensions are shown
in the diagram to the right.
Once you have that cut out (as in B), you are ready to draw out the coin door cutout.
Scott bought the Happ Over/Under Coin Door (see left). The important cutout dimensions are shown
in the diagram to the right.
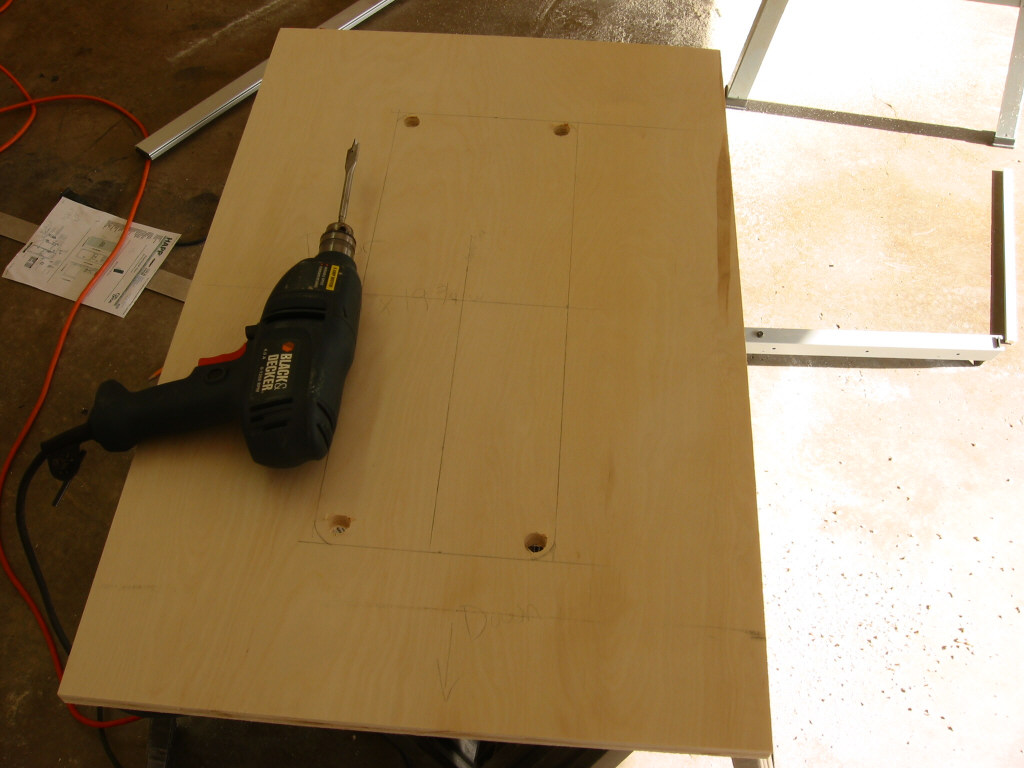
Without going into too much detail, I essentially centered the cutout on the door face. Picture D shows it all drawn out, with plenty of guidelines. I then used a 5/8" spade bit (you could use any bit large enough) at each corner so I could get the jigsaw blade through the panel (see E). I then cut out the hole with the jigsaw, taking my time to stay on the line. Be careful with the rounded corners. Keep your cut to the inside of the curve or else you may leave a cut that is visible from outside the door.
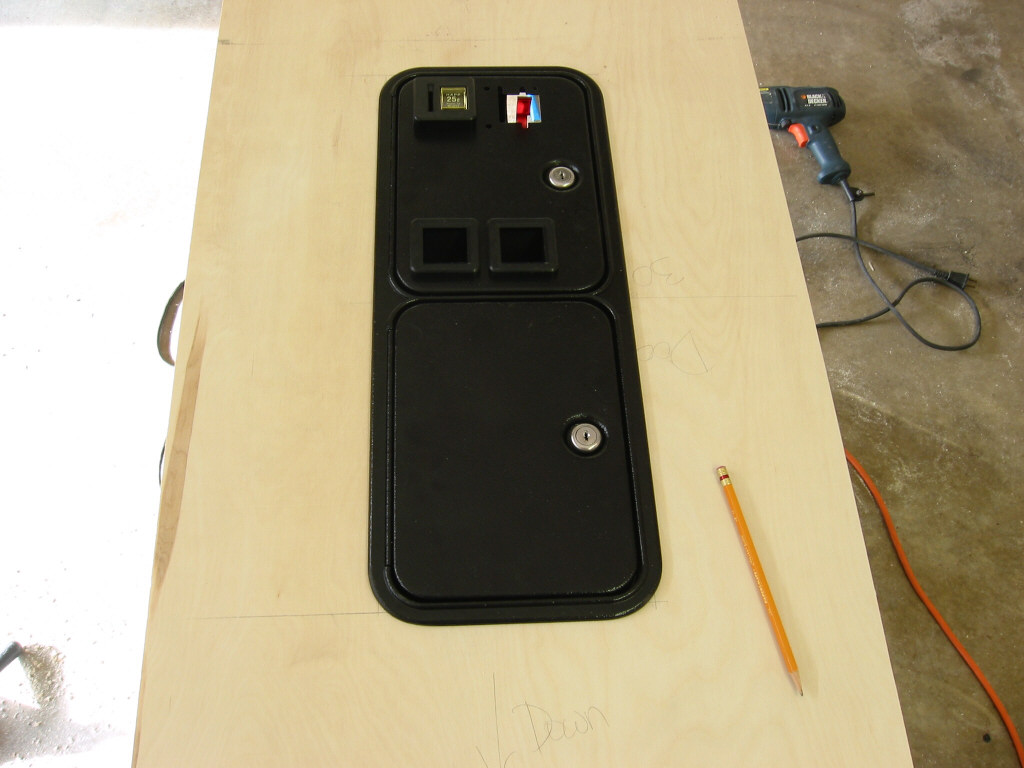
Now is the moment of truth. Place the coin door into the hole and hope it fits properly. As it happened, one corner was not rounded enough and you could see daylight through it when the coin door was in place. Hence, the note at the end of the previous paragraph. However, because the cutout was centered, I tried flipping it around. That worked and the fit was perfect. Whew!
Stand the door up and admire your work. Mounting the door and installing the door lock will have to wait until the cabinet has been painted and assembled.
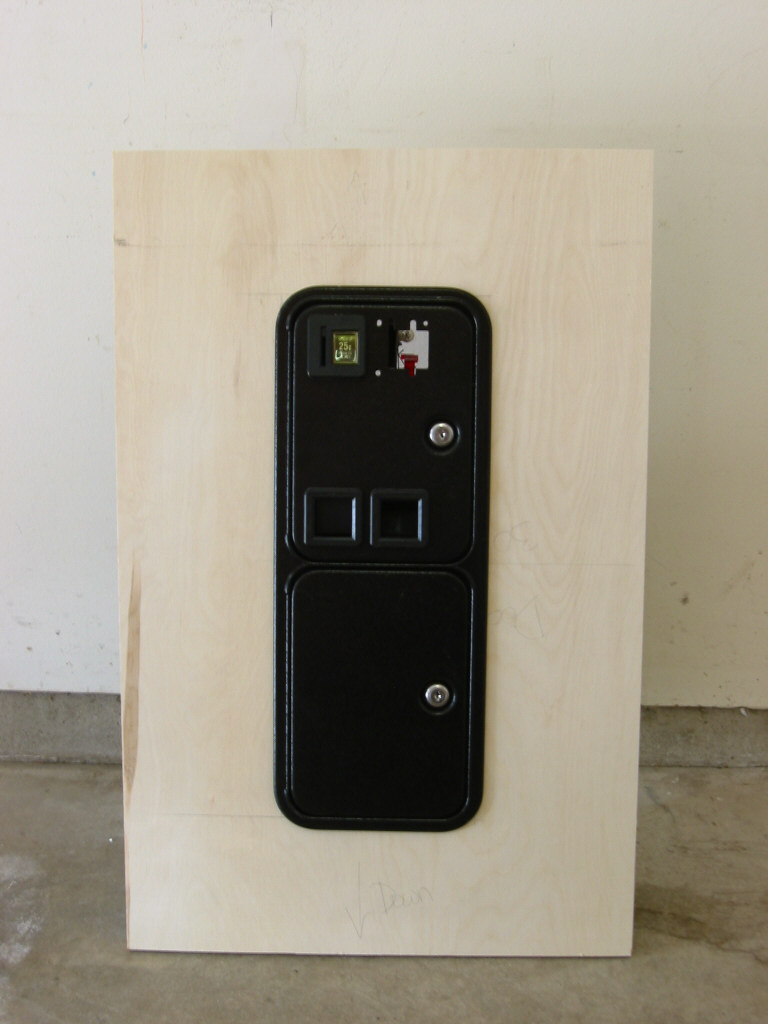
Additional info: The coin door that Scott purchased came standard with yellow coin reject buttons. Yellow didn't fit Scott's cabinet design, so we ordered two replacement buttons in blue. At the time, these were Happ part #42-0517-02, Blue Reject Button Assembly. That part is no longer available from Happ, so you'll need to source a suitable replacement elsewhere.
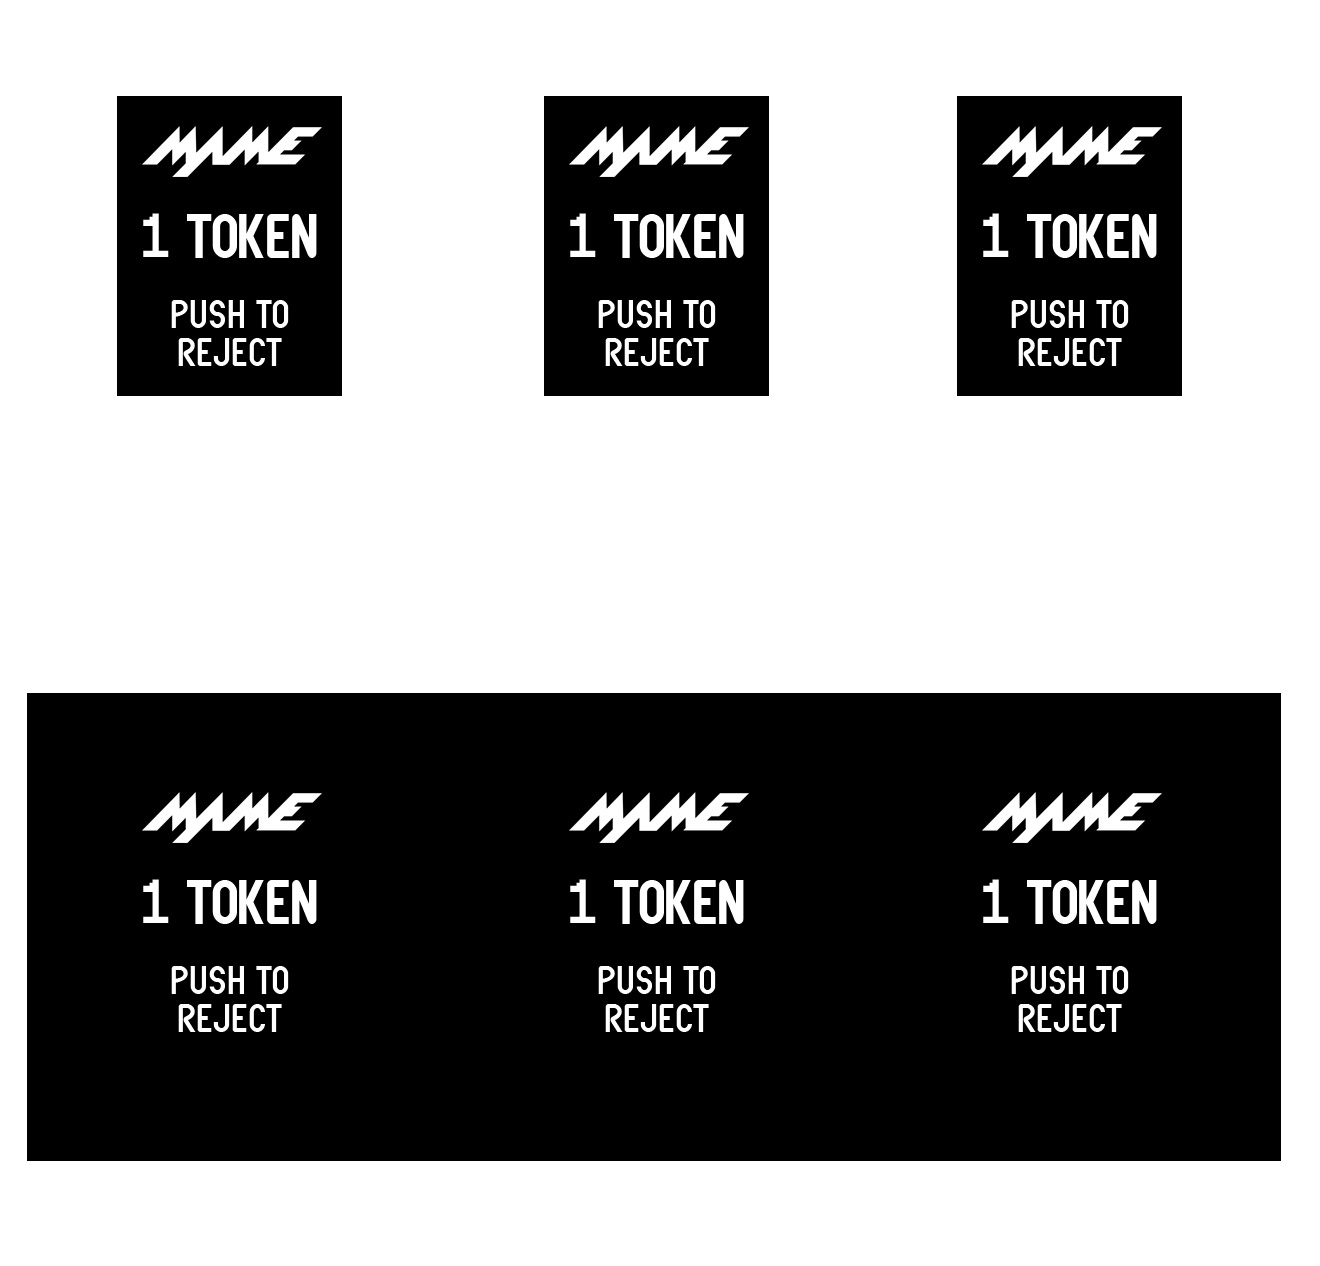
In addition, Scott is going to use tokens, not quarters, to plug the machine with. Therefore, he designed some custom “Push to Reject” artwork for the buttons. He designed them at 1" tall by 3/4" wide to fit perfectly. Scott has graciously provided them for your use below.
The next page revisits the speaker area where we will cut out the speaker holes.