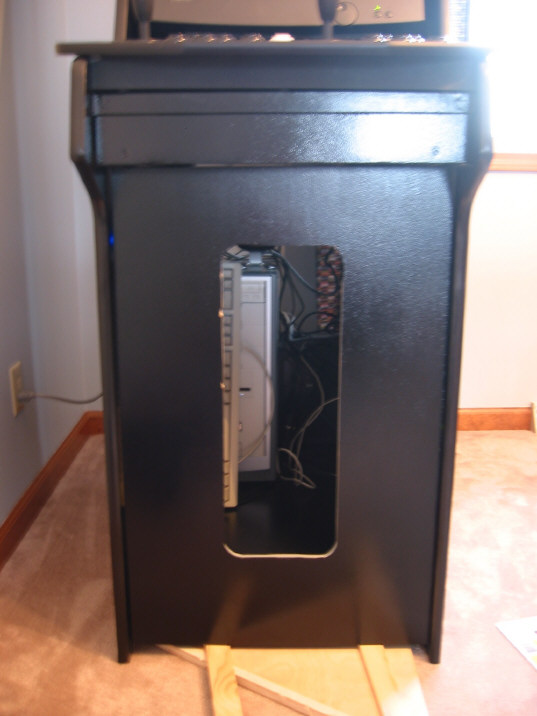
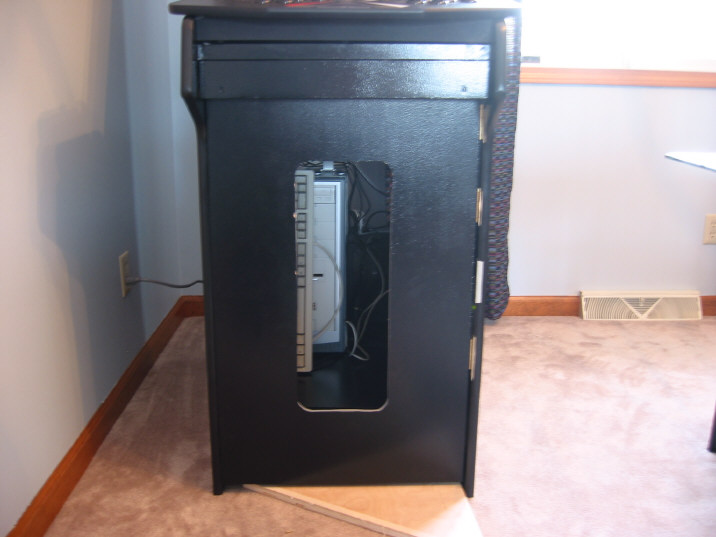
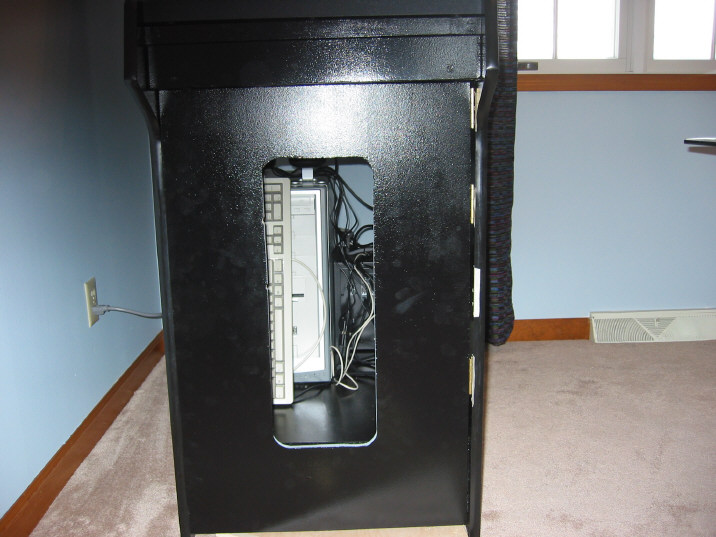
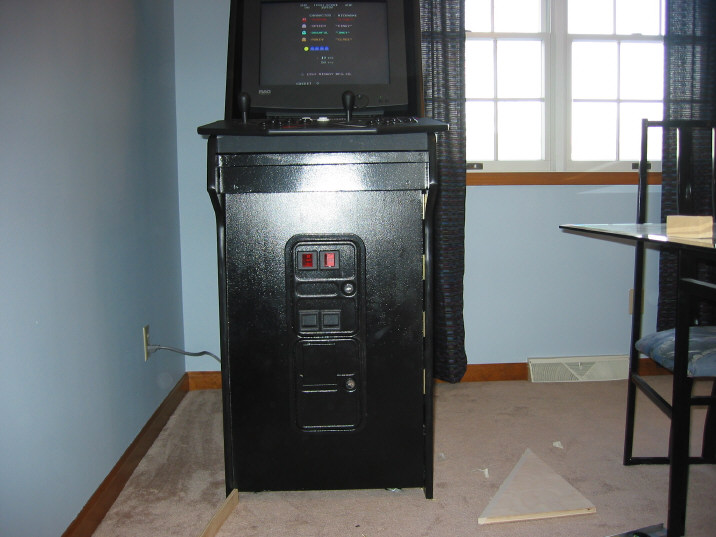
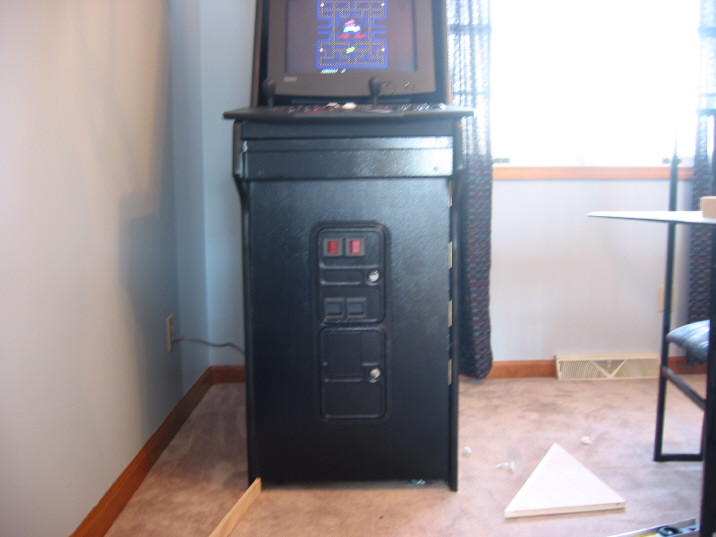
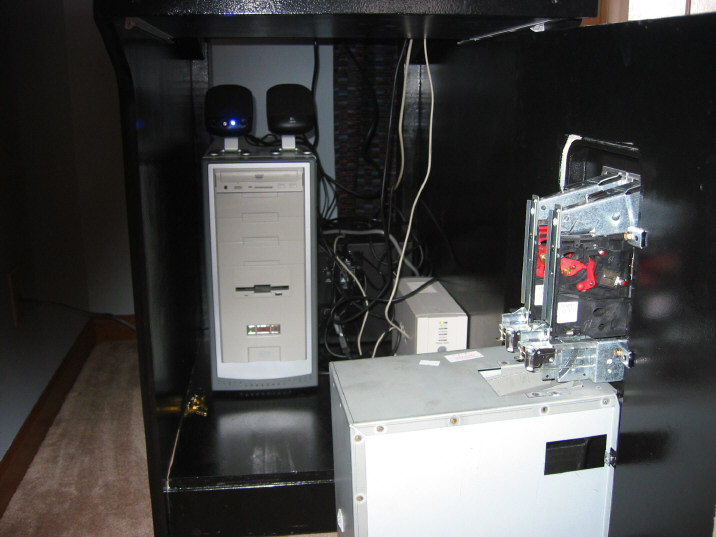
Although this is fairly straight forward, it is awkward. Spend some time looking at everything and make sure you understand how it all works before screwing things together. In my desire to personalize my cabinet, I put the screws on the right side of the door, instead of the left. You may wish to do it differently.
I first screwed the hinges to the door edge. I spaced them evenly apart and started at the top. I put one screw in most. Then I put the door on the shims and made sure it was perfectly straight, door being open. Then I drove in one screw per hinge into the cabinet side. I closed the door to ensure it would close easily, without binding. Once it did, I finished driving the rest of the screws into place.
Next, I forced the coin door into its opening and locked it into place with the supplied 'fingers'. It is straight forward.
[Update- I purchased and installed a 30" piano hinge, which worked better. I attached it first to the door itself, adding screws to every other hole. Then I lined it up into the opening, making sure it was positioned correctly. Then I screwed the strip to the inside of the cabinet, using every other hole.]