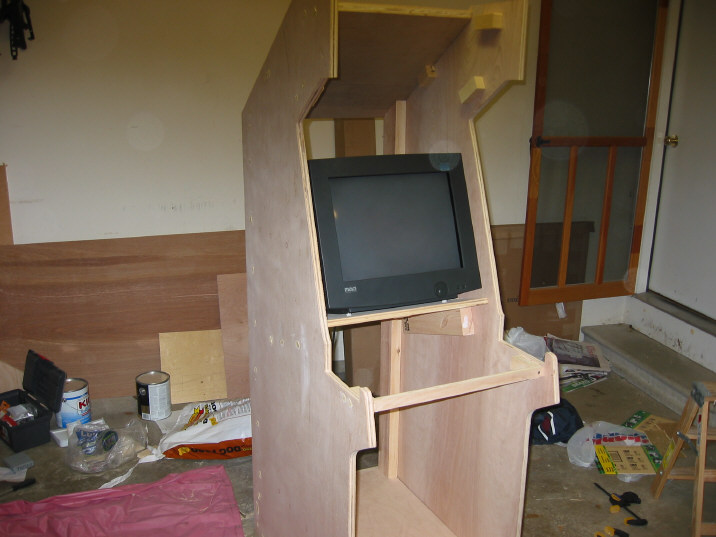
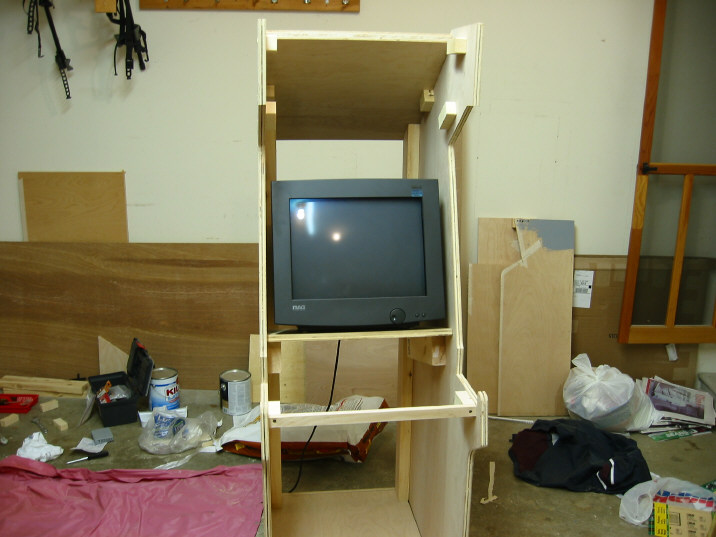
Once you get the cabinet upright, go get the monitor. I used a 19" model so it was fairly heavy and a little clumsy getting into the cabinet. It has little rubber feet that does not allow it to be slid once it is on the shelf (a good thing, actually). Consequently I just had to muscle it into place.
Due to an oversight, there are no pictures of the next step but it is easy enough to follow.
Cut an approximately 2" strip of plywood 20" wide. You should be able to just trim a strip off of some spare 20" stock. Now you need to make sure your monitor is exactly in the correct position. I assumed I would be using 1/8" glass for the monitor bezel. I also wanted the glass to be recessed 1/2" from the front, to be consistent with all the other sides. Therefore, I made sure the front of the monitor was 5/8" in. Then I took the plywood strip and placed it flush against the back of the monitor, on the plywood shelf. I drew a line on the backside of it. That's where it will be screwed in place. [I ended up ordering 1/4" glass, so my careful measurements were thrown off a bit.]
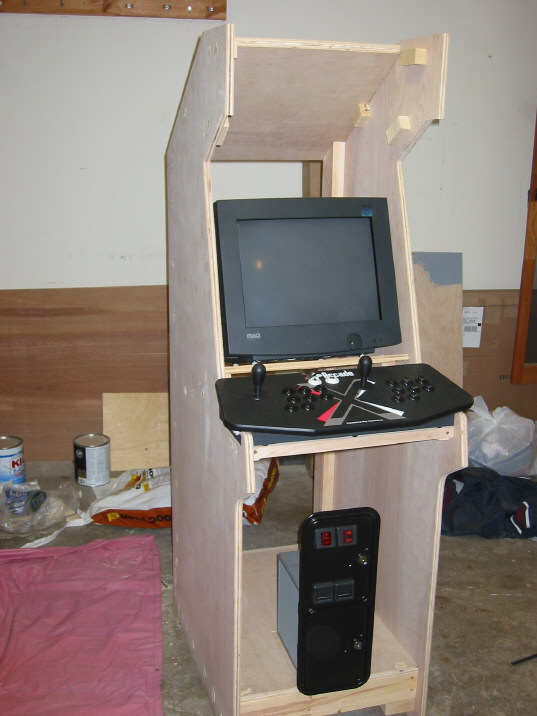
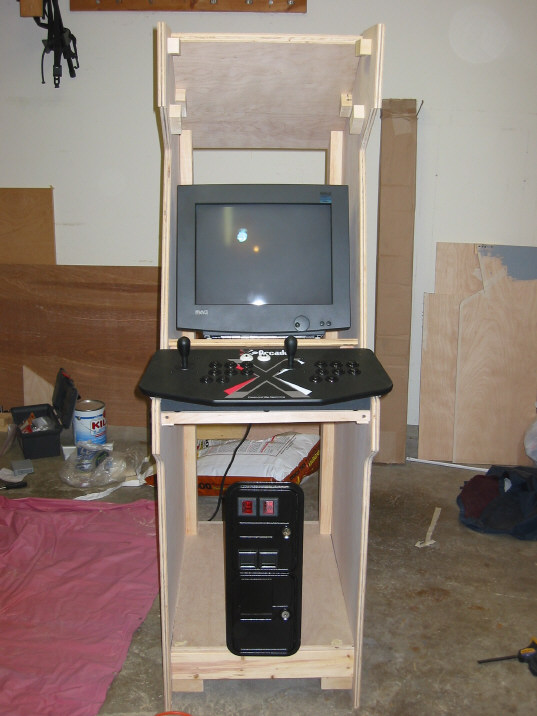
Before I did that, I threw in both the controller and the coin door and pretended again. I did that to reassure myself my design would actually work.
After I stood and admired my work, I removed the items from the work area. Then I screwed the ply strip into place, pre-drilling it to eliminate splitting.