I could not wait to get it inside and start playing.
With some help, I moved it from the garage into the house. I rolled it into the middle of a room. This is where I installed the T-molding. Since it is such an easy process (actually, I forgot) I did not take any pictures. Just force the molding into the grooves you cut at the start and smooth it all down. A rubber mallet helps and I used the side of a screwdriver handle to smooth it all down. At some of the corners, I was forced to cut a 'V' of the molding groove out so it would lie flat. I used a steak knife but anything sharp will do.
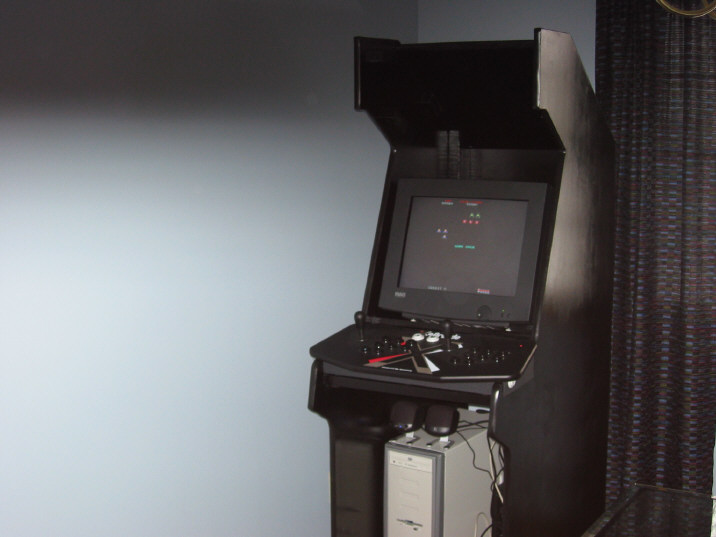
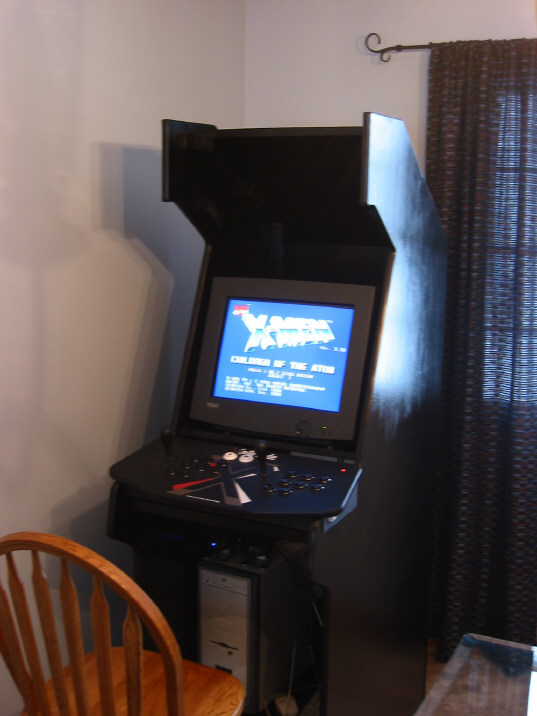
Once that was complete, I moved it to the room where it would be set up temporarily. Then I loaded all the components inside and powered it all up for a nice test drive.
Take a few pictures so your co-workers can be jealous and start playing. I actually used it this way for most of a week before continuing. Whenever you are ready to continue, move to the next section.
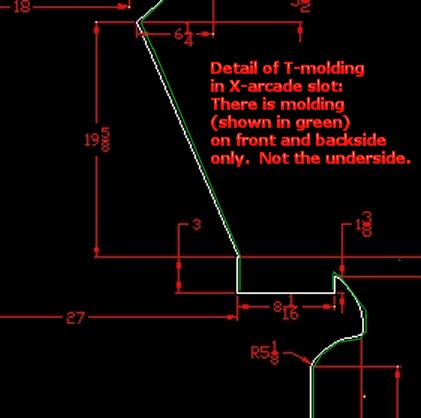
Update- 5/26/07- To answer a popular question, I placed T-molding into the backside and front side of the X-arcade slot, not the underside. This will make a very snug fit for the controller, and at the same time protects the controller itself. See bottom-most picture at right.