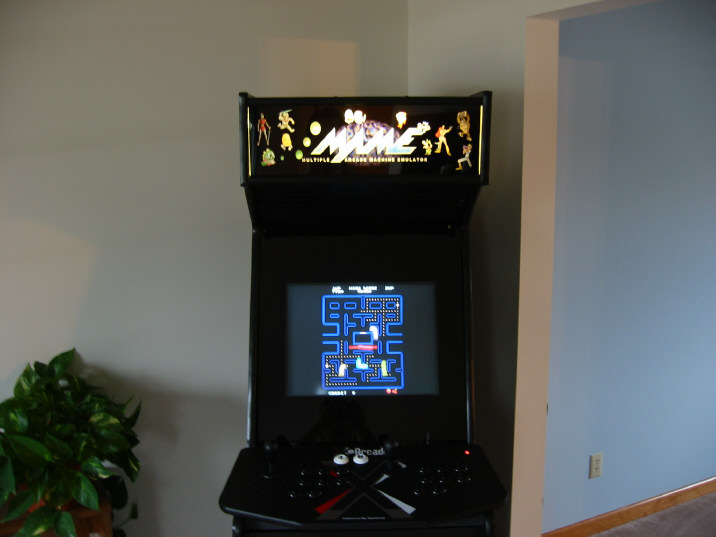
I needed two boards for the marquee area, the removable top board which will have the light fixture attached to it, and the small board below the marquee. I cut a 9" deep x 20" wide board for the top. This is not beveled. I also cut a small strip that is 2" wide at the narrow and a bit more at the wide point, beveled. After you cut these, you will need to sand and paint them.
I ordered the marquee from EMDKay (the original site is no longer available), which did a fantastic job! I supplied my custom measurements, being sure to include a 3/4" black border on the top and bottom. A week later, it arrived safe and sound in a box that could likely support my weight. Mine was 19-15/16w x 5-3/4 actual marquee height, physical height of 7-1/4". This included the border on top and bottom.
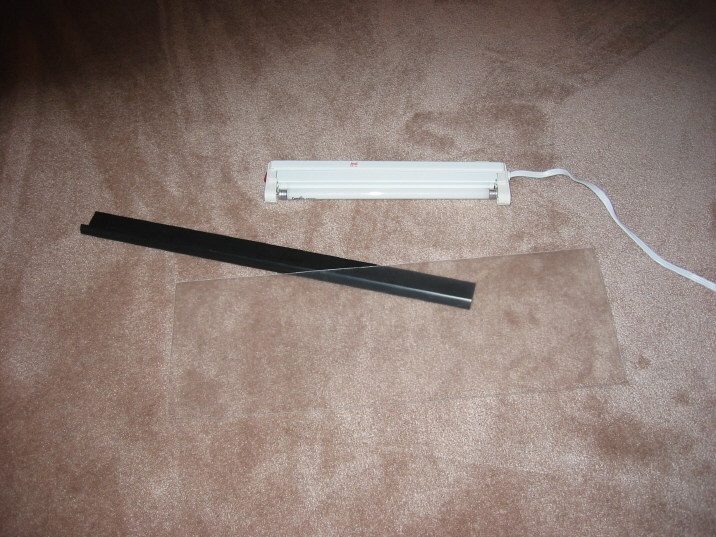
I cut two strips of Happ marquee retainers with a hacksaw and then sanded the cut edge well. I cut two pieces of 0.08" plexi with the special plexi cutter they sell. I caught on by the third cut (there were 4 total). Two pieces of the plexi was cut to 7"x19-15/16". The marquee itself will sit between this. I decided to leave the protective film on the rear piece of plexi to help defuse the light.
After I determined how far the retainers would extend out from the boards, I drilled pilot holes through the retainers. I used 1/2" black, rounded-head, wood screws to attach them.
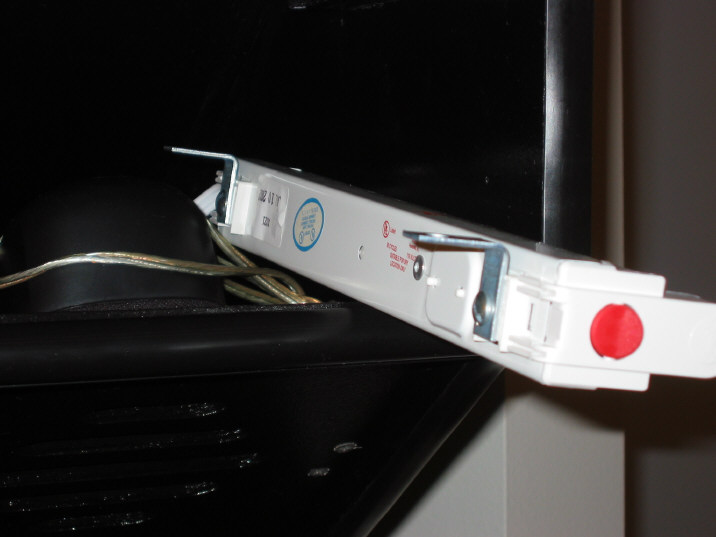
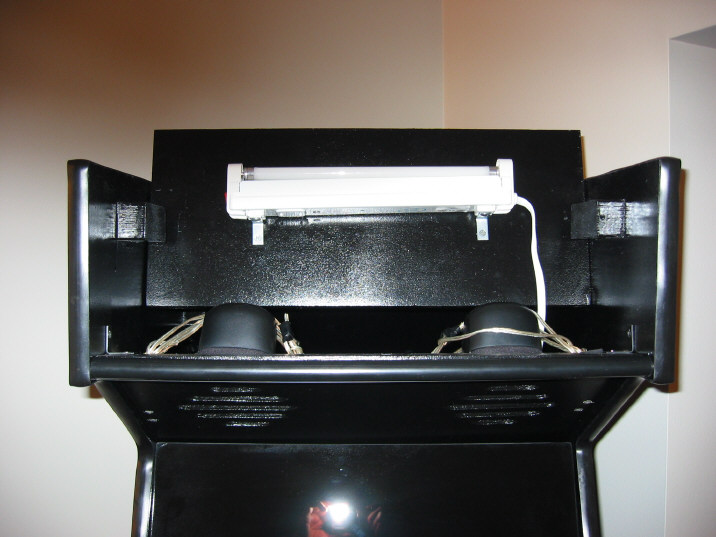
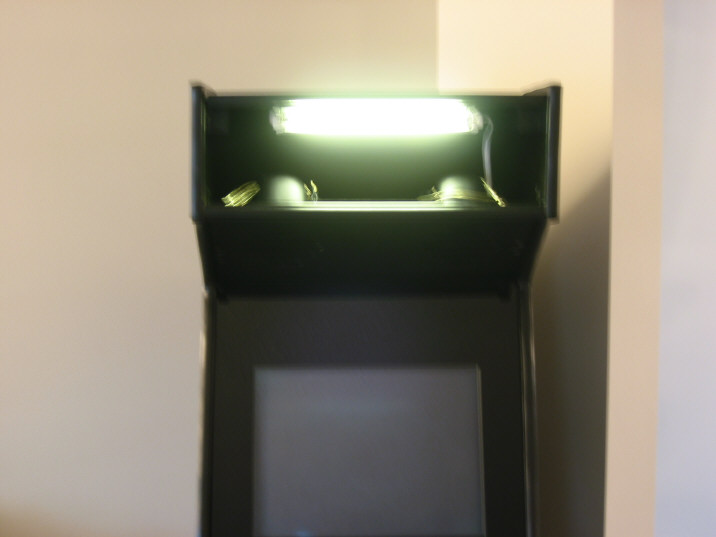
I also installed the marquee lighting at this point. I just used a 12" fluorescent bulb (3rd picture).
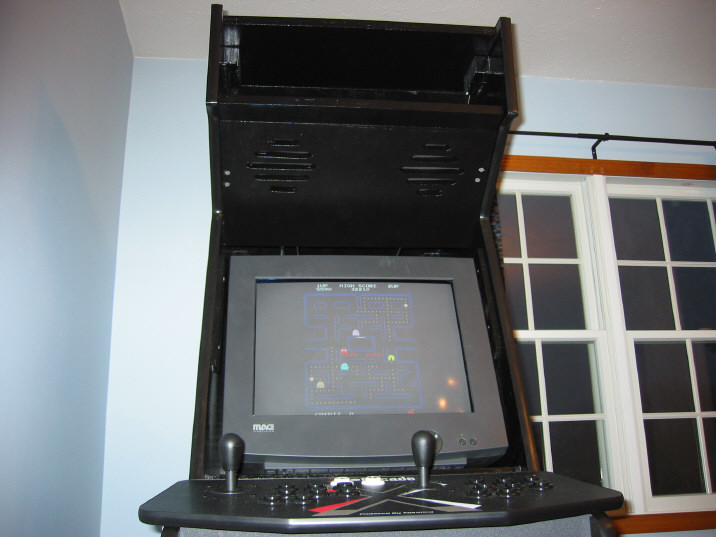
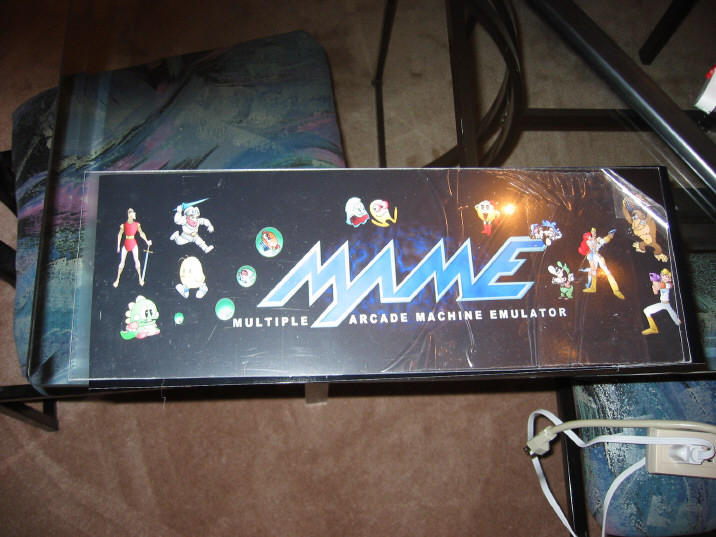
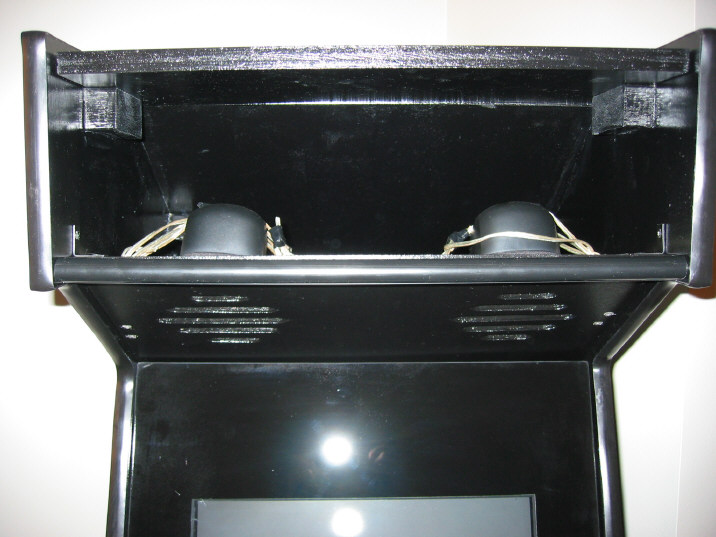
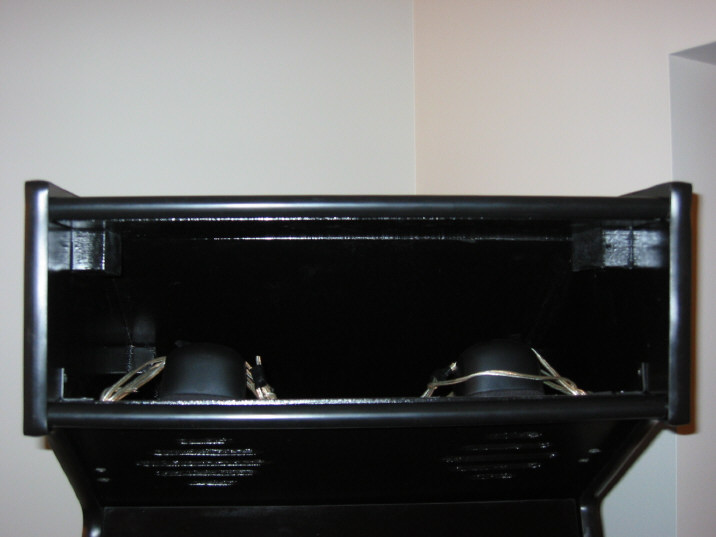
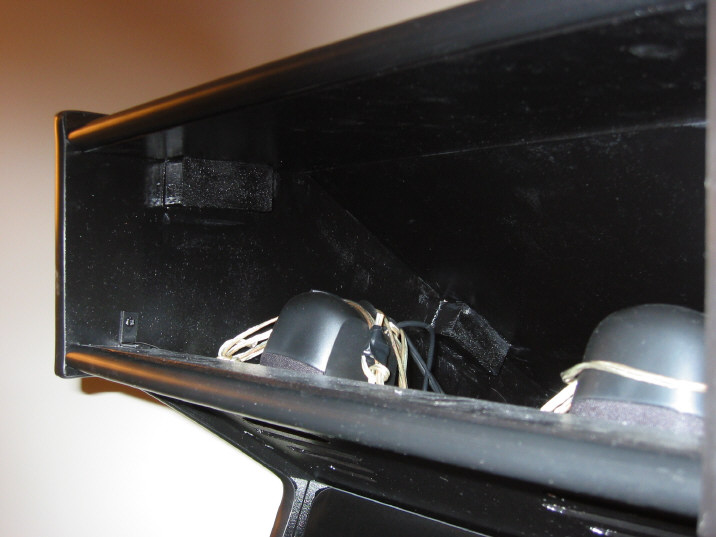
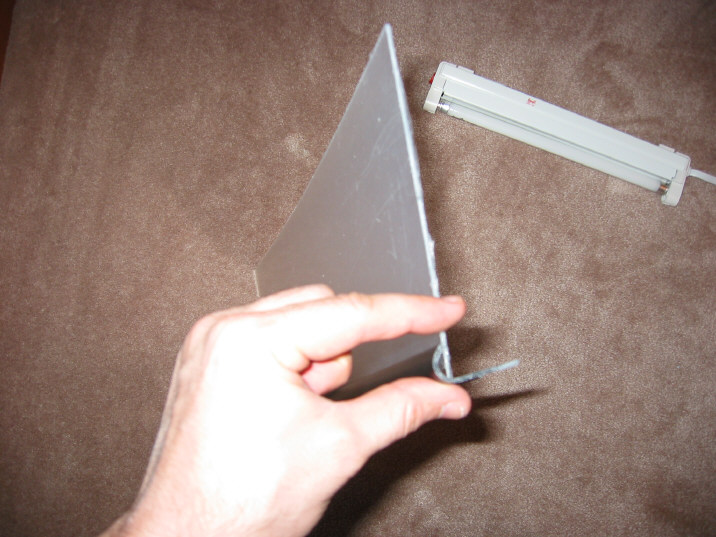
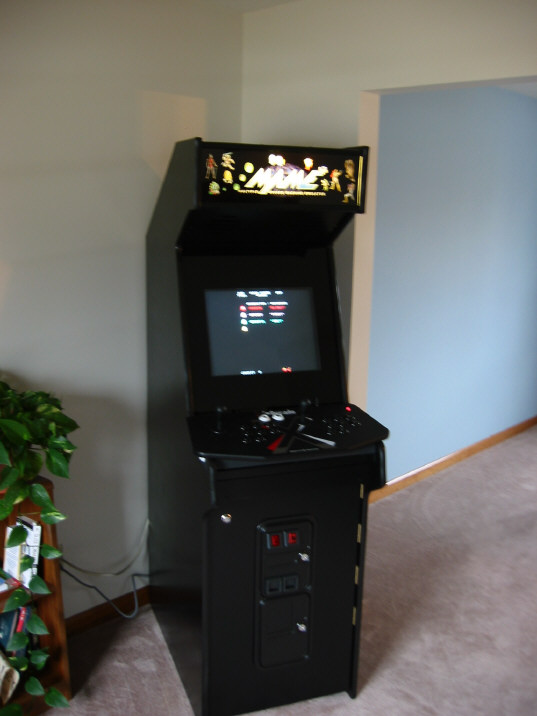
Once I got the light up and working, I put the marquee into place and stood back to marvel at its beauty. Correction, I went for a beer, then stood back to admire the marquee's beauty.