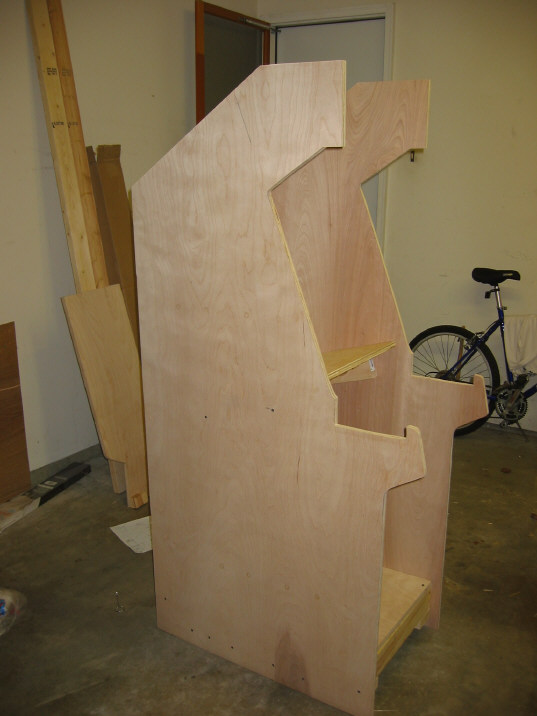
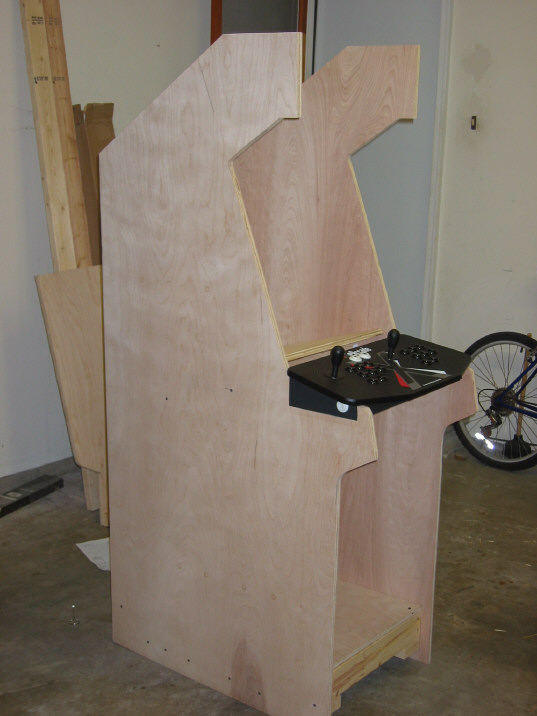
This is the fun part. Stand the cabinet up and step back to admire your work so far. It certainly does look like an arcade cabinet already. Grab your controller and place it in it's spot to make sure it fits correctly. Stand in front and pretend.
After you are happy, remove the controller and put it away again.
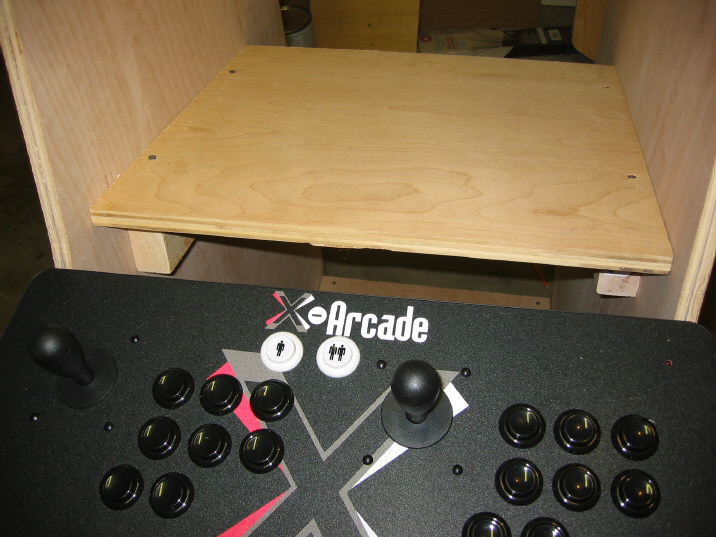
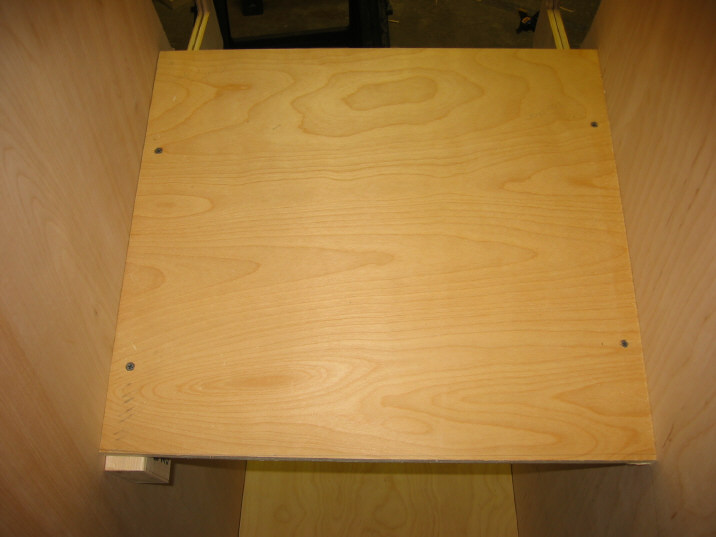
Add some more screws to the monitor shelf as well as to the base structure. I was fairly liberal with the drywall screws. The entire weight of the cabinet will coming down on the base and I wanted to make sure I had plenty of screws distributing it.
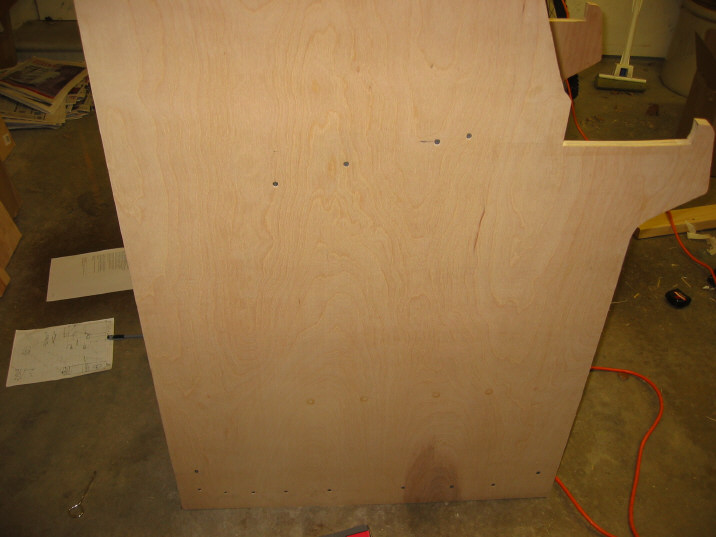
Try to pop the screws through the face a bit, so, with a bit of patching, you'll never know where they are located. If they don't pop through on the first try, back them out about a quarter-inch, then drive back in again. That worked for me often enough.
[* Update- Countersinking the screws by predrilling helps, too]