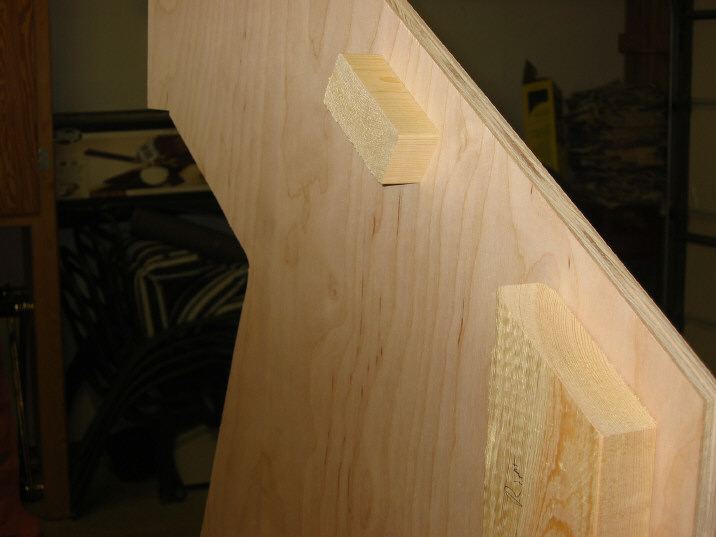
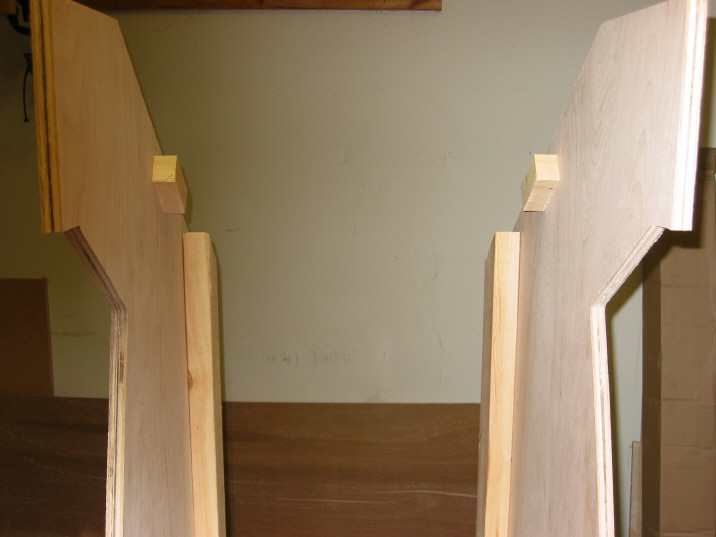
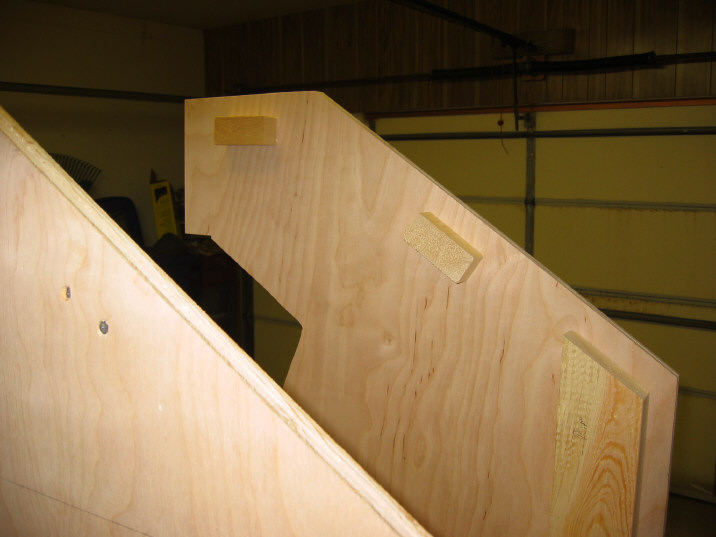
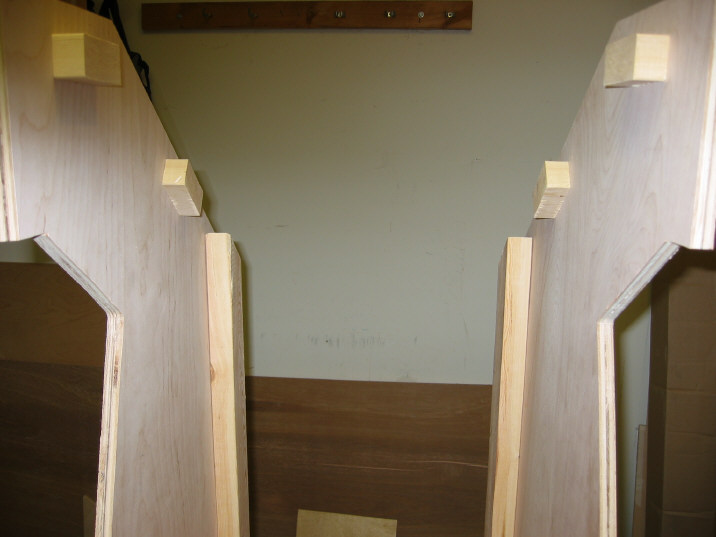
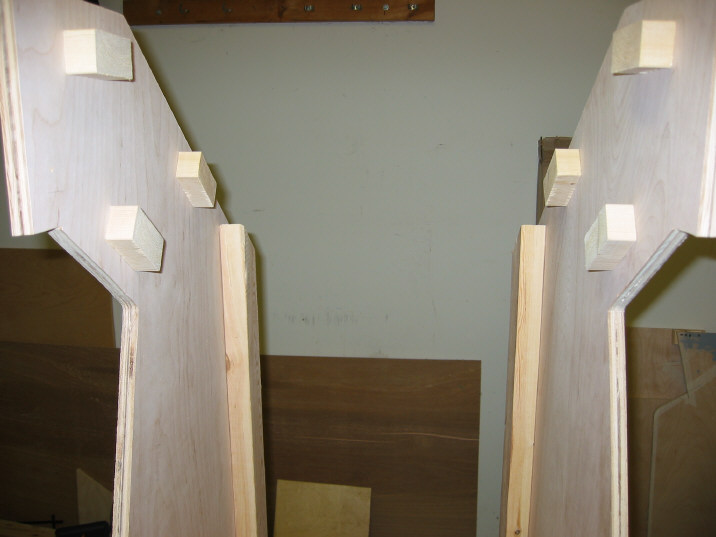
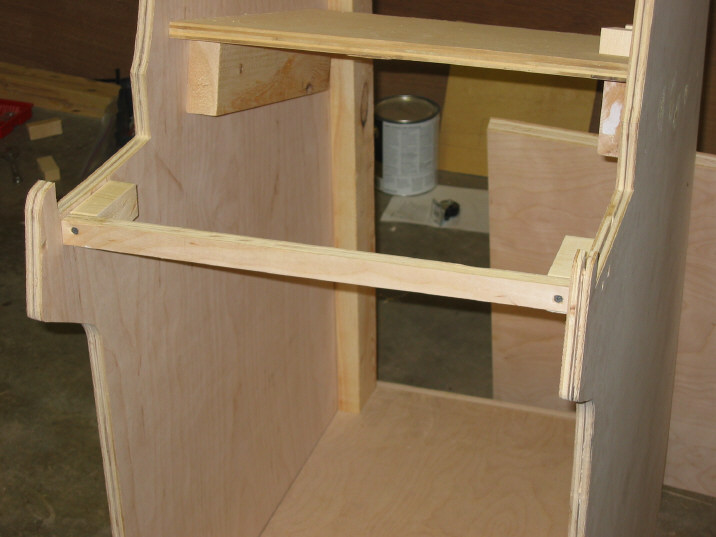
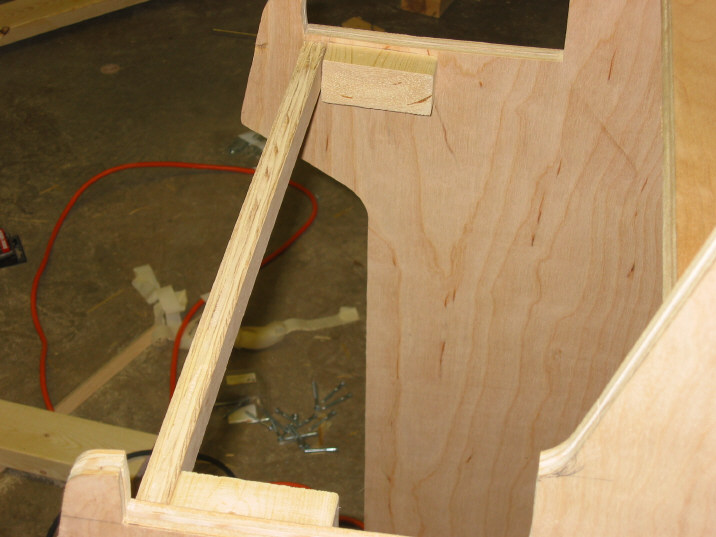
I added ledger boards, that are screwed in from the side, to support the top pieces. The ply boards will screw down into them from above. The ledger boards are just 2x4s cut into 1" strips.
[Update- I have since used 1"x2" boards, 8 (eight) cut 4 inches long and 2 (two) cut to 8" and they seemed to work better, without any splitting.]
Start by cutting eight 2x4 pieces 1" wide. The first one I placed about midway between the back beam and the top angle of the cabinet side. It is down 7/8" from the cabinet edge and follows the side line as the beveled back beam starts. I clamped it in place, and put two screws in it from the outside. Repeat for the other side panel. Examine the pictures if the text is hard to follow.
The next ledger was the topmost one. It is 7/8" down and at the midpoint between the top cabinet angle and the cabinet front. Again, clamp and screw. Repeat for other side.
The last ledger goes 7/8" from the underside. The fifth picture shows it's placement. Same process as the prior four.
At this point I added a ledger board and plywood strip to the front of the cabinet (Picture 6). I placed the ledger board down 1/8" from the underside of the controller to account for the little feet, and 3/4" from the front of the controller (to allow for the 1" plywood strip which will attach to the front of it in the next sentence), and screwed it in. I then took a 1"x20" strip of plywood and screwed it to the two ledgers. I didn't pre-drill the plywood so it cracked slightly. This strip will keep the front from bowing outward, which it would otherwise.
Lastly, I test fit the controller again to make sure I didn't mess up the width. The side of the controller should be flush with the side of the cabinet.