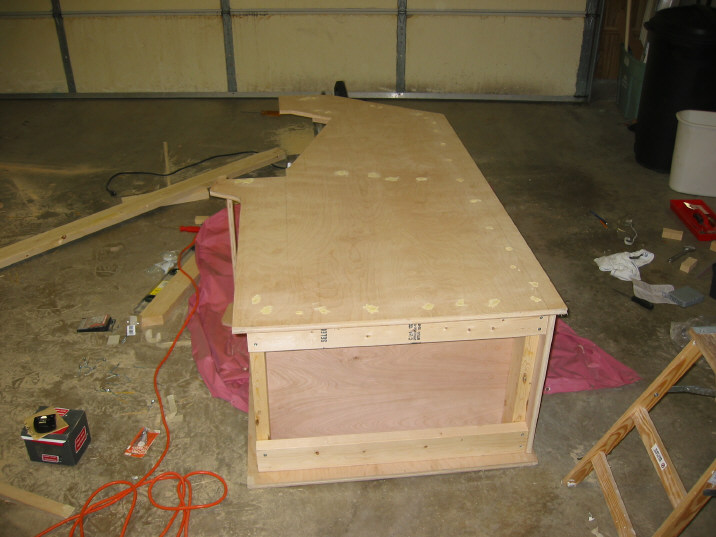
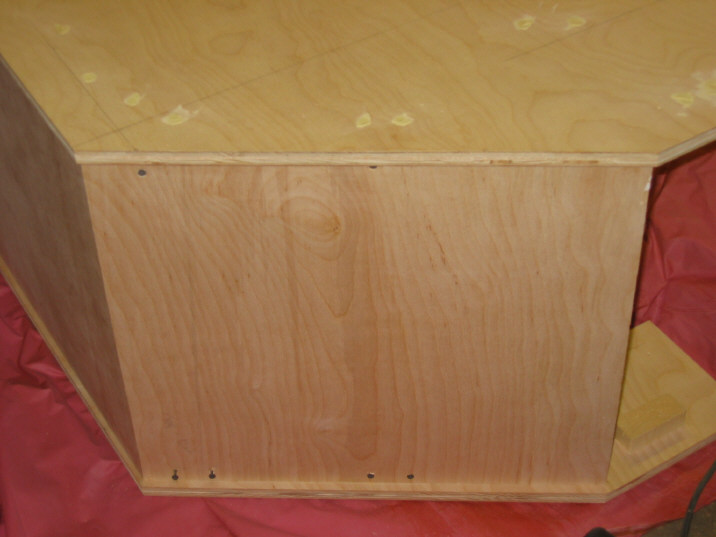
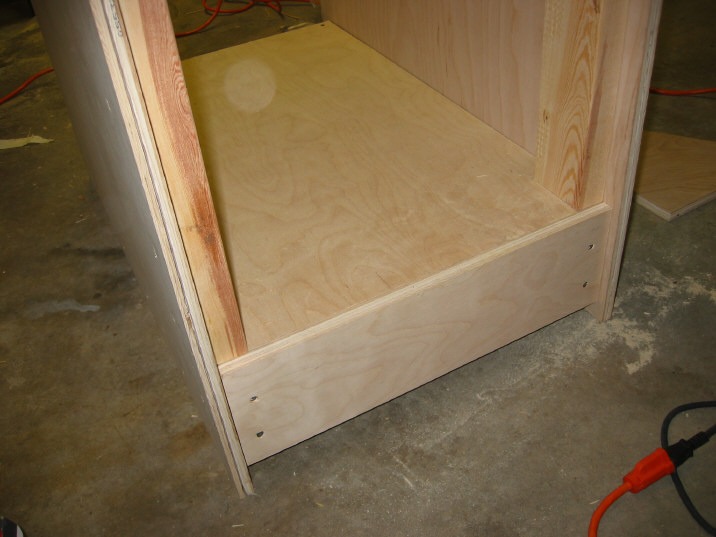
To hide the 2x4 base from the back, I created a plywood face for it. Remember how we recessed the base 1-1/4" inch in from the back? That was with this in mind. Cut a 20" x 5-7/8" strip of plywood. Get the top of it lined up with the top of the cabinet base, so it flows smoothly out. Screw it to the framing. This is not structural so four screws should be more than enough.
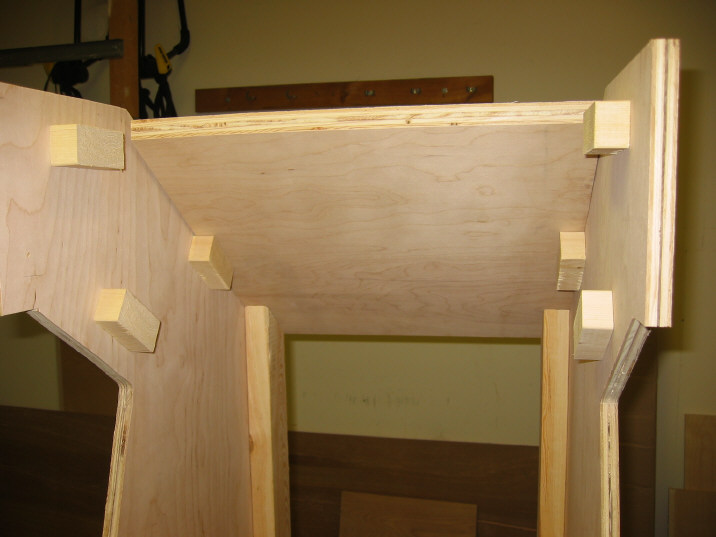
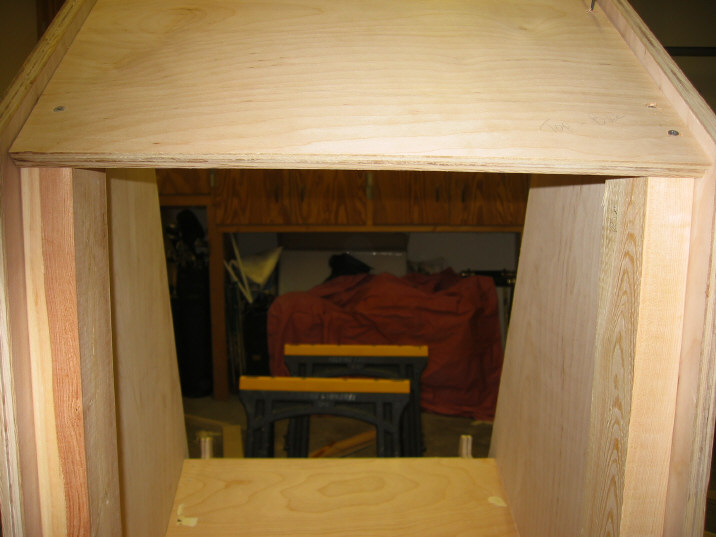
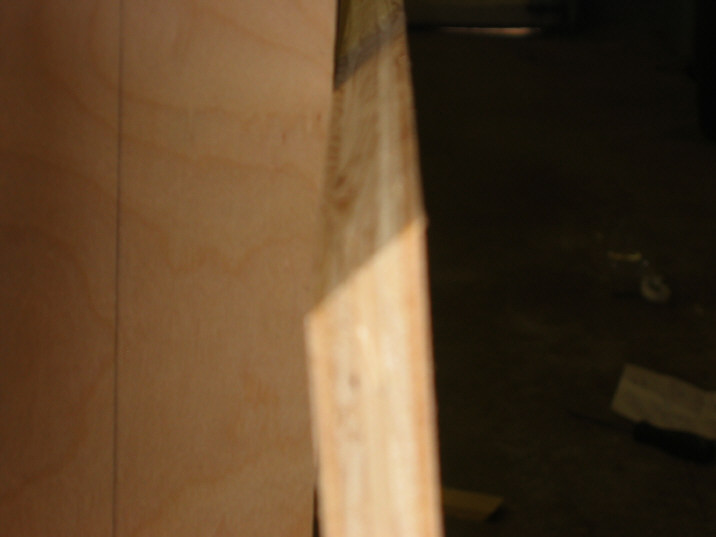
[Paragraph has been updated] Next, you will create the board for the angled part of the top. Because the board will be meeting two other boards at an angle, you will want to bevel these edges. Cut the board 20" wide. Then measure 22" for the outside edge. You will want to lay the board on its good side and cut one end at 35 and the other end at 25. I used a table saw for these cuts. The bevel should look like picture 4.
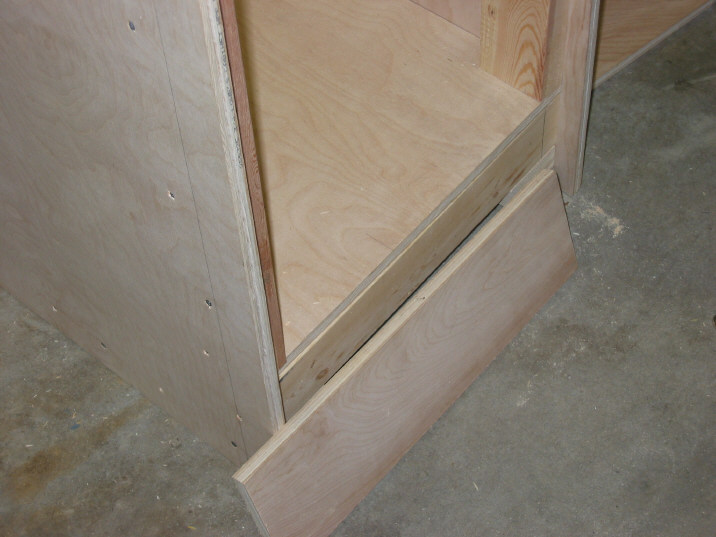
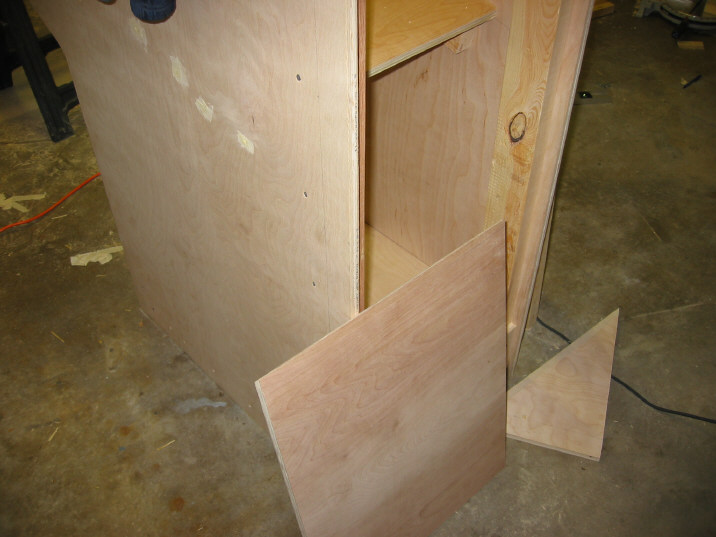
After you cut it, test fit it just to make sure. It should fit very snug. Remove it. You will not secure it until after the cabinet is painted.
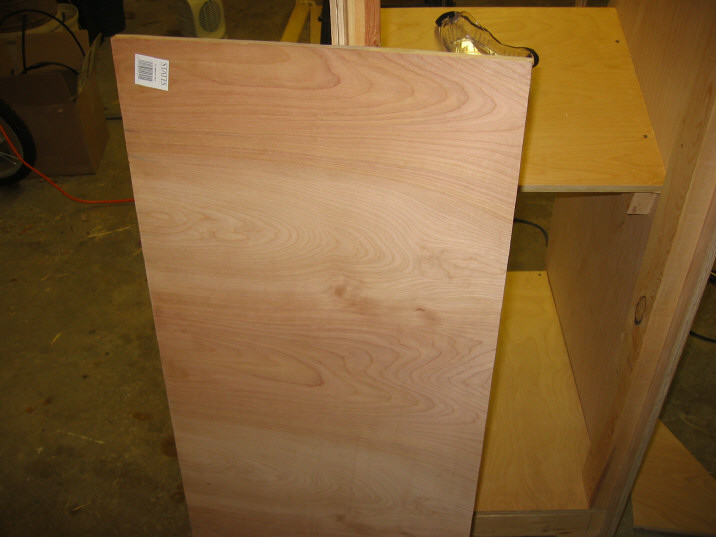
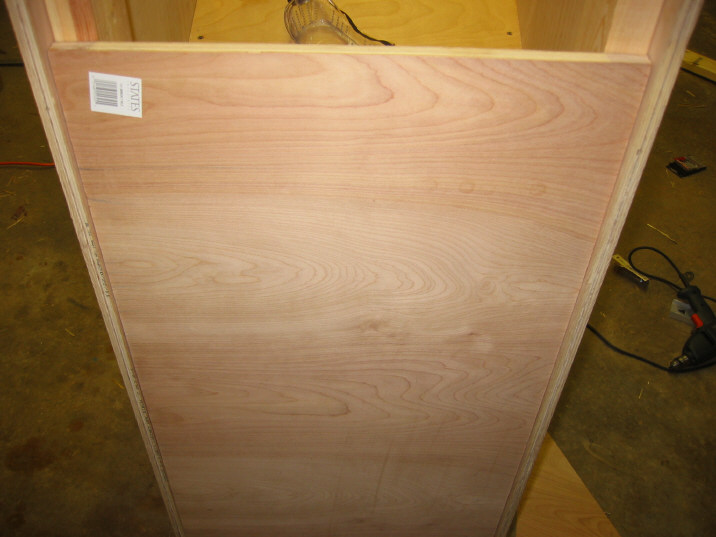
You will now find that the cabinet walls resist being pulled together. Even with a second person pushing the sides together, it defied us. I finally had to lay (carefully) the cabinet on its side and basically sit on the cabinet side while screwing the board on. This ensured that the plywood was holding the sides together as tightly as possible. In the bottom picture, notice I left the back board temporarily in place just to ensure it would still fit when finished.
Stand it up when finished. It is now time to throw the monitor in.
[Update- A bar clamp at least 24" long does a much better job of holding the two sides together than the "sitting atop it" strategy. I did not have any clamps when I first constructed the cabinet.]