ArcadeCab
Cabinet Plans 2: Assembly
Table of contents
- Background
- Tools
- Materials
- Cutting Side One
- Cutting Side Two
- Dado for the Base
- Building the Base
- Monitor Shelf
- Ledger Boards
- Speaker Area- Start
- Upper rear
- Back
- Top
- Drawer
- Door
- Speaker Area- Cuts
- Painting
- Assembly
- Marquee
- Monitor Bezel
- List of Boards
- Control Panel Part 1
- Control Panel Part 2
- Wiring the CP
- Attaching the CP
- Finishing Touches
- Software
- Final Thoughts

Assembly
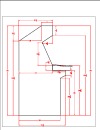
We began by laying
out all the cabinet parts on the floor (see A). You'll next start with
the left side of the cabinet. Place it inside facing up. Take the base
and, facing it the correct direction, place it into the slot. It
should snap in snugly. Try to hold the side at a 90 degree angle to the
base as you drive the screws through the ledger into the base. We used
3" decking screws, and
predrilled the holes out at this step to clear any paint from them. Be
advised you might have problems getting this length of screw all the way
in; we ended up trashing a few screws, but in the end was successful.
Next, take the monitor shelf and place it on the cabinet side. Keep it
at 90 degrees as you drive the two screws into place.
|
|
|
|
|


|
Carefully stand the side up, and place the base into the slot of the ... To make sure you get the base seated exactly right, I suggest you use two of your long clamps (even though you only see one in my photo). Attach one to the front of the cabinet and one at the rear, and tighten them so that the outside dimension of the cabinet is exactly 21.5". Now you can drive in the screws for the right side of the base. |
|
|
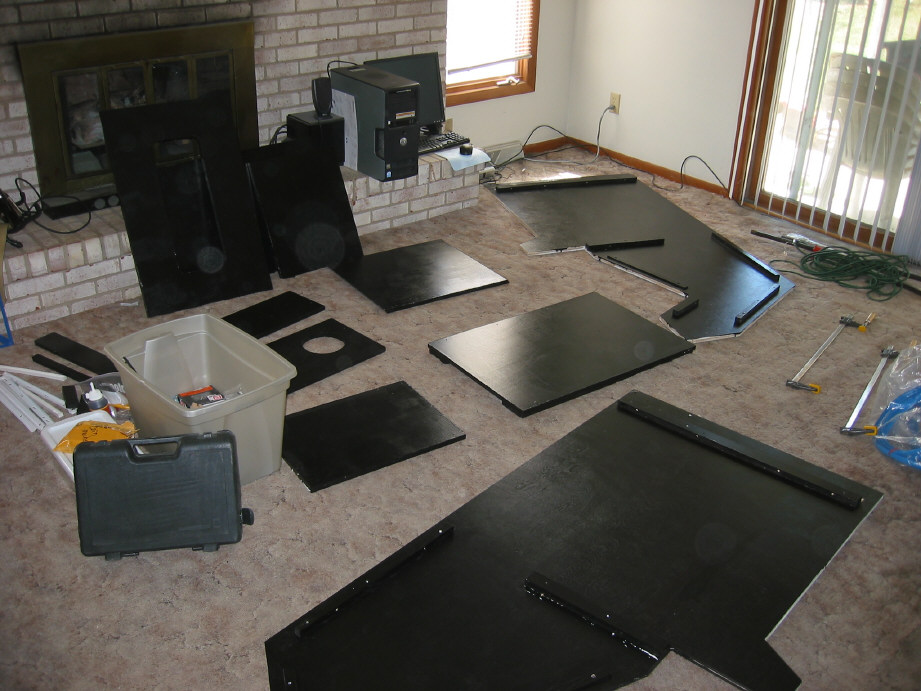
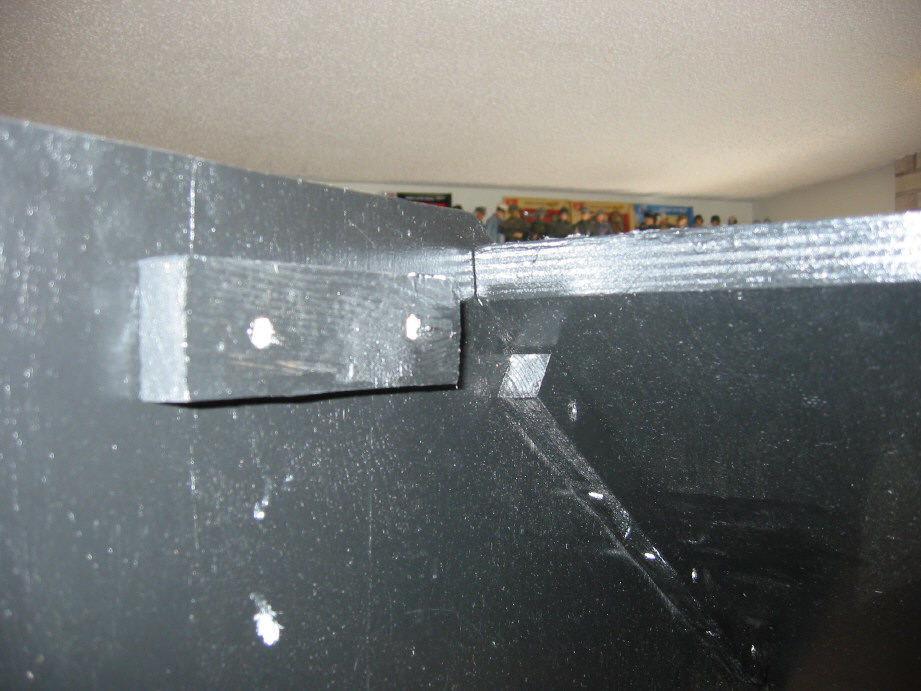
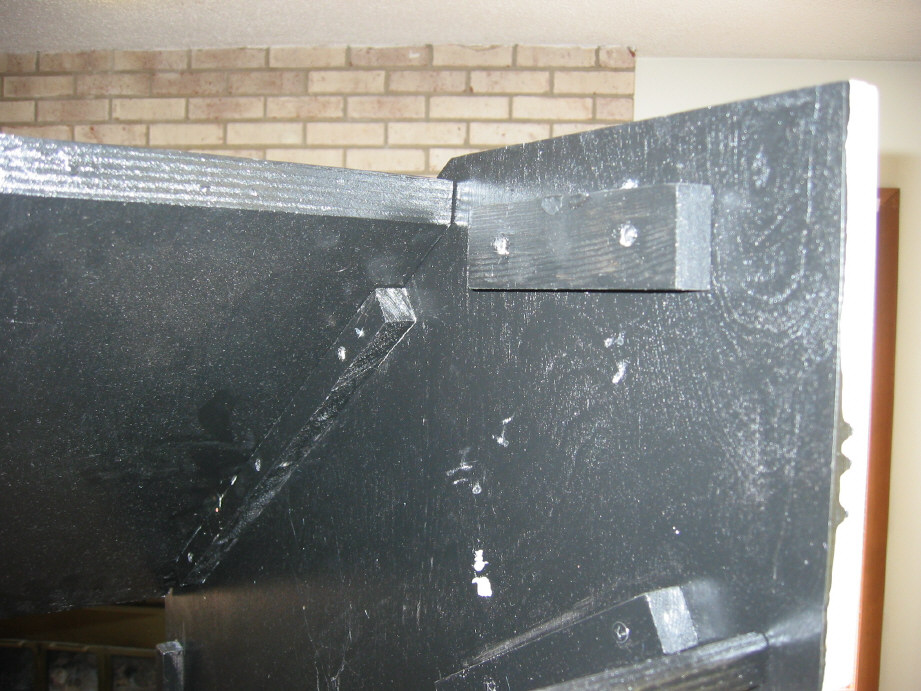
Next, you will work on
attaching the other side of the shelf. Remove the two clamps from
the bottom of the cabinet and attach them at the height of the
shelf, front and back. Before making them snug, ensure that the
cabinet shelf is in exactly the right position. Once you are sure it
is, tighten the two clamps so the outside dimension is 21.5". Drive
in the two screws. |
|
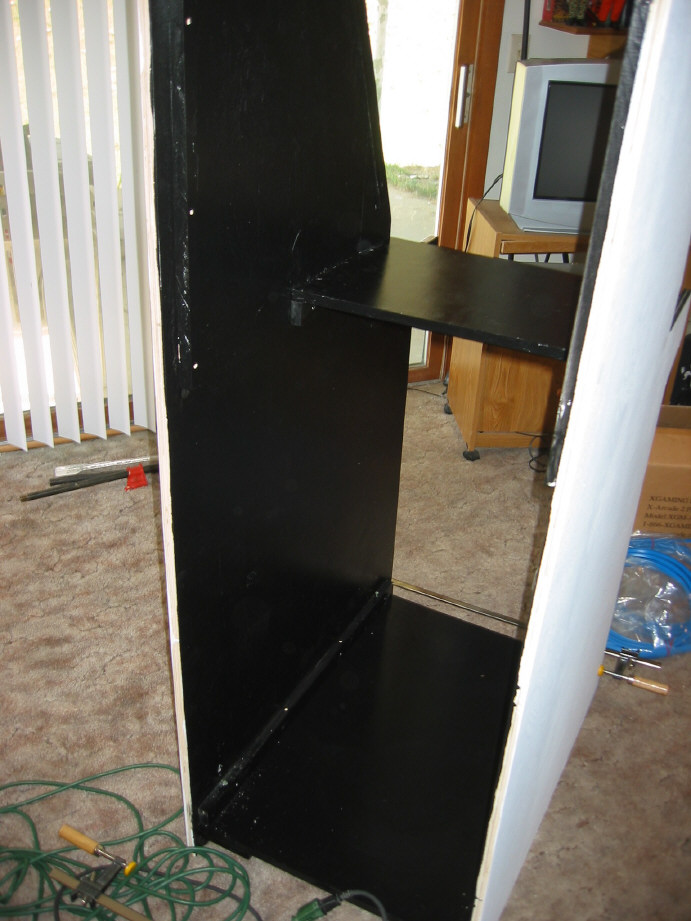

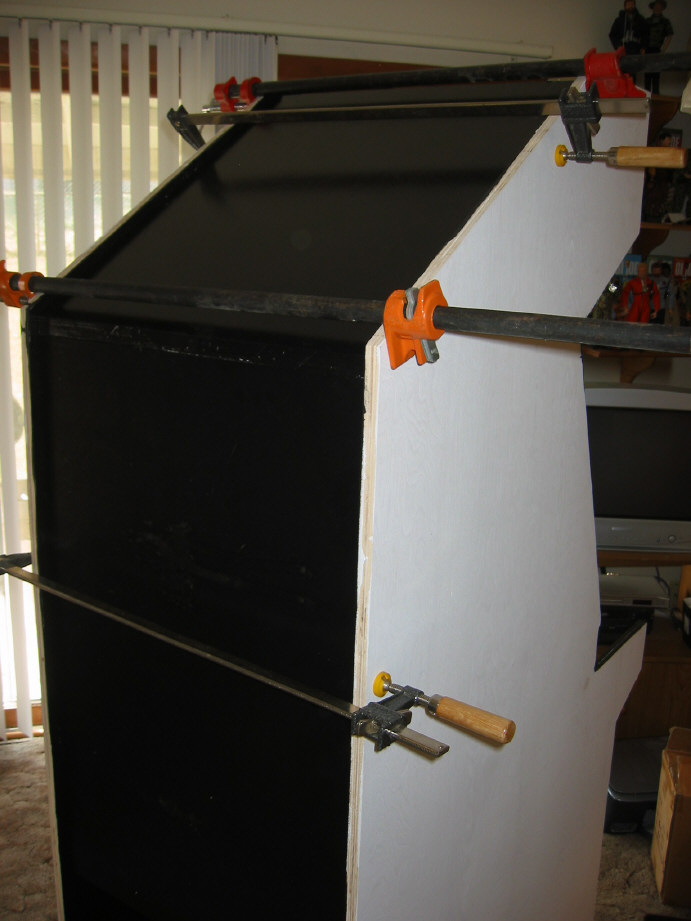
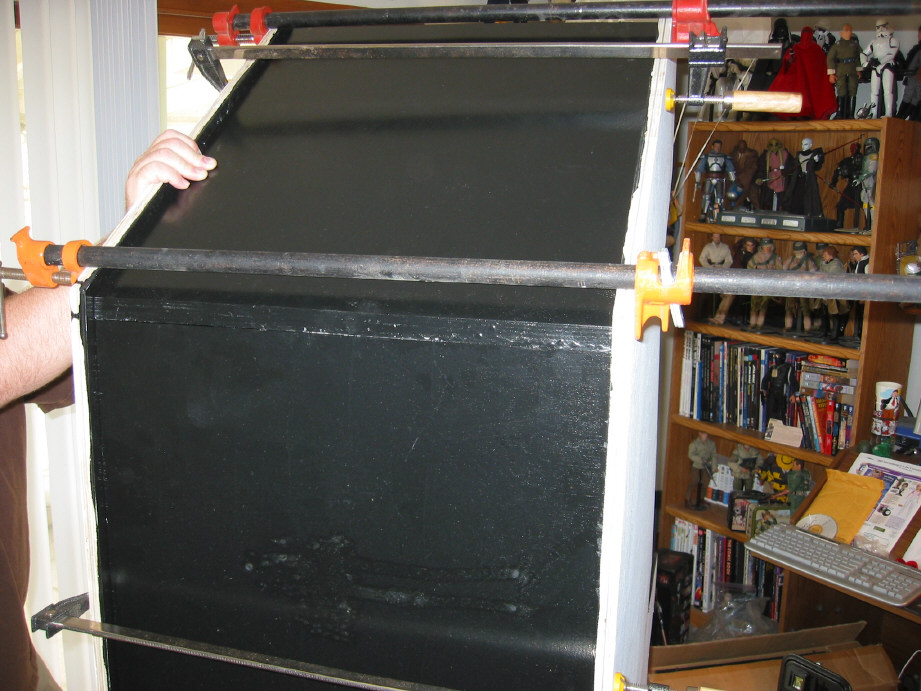
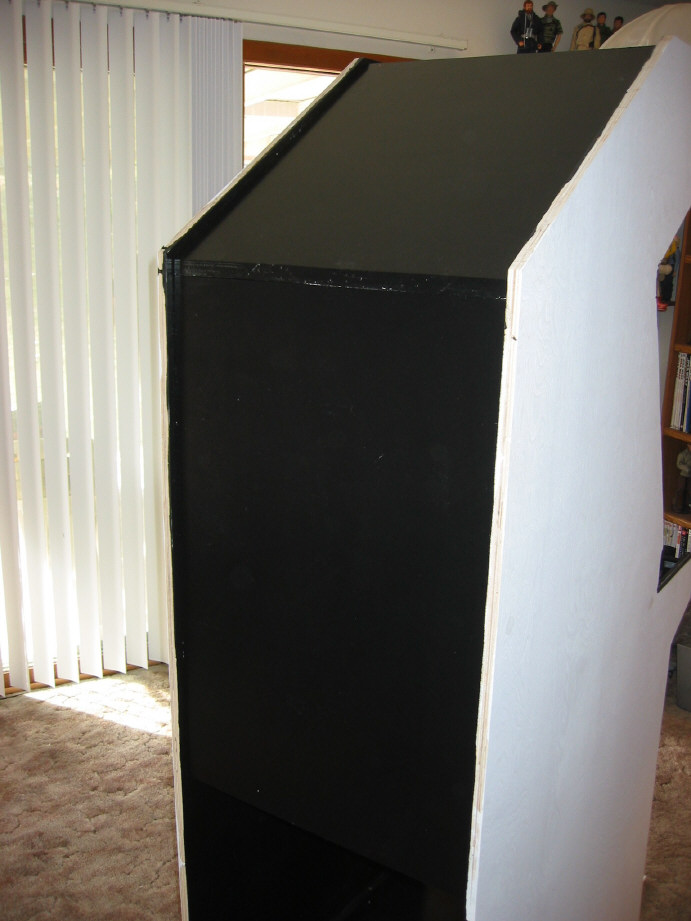
In order to get the rear and upper-back boards in place, we used several long clamps to get the cabinet squeezed together (G-I). We placed the boards to where they should be, then tightened the clamps so the outside measurement was 21-1/2". We used 1-1/4" screws to attach the boards. After that, we removed the two ledger boards that would support the top of the cabinet, and attached the speaker board from above (L). Finally, we reattached the two ledger boards (M). Throw on the top (N) and admire your work.
|
|
|
|
|
|
|
|
|
|


|
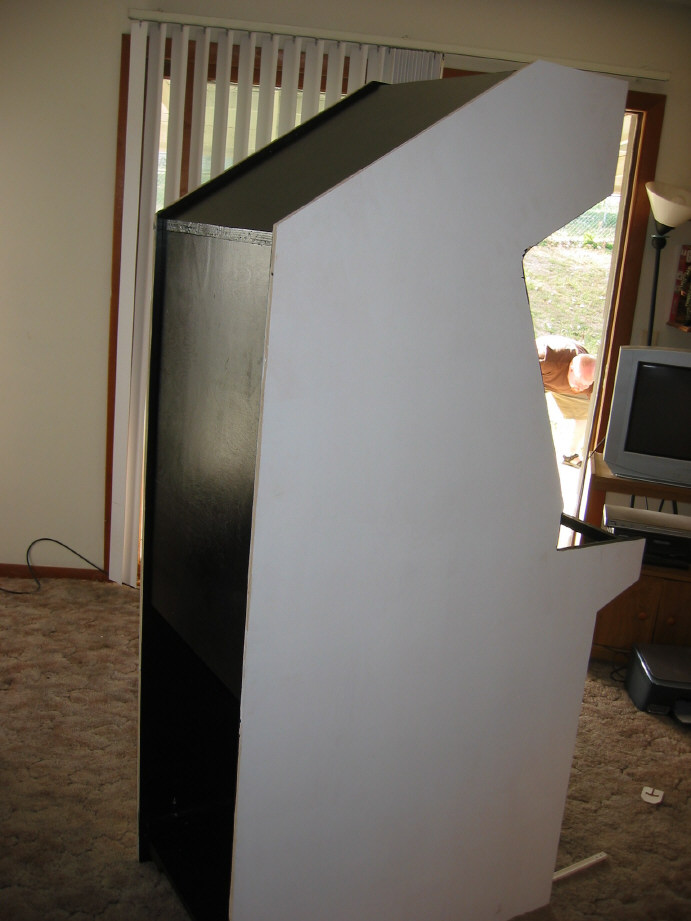
To the right are are three pics added in the middle of this page, "just because". |
 |
 |
 |
Caster Attachment
In order to attach the casters, place the cabinet (carefully) on its
side. You can use any length screw; we used 1-5/5" because they were
handy. We chose to use two swiveling casters for the front, and two
stationary ones
for the back. I learned from my first cabinet that by using four
swiveling casters, it makes moving the cabinet a little harder. Since
then, I've used this strategy and it has worked better. Feel free to do
what you think best.
Center the casters on the 4" wide board. Set them back about 4-5" from the
rear. Drive in the four screws. Repeat for the front, making sure that
when the wheel is swiveled all the way forward it does not hit the
(future) door. See picture P for how we checked this.
|
|
|
|


1" Strip
Stand the cabinet up.
Next, install the 1" strip at the front of the cabinet, above the
drawer. This is attached with a small L-bracket. You might want to
take a clamp and tighten the area to 21.5" (outside dimension) before
attaching the strip.
|
|
|


Drawer
Attach the drawer slides to both the interior wall, and the drawer
itself, using the predrilled holes (remember the ones we drilled before
painting?) as a guide. Slide in the drawer and this step is complete.
|
|
|
|
|


Door
Note- Make sure you know which side if up on the door before you
begin. This is rather important.
A little comment about how we arrived at our choice of door hinges. We purchased 95 degree hinges to use but discovered two things. First was that two college-educated men couldn't figure out how to actually install them. The second was that the hinges snapped nastily and nearly removed parts of our fingers. With this being in a home with children, that was a liability. What we fell back on was the tried-and-true piano hinge. This was almost exactly the length of the door so we quickly screwed the hinge to the door edge, then attached the other side of the hinge to the cabinet wall. We made sure that the door would open and not hit the bottom of the drawer face. There is not tried-and-true calculation of placement; you'll just do it by eye.
We
will install the door lock and L-bracket to keep the door locked shut
later on in
Finishing Touches.
Paint the sides
At this point, we stopped assembly and Scott painted the two exterior
sides. We did this last so that the clamps we used during the assembly
process did not mar the beautiful paint job.
T-Molding
Scott attached the blue T-molding after allowing the cabinet sides to
dry overnight. T-molding is best installed with a rubber mallet, and a
sharp knife. The method I've found that works best is to start at the
lower back on
overnight. T-molding is best installed with a rubber mallet, and a
sharp knife. The method I've found that works best is to start at the
lower back on
the cabinet and start pressing the molding into the groove with your
fingers. Get a length about 4" partially pressed in, then go over it
with the rubber
mallet, working from the starting end forward. Repeat. When you![]() reach a
corner, you will need to remove some of the inside of the molding, which
is called notching. Essentially you remove a 'V' of material so that the
molding can go smoothly over the corner. See the right for a visual
example.
reach a
corner, you will need to remove some of the inside of the molding, which
is called notching. Essentially you remove a 'V' of material so that the
molding can go smoothly over the corner. See the right for a visual
example.
Continue working in this way until you complete one side. I did not add
molding to the 'L' of the control panel support area. One side down,
repeat for the other side. Wipe it all down when you are done with a
damp cloth
and you are ready to move on to the next step, adding the speaker
grills.
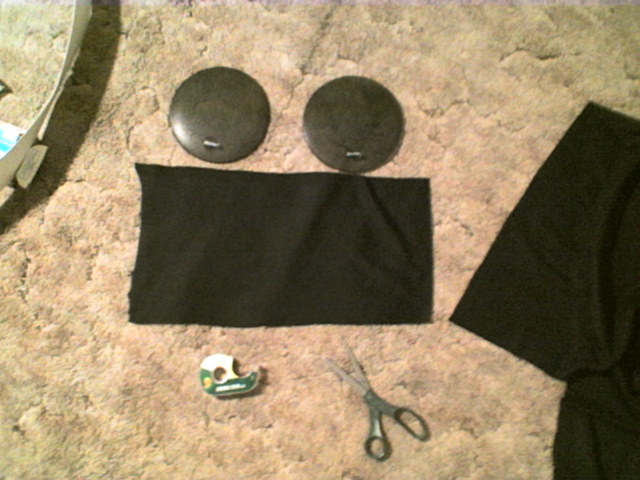
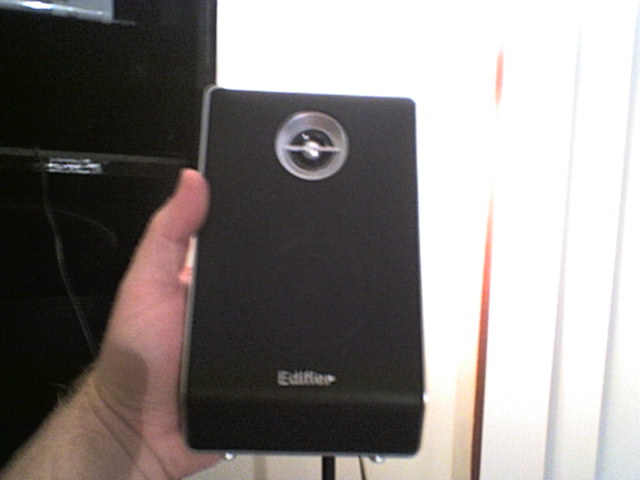
Speaker grills
Scott purchased a bit of black acoustic fabric
like the kind on the front of home stereo speakers. He cut off a section
that was large enough to cover both speaker holes from the inside. He
then attached it with a few small
screws on the inside of the cabinet, covering the holes. Next, he
attached the speaker grill surrounds to the front of the cabinet, making
sure that the cutout was centered within the grill. Then he snapped the
grill face plates
in place. The speakers were put into place with Velcro. We have no
pictures of this process but it was much like the descriptions at the
bottom of the Original
Plan's Speaker page.
|
|
|
|
|


Monitor
Scott used a 19" LCD in this cabinet, left on its
stand. He found the perfect placement for it on the monitor shelf, and
then placed two shims under the front legs to ensure the monitor's face
matched the angle of the cabinet
perfectly, so that the glass would be equidistant the whole way. He then
secured the base in place so it would not move. I hope to have a picture
of this at some point soon.
Coin door mounting
The final step on this page was to install the coin door. We will
wire it up later on in this document on the
Finishing Touches page.
The coin door installation is straightforward. Just follow
the directions included with yours and you'll be all set.
Next up, we'll tackle the marquee area.