ArcadeCab
Cabinet Plans 2: Cutting Side Two
Table of contents
- Background
- Tools
- Materials
- Cutting Side One
- Cutting Side Two
- Dado for the Base
- Building the Base
- Monitor Shelf
- Ledger Boards
- Speaker Area- Start
- Upper rear
- Back
- Top
- Drawer
- Door
- Speaker Area- Cuts
- Painting
- Assembly
- Marquee
- Monitor Bezel
- List of Boards
- Control Panel Part 1
- Control Panel Part 2
- Wiring the CP
- Attaching the CP
- Finishing Touches
- Software
- Final Thoughts

The Second Side
The second side is a lot easier than the
first. First, place the full plywood sheet down on the sawhorses,
good side down. Now place the completed side down on it.
Square up the back and bottom edges perfectly. Trace carefully
around it. Take the first (completed) side off and it set it out
of the way. You will then cut around the outside of the line.
My method is to simply cut around the lines with a jigsaw, staying
within 1/2" of the line, as in picture A. You might need to take a
break halfway around to give the blade a few minutes to cool down.
Be sure not to touch the hot blade (Scott!).
Note: Make sure the two best sides will end up as the outside of the cab. Even on this quality of plywood, there is a better (smoother) side.
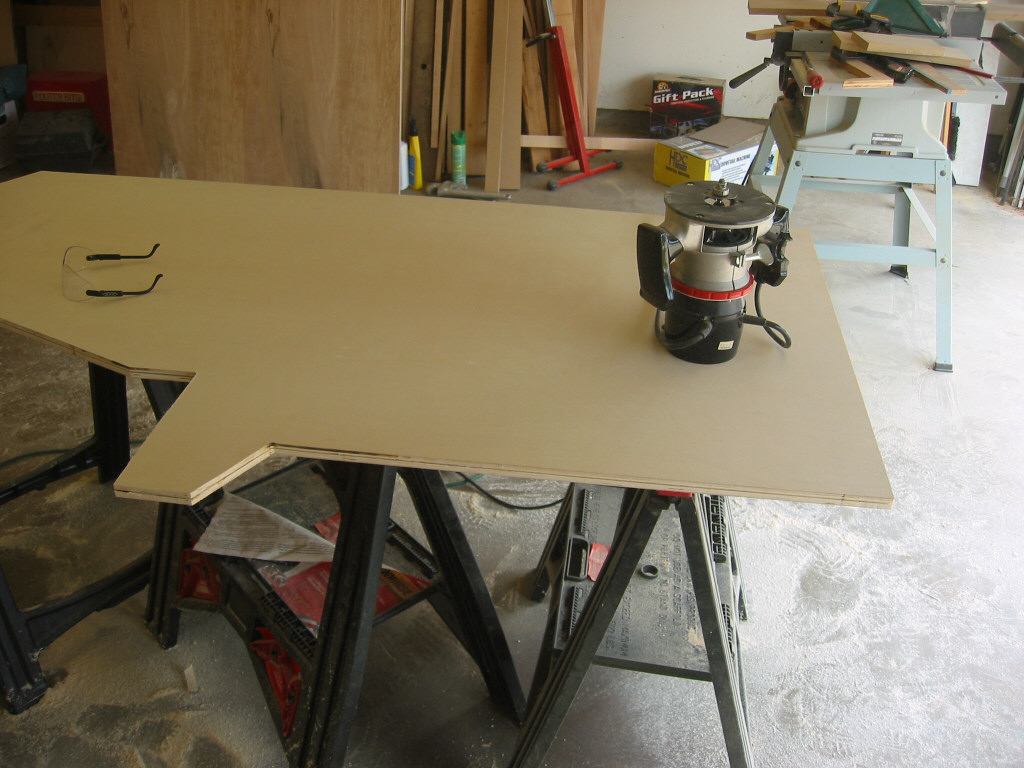
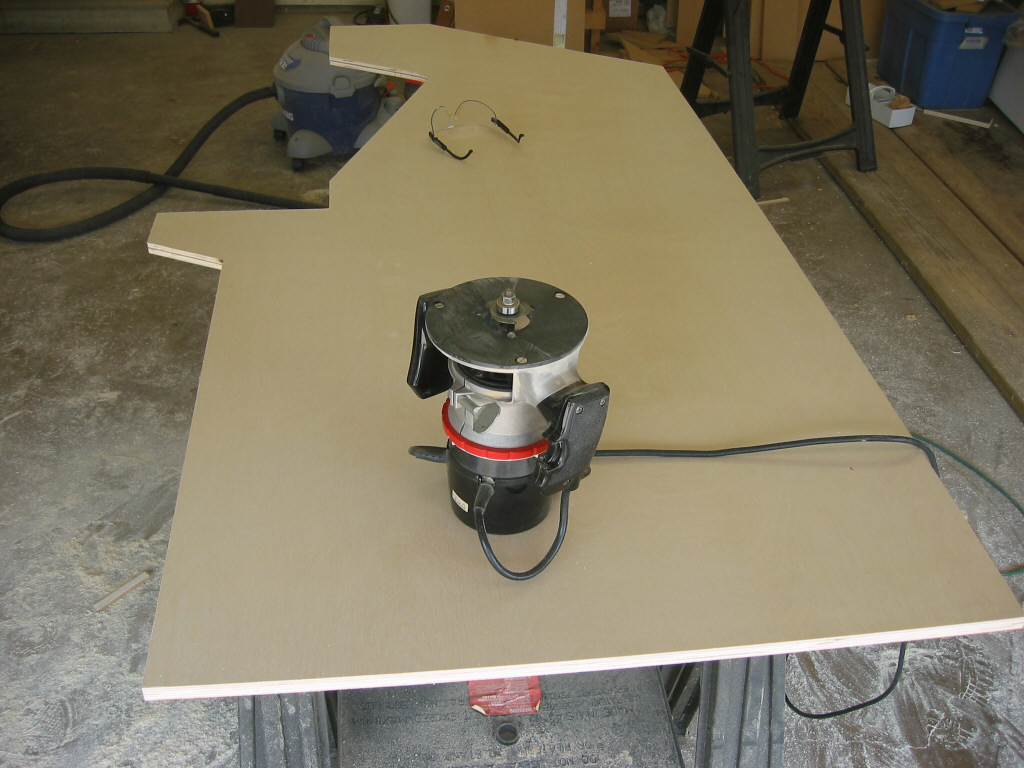
Next, pick up this rough-cut second side from the sawhorses. Take the completed, first side, and lay it back down on the sawhorses. Lay the second side atop this first side, carefully lining up the back and bottom edges. Clamp the two sides together with at least four clamps. You do not want the boards to shift at all.
Take the router and insert the flush-trim bit into it. (Note- In case you missed it on the tools page, the slotter is made up of 6700A and A200B from this page, and part #2400 from this page.) Adjust the height of the bit so that the ball-bearing is riding on the bottom (completed) side. The cutting portion should only be touching the unfinished board. Lock everything down and begin to route the second (top) side. Move from left to right. Pictures B, C and D shows. Take your time. Go back for a second pass to clean up any rough spots. Voila, the two sides are now identical.
Remove the top side and stand it up out of the way. Take a break and admire your handiwork (as in E). But it's not quite time to celebrate with a beer yet. You still need to slot the two sides (for the T-molding).
|
|
|
|
|


After the router cools for at least five minutes, swap out the flush-trim bit for the slotter. You will need to center the cutter in the middle of the plywood edge. The plywood that I had was seven-ply, so this task was simple. I adjusted the router height until the cutter was perfectly aligned with the fourth (middle) layer. I then tested it on a scrap(!) piece of plywood, snapping a small piece of T-molding into the groove to make sure it was perfect. Once I decided it was, everything was tightened down again on the router and the first side was slotted. As always, move from left to right when using the router (just like reading a book). I slotted everything except for the bottom. Be careful to keep the router flat against the plywood surface at all times.
Take this finished side and put it against the wall. Place the other side piece down on the saw horses and route it. In just a couple minutes, you'll have two slotted sides. Congrats!
 E |
 F |
 G |
 H |