ArcadeCab
Cabinet Plans 2: Finishing Touches
Table of contents
- Background
- Tools
- Materials
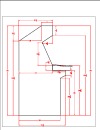
- Cutting Side One
- Cutting Side Two
- Dado for the Base
- Building the Base
- Monitor Shelf
- Ledger Boards
- Speaker Area- Start
- Upper rear
- Back
- Top
- Drawer
- Door
- Speaker Area- Cuts
- Painting
- Assembly
- Marquee
- Monitor Bezel
- List of Boards
- Control Panel Part 1
- Control Panel Part 2
- Wiring the CP
- Attaching the CP
- Finishing Touches
- Software
- Final Thoughts

Finishing Touches 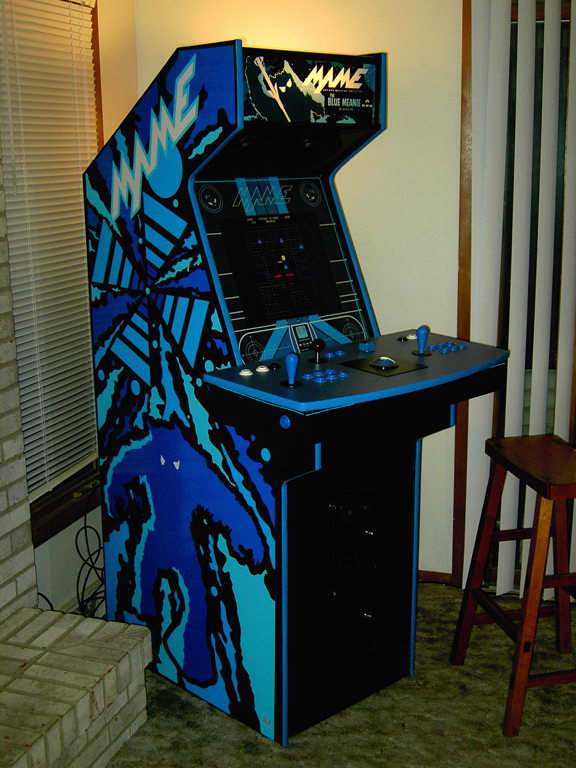
Now that you have the cabinet constructed, you can attach your coin
door, order and install your marquee, create your monitor bezel, etc.
You are limited only by your imagination. Scott designed sideart and had
it printed by a local sign company to add to the effect. I have seen cup
holders added and neon lighting at the base.
Check out the page of Visitor's cabinets for further ideas, as well as the many projects on the BYOAC forums.
5/23/2009 Update: Scott has graciously allowed me to post the sideart files he used for his cabinet sides. The artwork has obvious 80's inspiration but he spent a fair amount of time and energy getting it to the finished pieces you see here. They are sized to fit exactly for the cabinet sides. There are the original Adobe Illustrator files (click on the images for them) and I have also provided two tiffs of each; one with all layers intact and the other flattened. Thanks Scott!
 Leftside artwork- flattened .Tiff
|
 Rightside artwork- flattened .Tiff
|