ArcadeCab
Cabinet Plans 2: The Drawer
Table of contents
- Background
- Tools
- Materials
- Cutting Side One
- Cutting Side Two
- Dado for the Base
- Building the Base
- Monitor Shelf
- Ledger Boards
- Speaker Area- Start
- Upper rear
- Back
- Top
- Drawer
- Door
- Speaker Area- Cuts
- Painting
- Assembly
- Marquee
- Monitor Bezel
- List of Boards
- Control Panel Part 1
- Control Panel Part 2
- Wiring the CP
- Attaching the CP
- Finishing Touches
- Software
- Final Thoughts

The Drawer
Before we build the drawer
itself, we will want to add a 1" strip above it. This will keep
the control panel support area from ever pulling apart and making the
drawer stick. I used a similar design on my original cabinet and
it has proved worthwhile.
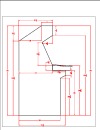
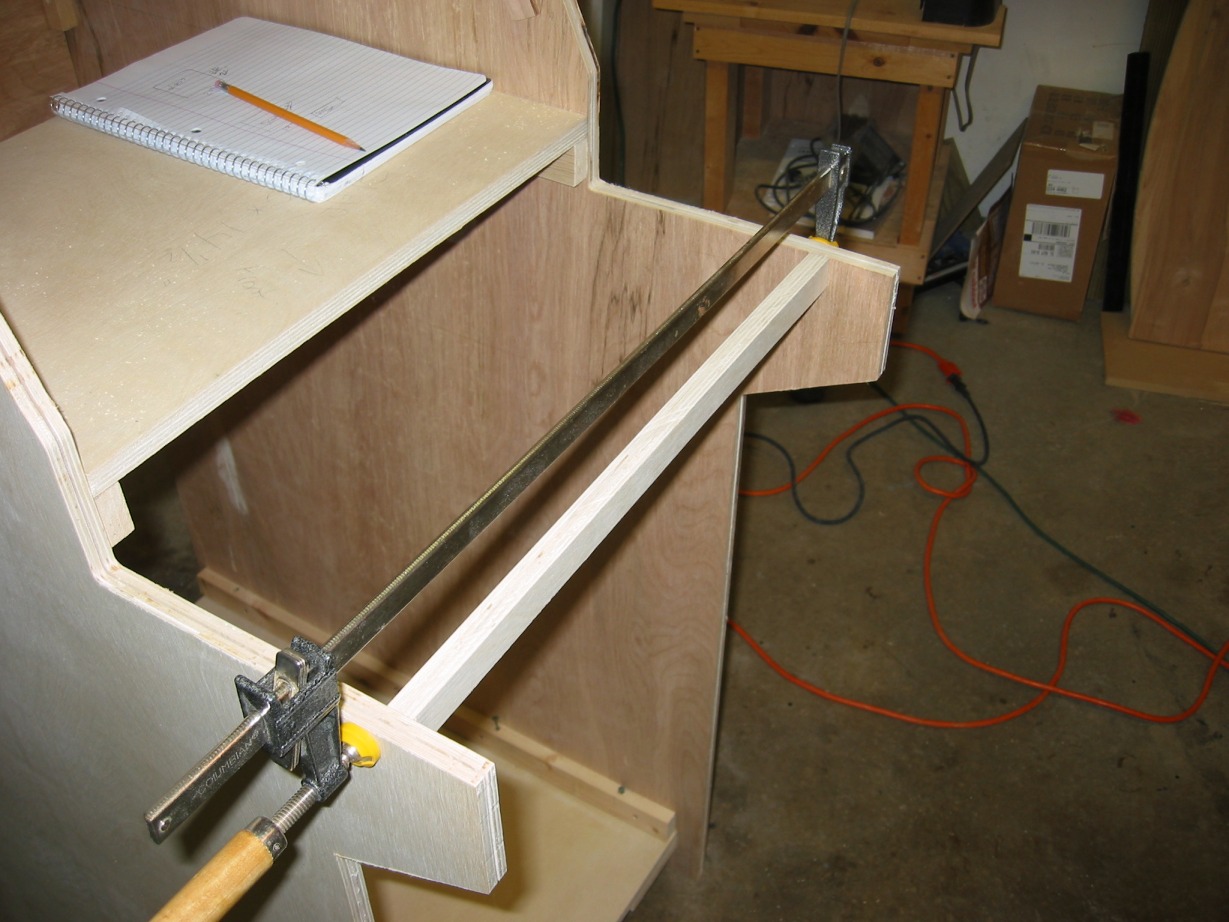
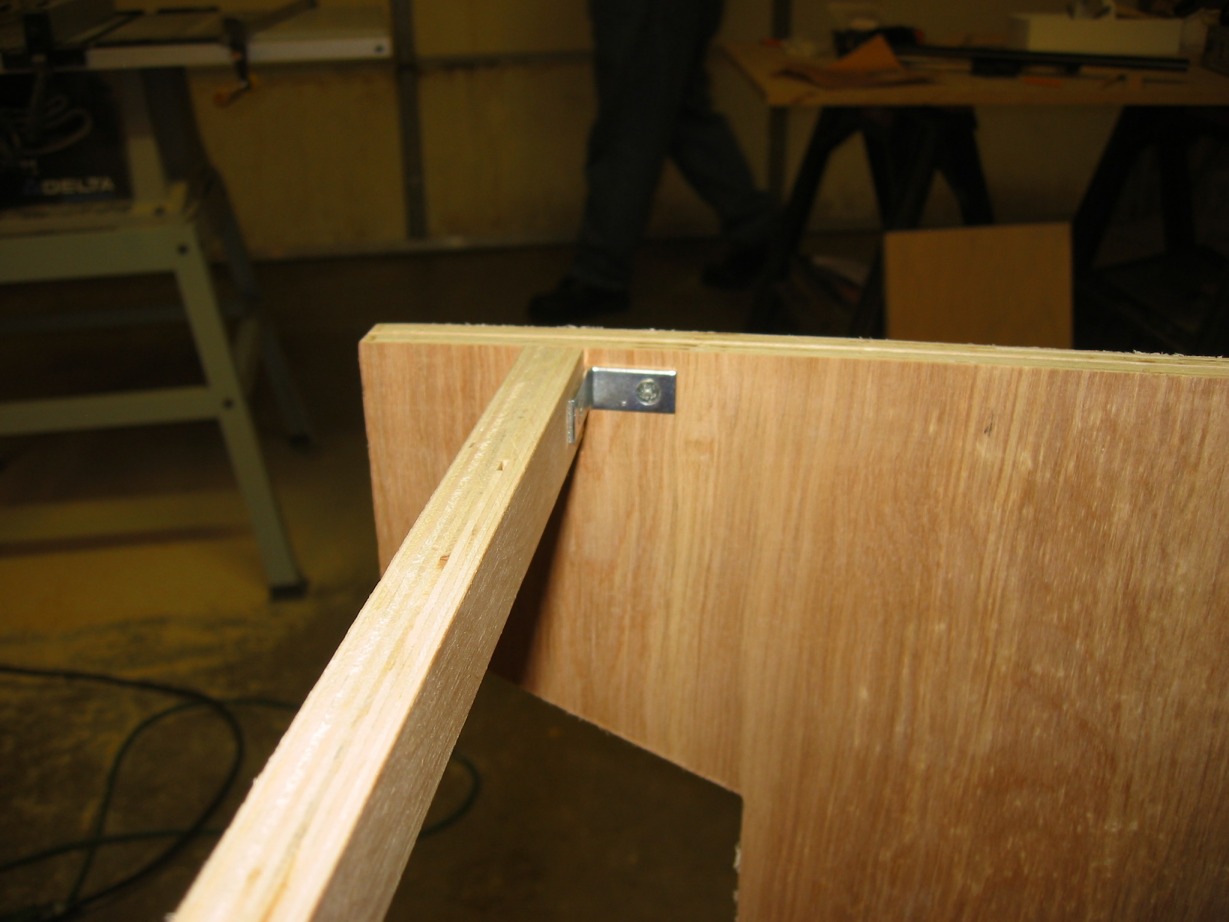
Start by cutting a 1" strip 20" wide (see A). Locate it approximately 2.25" from the front of the cabinet. Use two small, one-inch "L" brackets to attach the strip. Use a clamp to hold it in place while you drive in the screws (as in picture B). When finished it should look like D.
|
|
|
|
|

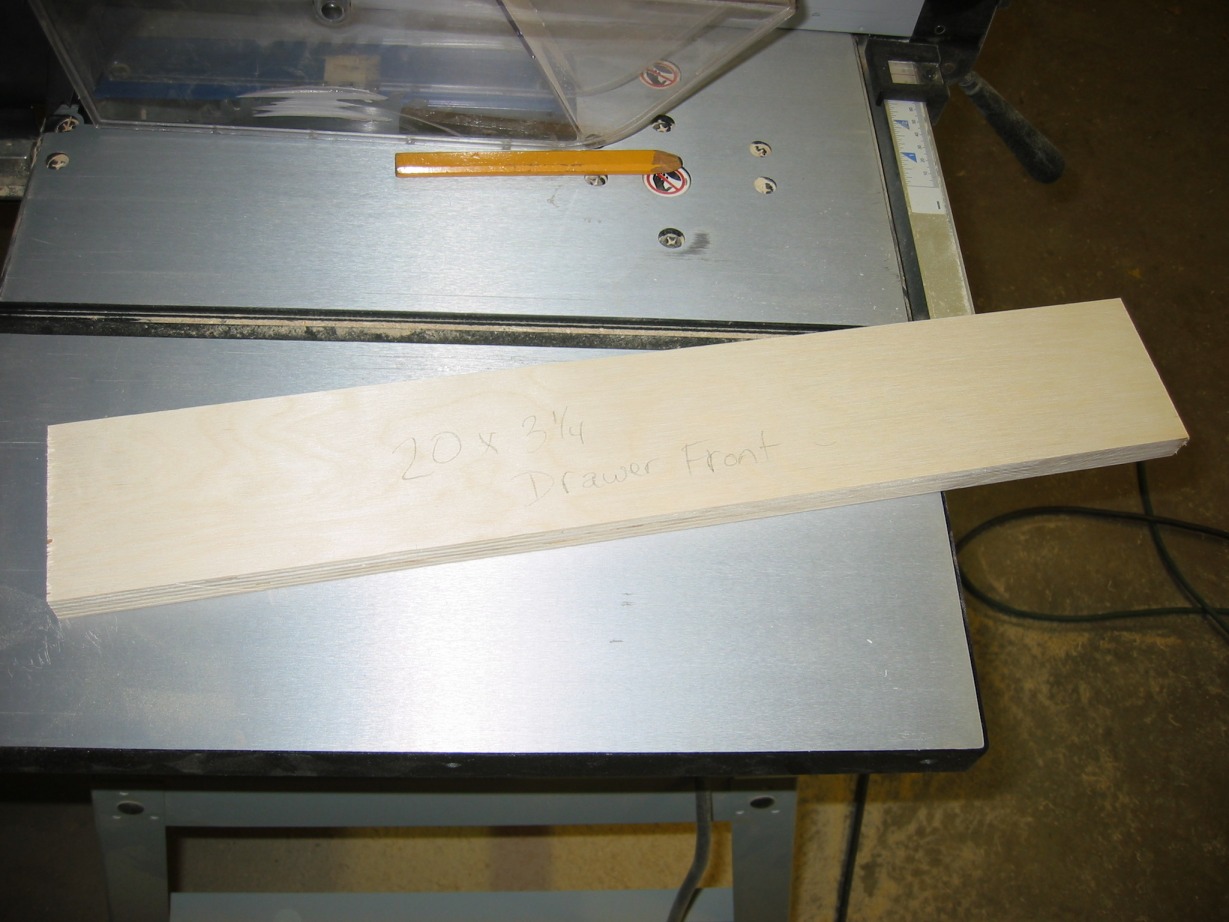
Now cut a board a board 19-7/8" x 3-1/4". This will be the drawer front. While you are at the table saw, cut a board 19-1/4" x 16" for the drawer itself. I designed the drawer proper to be glued into a slot in the drawer front. This will be very sturdy and be elegant, at least by my standards. Although there are no pictures, I cut the slot 1/4" from the bottom using a 3/4" straight bit. I cut it approximately 1/4" deep. You can see how the slot looks in picture F.
Note- The brackets that I used are 15.8" Euro-style, Self-Close drawer slides (Model KV1805) rated for 75 lbs that I picked up at Lowes.
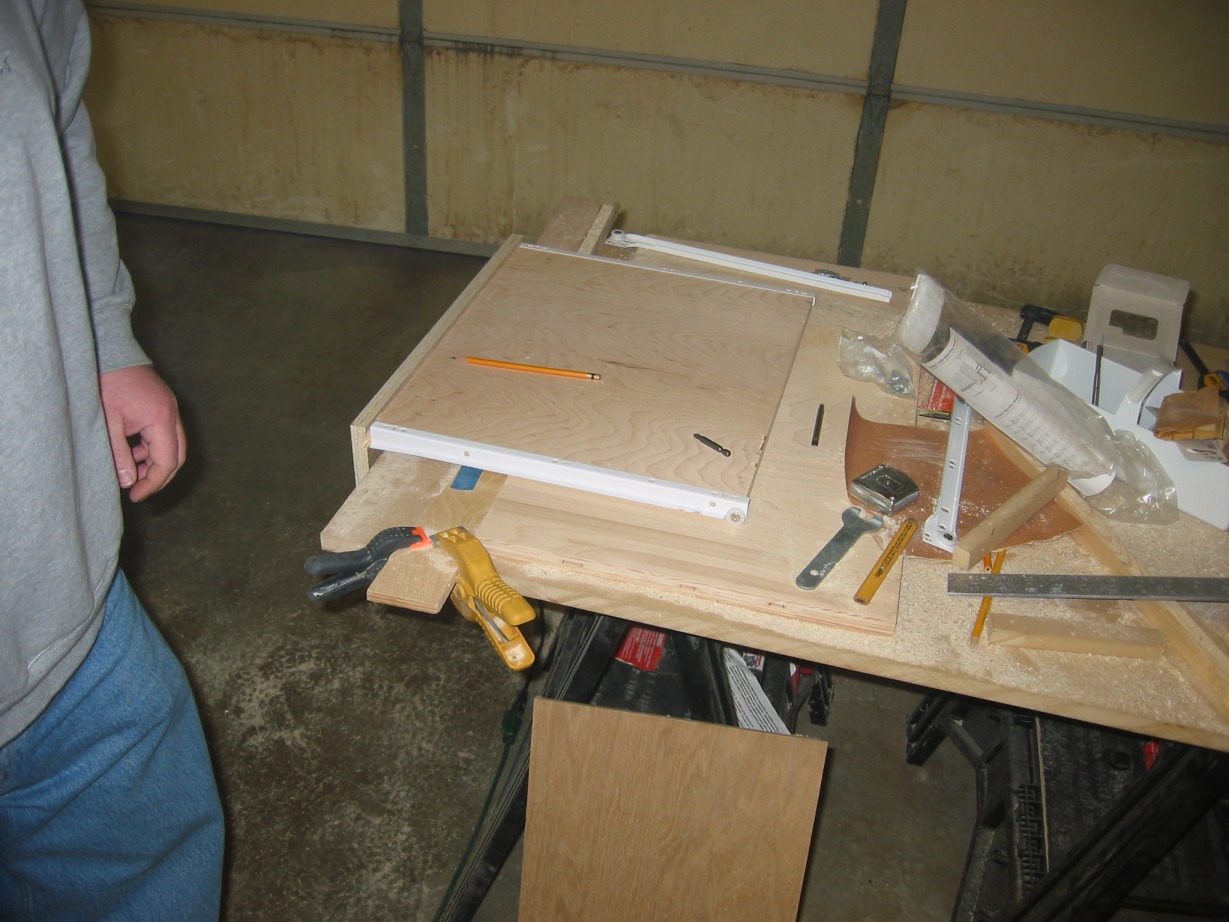
Next, attach the drawer rails. You can see Scott
trying to avoid (unsuccessfully, I might add) being captured by the
camera as he was attaching the rails. After you attach the rails,
attach the receiving rails inside the cabinet. I have no
trick to installing them correctly; it took about four attempts to get
them right and to slide smoothly.
|
|
|
|
|


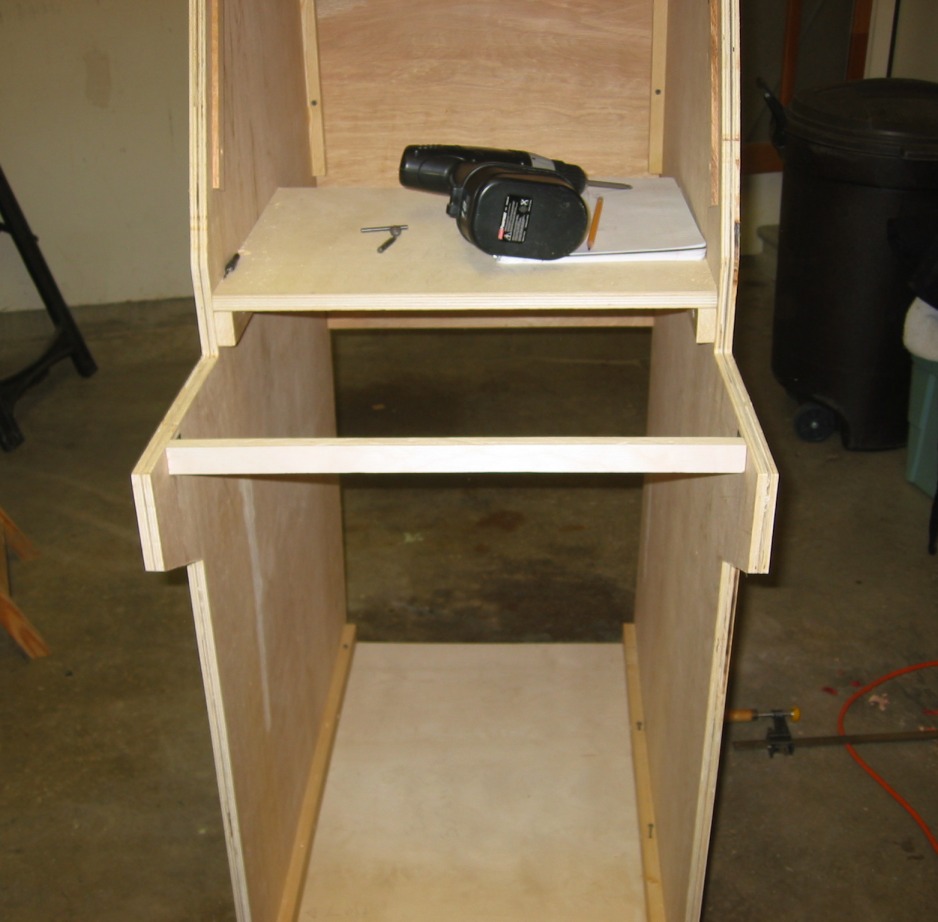
Once you get the drawer installed correctly,
it should look like pictures I through K. At some point during
this process the drawer front was glued on and allowed to dry.
|
|
|
|


The door is next.