ArcadeCab
Cabinet Plans 2: Upper Rear Board
Table of contents
- Background
- Tools
- Materials
- Cutting Side One
- Cutting Side Two
- Dado for the Base
- Building the Base
- Monitor Shelf
- Ledger Boards
- Speaker Area- Start
- Upper rear
- Back
- Top
- Drawer
- Door
- Speaker Area- Cuts
- Painting
- Assembly
- Marquee
- Monitor Bezel
- List of Boards
- Control Panel Part 1
- Control Panel Part 2
- Wiring the CP
- Attaching the CP
- Finishing Touches
- Software
- Final Thoughts

The Upper Rear Board
Welcome to one of the
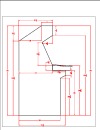
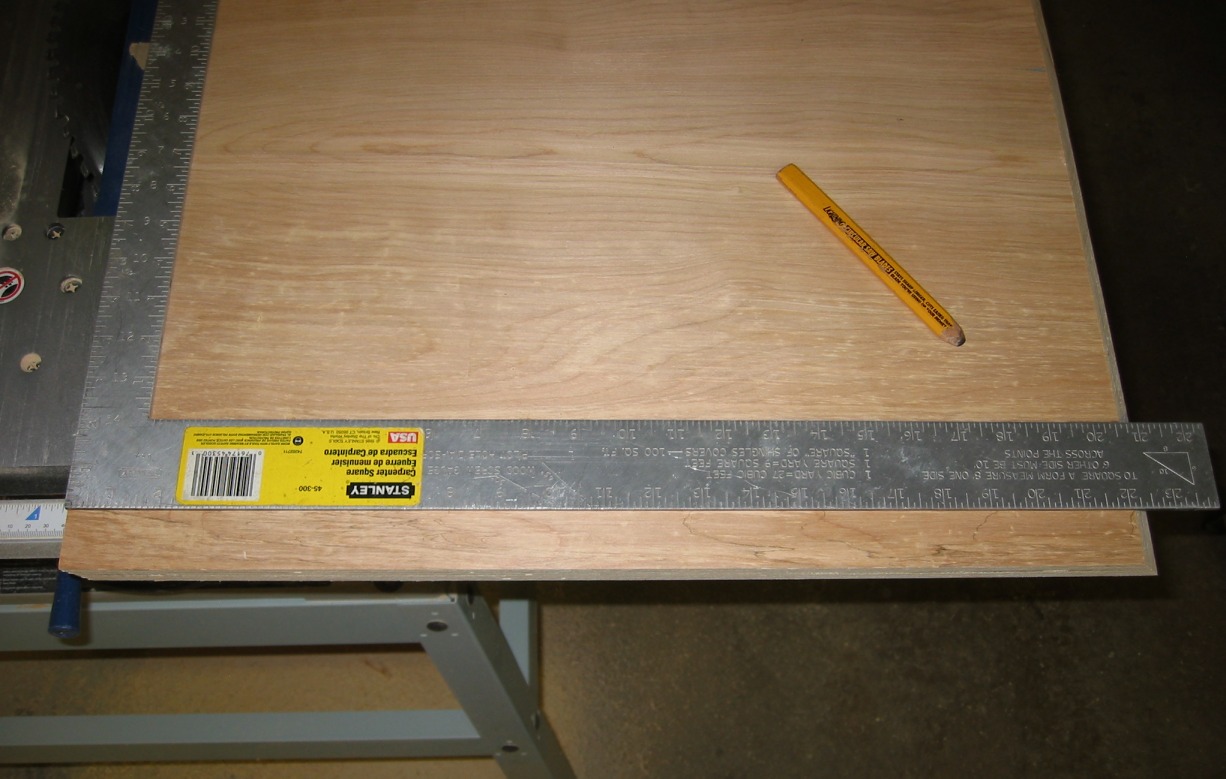
more complicated boards to cut. Start by cutting a board 20" wide
x 26" long. Both ends will be beveled so the resulting board will
be less than this rough cut.
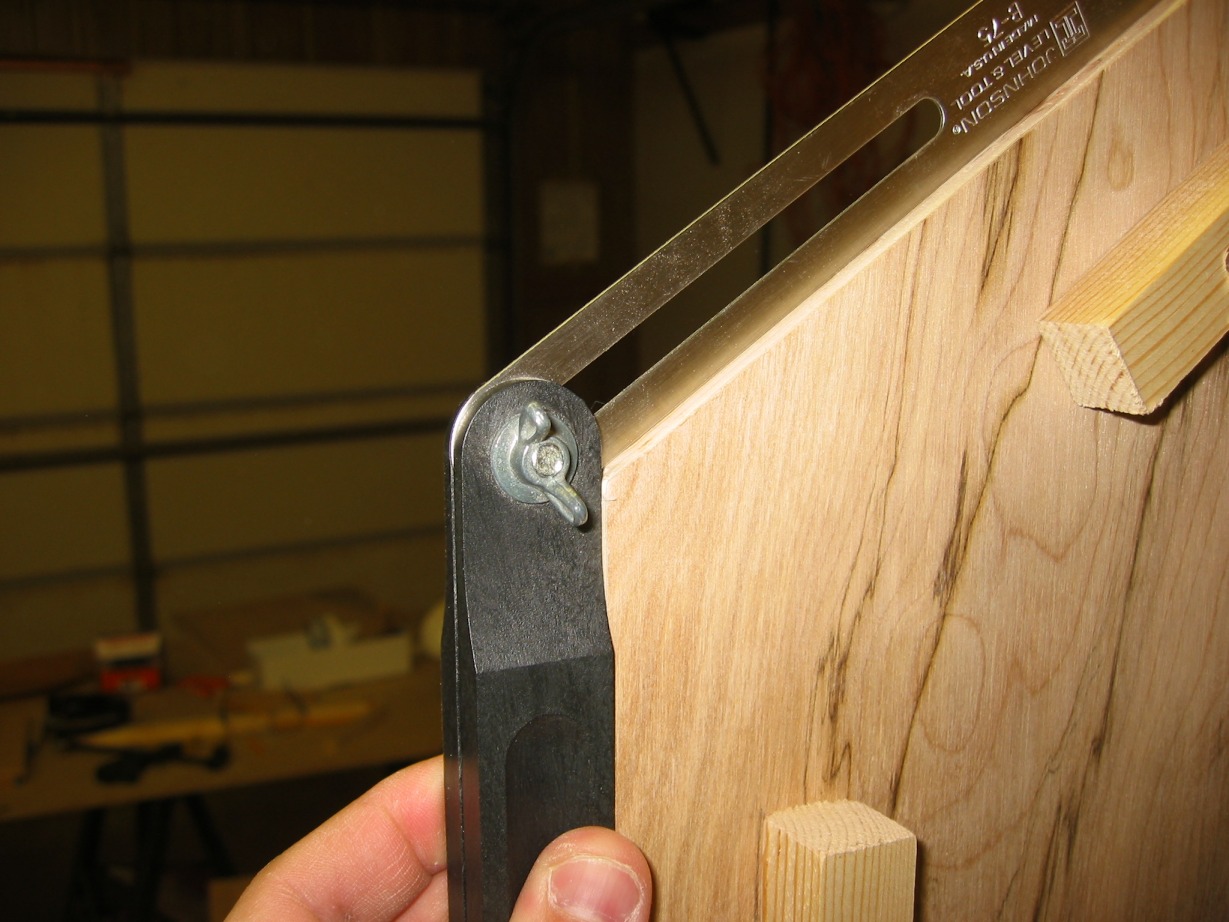
The top angle of the board is 40 degrees. Set the table saw to 40 degrees and trim off a bit off on end (see A). I usually cut off about 1/4" of length. The back angle ends up being 35 degrees. How I arrived at that was I used a handy little tool to mimic the angle (see B), then I transferred that to the table saw (C). The resulting angle showed as 35 degrees.
The finished length of the board should be 22-1/8". I took the board from picture A and flipped it upside down. I set the table saw guide at 22-1/8", then cut the board. You should end up with a board that is beveled on both ends like in picture E.
Next you need to place the board within the cabinet. I found the proper location by having Scott hold this board in its rough location while I took another 20" wide board and rested it where the top, marquee board would be. Once we decided it was located perfectly, we sunk four screws into it from within the cabinet (through the ledger board). You should end up with it looking like pictures G and H.
|
|
|
|
|


|
|
|
|
|


Next up is the back board.