ArcadeCab
Cabinet Plans 2: Cutting Side One
Table of contents
- Background
- Tools
- Materials
- Cutting Side One
- Cutting Side Two
- Dado for the Base
- Building the Base
- Monitor Shelf
- Ledger Boards
- Speaker Area- Start
- Upper rear
- Back
- Top
- Drawer
- Door
- Speaker Area- Cuts
- Painting
- Assembly
- Marquee
- Monitor Bezel
- List of Boards
- Control Panel Part 1
- Control Panel Part 2
- Wiring the CP
- Attaching the CP
- Finishing Touches
- Software
- Final Thoughts

A note before we start
The observant reader
will notice that the photos on this page show MDF not plywood being cut.
I created an MDF template to make sure the design would work out before
cutting the ply. Everything did so I used these pictures.
Starting Out
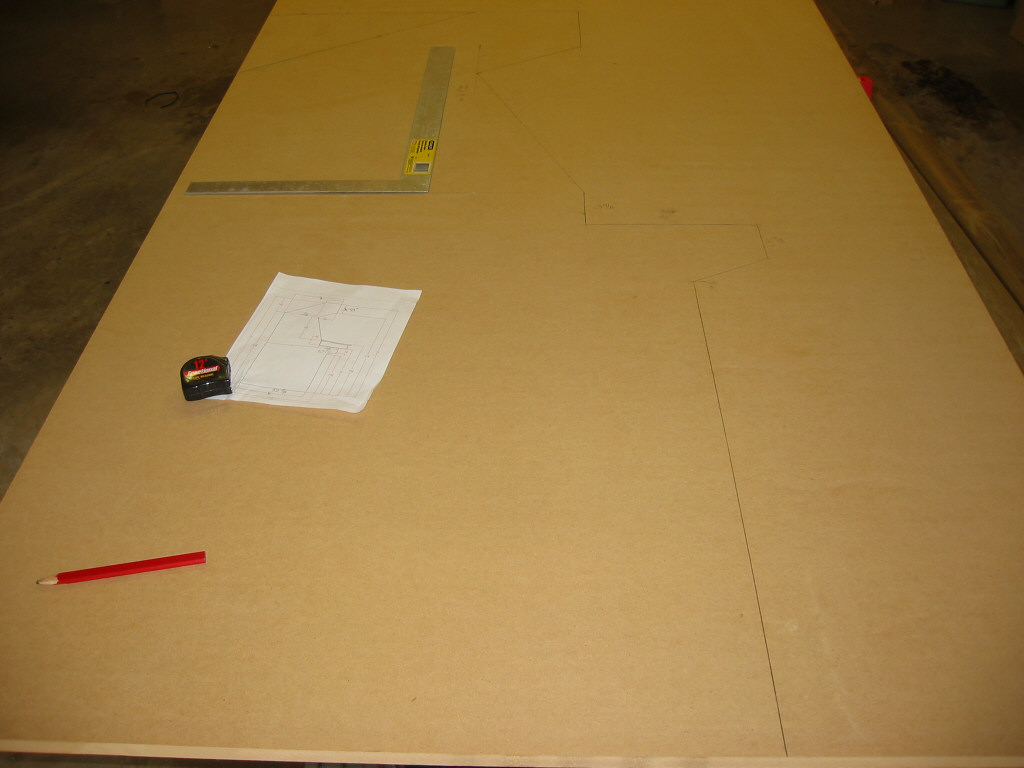
To begin with, lay your 4x8 sheet out on two saw
horses. Taking the measurements, draw out the cabinet on the
sheet. Take your time; everything can be drawn using the
supplied measurements.

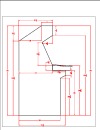
The order I made my cuts is shown in the diagram to the right (click for a larger view). This isn't necessarily the optimum order, it is just what worked out best for me. You can refer to the cut numbers as you read through the description.
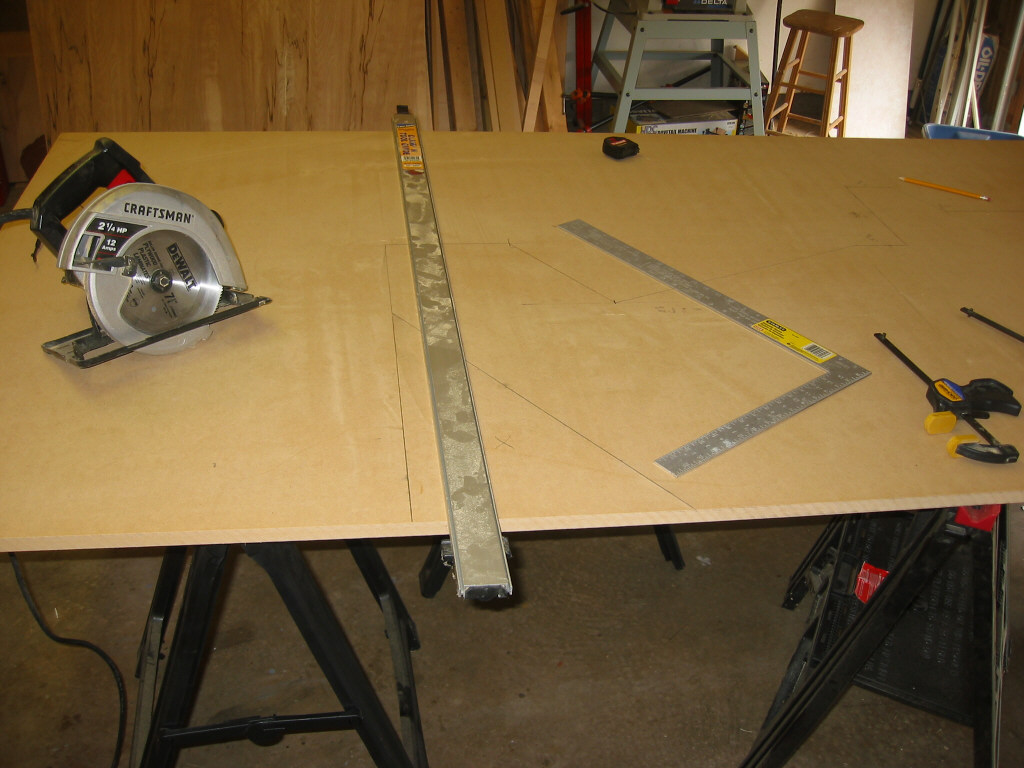
The first cut (#1) was made with the circular saw. I cut the excess material from the top of the board. I lined the cut up with the very top of the cabinet (72" from the base). See picture C.
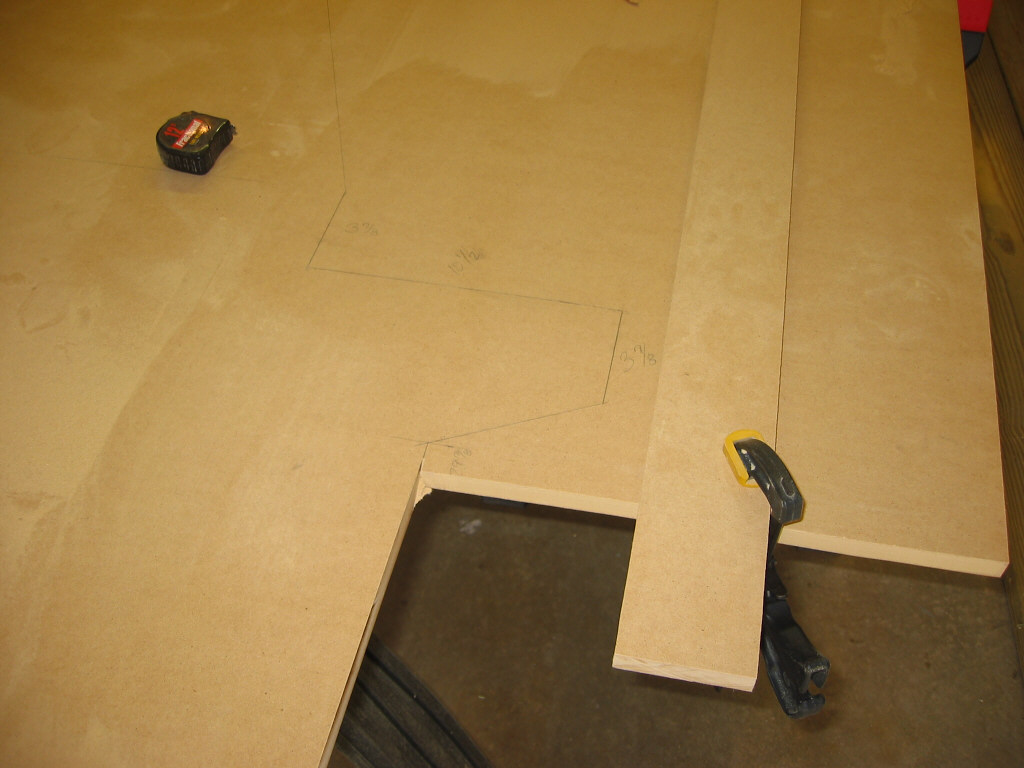
The second cut was the angled back of the cabinet. Picture D shows the setup for the cut.
|
|
|
|
|

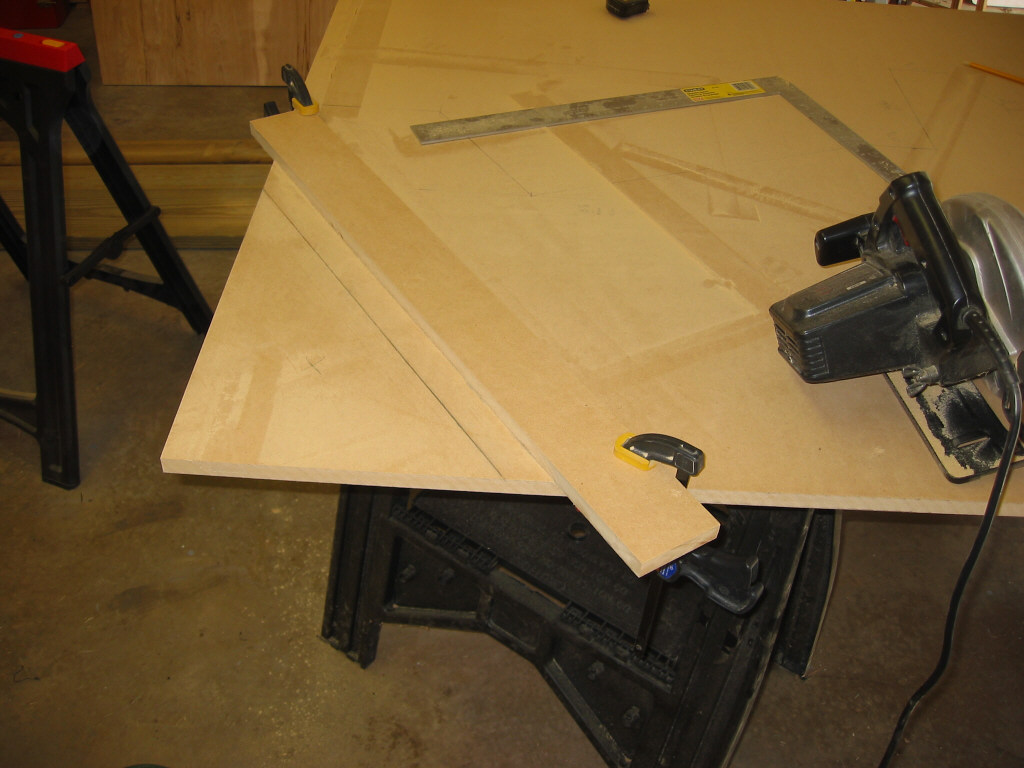
The marquee area was the next circular saw cut (cut #3). I just cut straight down, going past the marquee area. E shows the setup and check out picture H for how far down I cut. This just gave me less excess material do have to deal with later on. The fourth cut was to cut up from the bottom, toward the controller ledge. I used the circular saw and cut up as close to the controller support as I safely could. Cut #6 was the straight bit on the front of the controller area, again with the circular saw (see photo H). The rest of that area will be cut using the jigsaw.
 E |
 F |
 G |
 H |
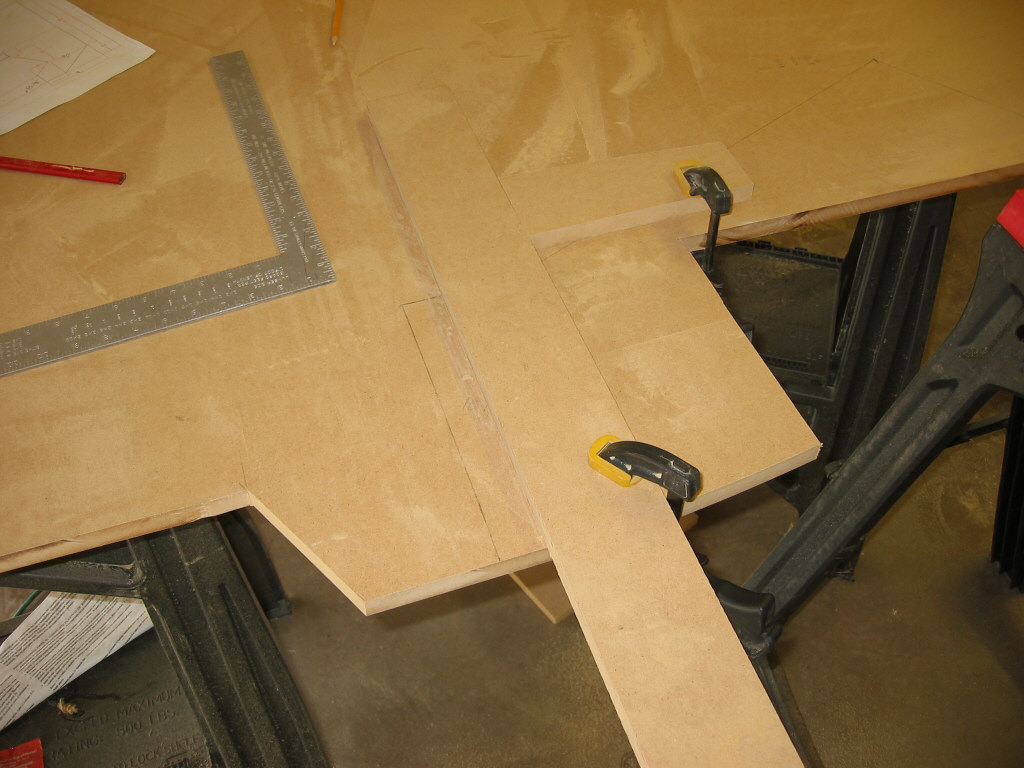
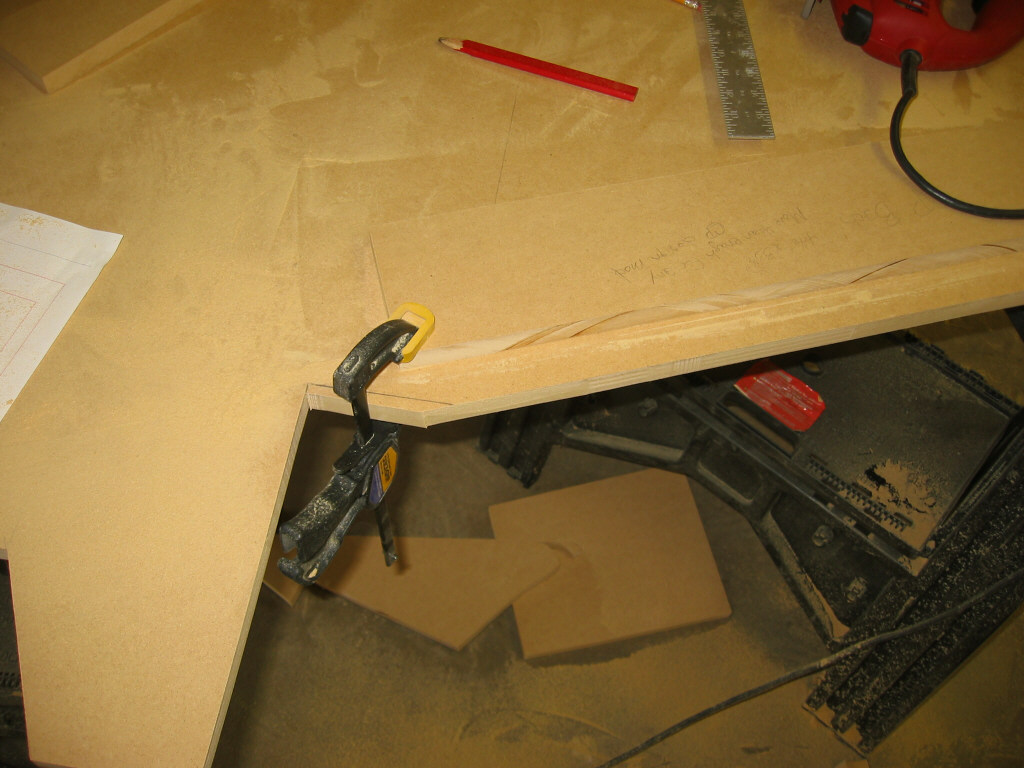
Photo I shows the progress so far. The jigsaw is used, with a
board as a straight edge, to make the 6th cut (see J). It is again
used for the top portion of the controller support (#7 and photo K).
The speaker and monitor areas are also completed with the jigsaw (see L
for the completed cuts).
 I |
 J |
 K |
 L |
The final cut, #10, is done with the jigsaw. The slight curve was made with a sanding bit on the drill. A bit of sandpaper wound around a piece of 1" dowel and a little elbow grease could also do. Now you should have something resembling picture O.
 M |
 N |
 O |