ArcadeCab
Cabinet Plans 2: Monitor Bezel
Table of contents
- Background
- Tools
- Materials
- Cutting Side One
- Cutting Side Two
- Dado for the Base
- Building the Base
- Monitor Shelf
- Ledger Boards
- Speaker Area- Start
- Upper rear
- Back
- Top
- Drawer
- Door
- Speaker Area- Cuts
- Painting
- Assembly
- Marquee
- Monitor Bezel
- List of Boards
- Control Panel Part 1
- Control Panel Part 2
- Wiring the CP
- Attaching the CP
- Finishing Touches
- Software
- Final Thoughts

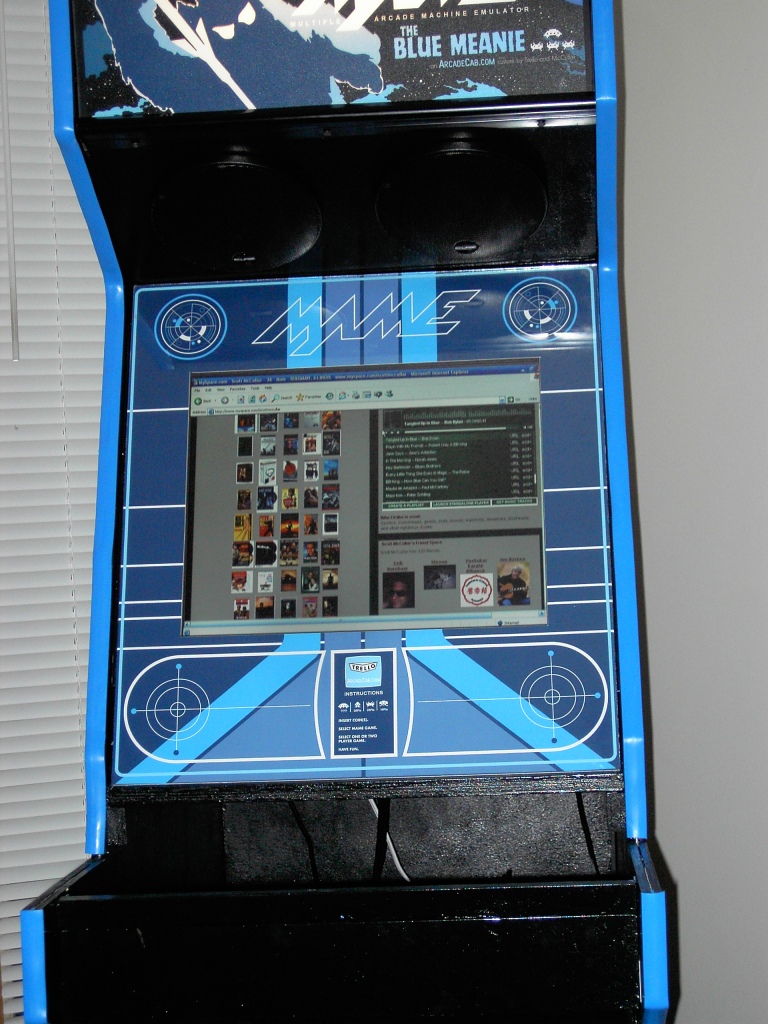
Monitor Bezel
Scott designed the monitor bezel for his cabinet. He
took graphic elements from Space Invaders, Tron and Defender to create the retro look. Before he
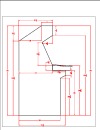
set about creating the final design, he measured both the glass and the
monitor face while it was mounted in the cabinet. The 1/4" glass
was 19-3/4" wide x 22" tall. Once he measured the monitor face, he
calculated he would need 2-5/8" border on each side, 4-3/8" border on
the top, and 6" border on the bottom. This gave him the measurements
needed to get started. He worked up the graphic in Adobe Illustrator and
had it printed locally (Capitol Blueprint), oversized in color.
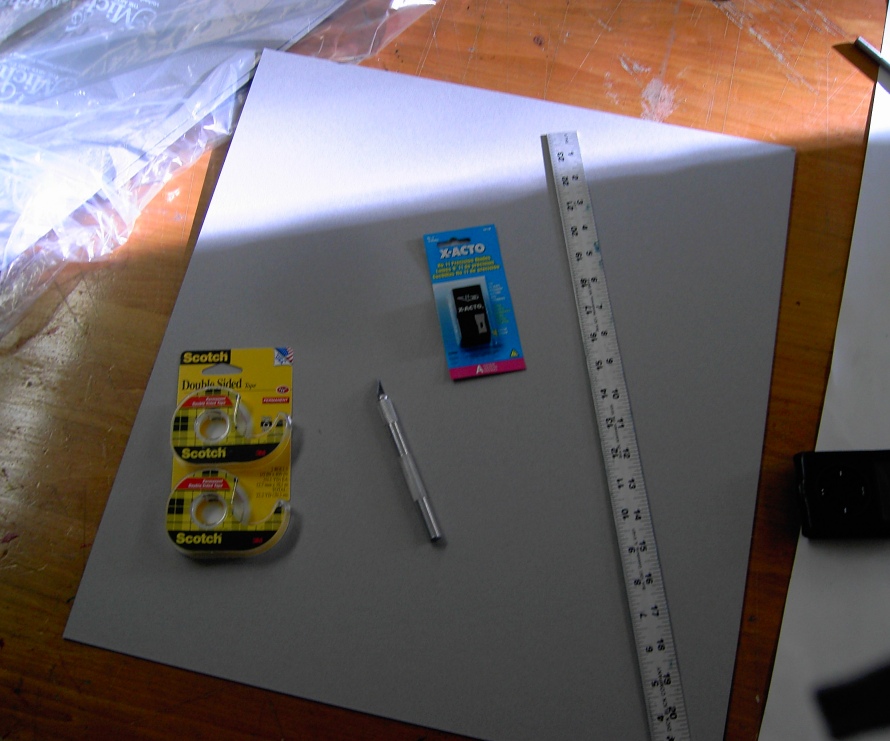
The artwork file is available on the far left of this page. He then
purchased a neutral gray (with black core) 3-ply heavy matte board from
Michaels that he mounted the artwork on, using a spray adhesive. The
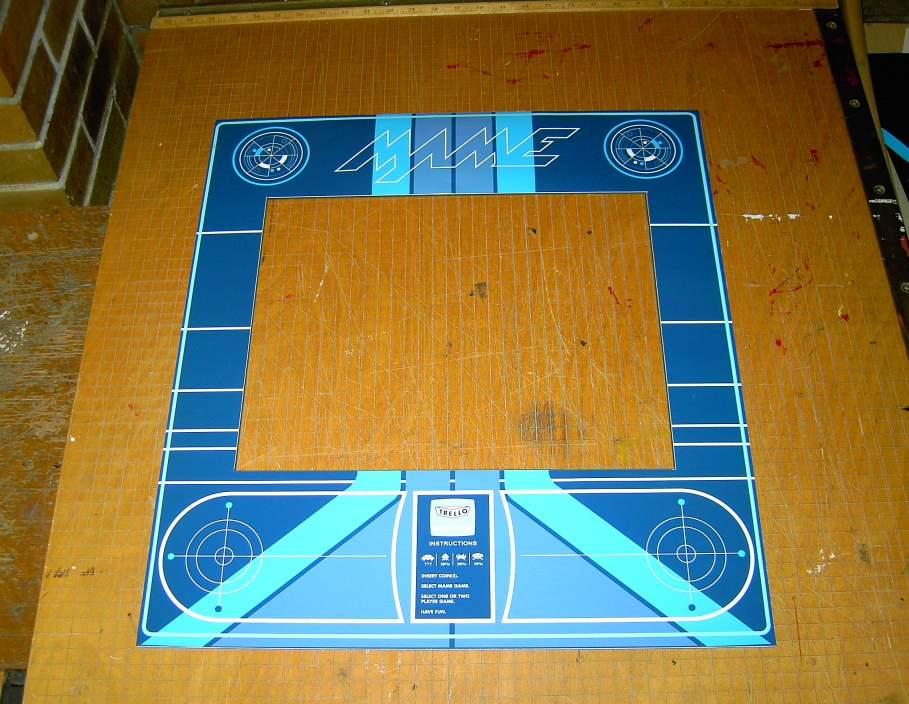
black core was important for when he cut the bezel at 45 degrees for the
monitor to show through, the black core blended nicely into the monitor
face. The heavier board made it sturdy to hold up against the glass when
pressed together.
The series of photographs (A through G) show the process just described,
with the final picture (H) showing how nice it looks when in place. For
your information, the graphic cost $23.50, the matte board $15, and the
glass
$16. The final look.. priceless.
|
|
|
|
|
|
|
|
|
|


Bezel Artwork (Adobe Illustrator file)
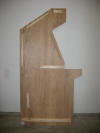
4/2/2013 Update: An extremely popular
question I get asked is how the glass stays in place. The glass
simply rests on the monitor shelf and leans back against the 16" ledger
boards (which you can see in I below) . The monitor shelf comes to the very front of the
cabinet (J), which gives the glass a nice resting spot. The
control panel, once placed, will keep the bottom of the glass from
slipping forward, off the shelf. And the slope of the cabinet,
combined with gravity, keeps the glass lying back against the ledgers.
If you use artwork, just place that behind the glass. It will look
beautiful. I hope this explanation helps make things clearer.
|
|
|